[Dan Williams] built a belt that holds up your pants while remembering your passwords. This was his project while camped out at the Hackaday Hardware Villiage at the 2015 TC Disrupt Hackathon last weekend.
 The idea started with the concept of a dedicated device to carry a complicated password; something that you couldn’t remember yourself and would be difficult to type. [Dan] also decided it would be much better if the device didn’t need its own power source, and if the user interface was dead simple. The answer was a wrist-band made up of a USB cable and a microcontroller with just one button.
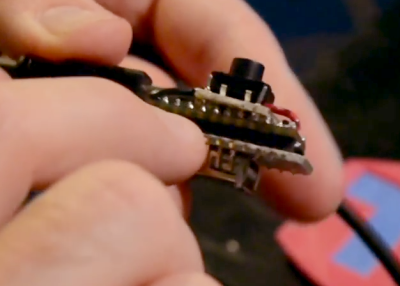
To the right you can see the guts of the prototype. He is using a Teensy 2.0 board, which is capable of enumerating as an HID keyboard. The only user input is the button seen at the top. Press it once and it fires off the stored password. Yes, very simple to implement, but programming is just one part of a competition. The rest of his time was spent refining it into what could reasonably be considered a product. He did such a good job of it that he received an Honorable Mention from Hackaday to recognize his execution on the build.
Fabrication
 [Dan] came up with the idea to have a pair of mating boards for the Teensy 2.0. One on top hosts the button, the other on the bottom has a USB port which is used as the “clasp” of the belt buckle. One side of the USB cable plugs into the Teensy, the other into this dummy-port. Early testing showed that this was too bulky to work as a bracelet. But [Dan] simply pivoted and turned it into a belt.
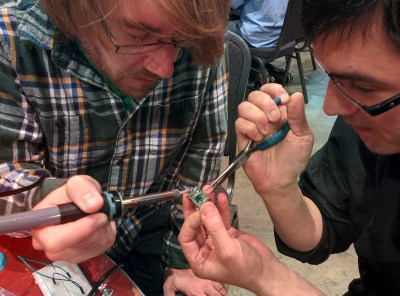
 [Kenji Larsen] helped [Dan] with the PCB-sandwich. Instead of mounting pin sockets on the extra boards, they heated up the solder joints on a few of the Teensy pins and pushed them through with some pliers. This left a few pins sticking up above the board to which the button add-on board could be soldered.
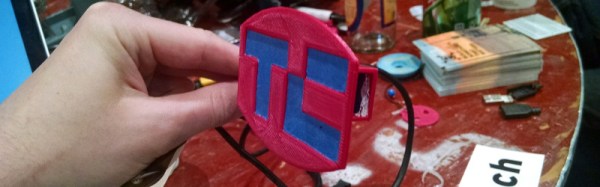
To finish out the build, [Dan] worked with [Chris Gammell] to model a 2-part case for the electronics. He also came up with a pandering belt buckle which is also a button-cap. It’s 3D printed with the TechCrunch logo slightly recessed. He then filled this recess with blue painter’s tape for a nice contrast.
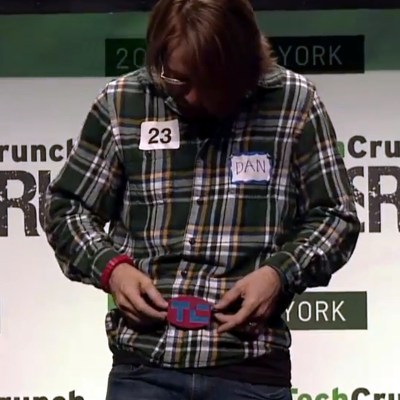
[Dan] on-stage presentation shows off the high-level of refinement. There’s not a single wire (excluding the USB belt cable) or unfinished part showing! Since he didn’t get much into the guts of the build during the live presentation we made sure to seek him out afterward and record a hardware walk through which is embedded below.