If you’ve ever paged through the color samples at the hardware store trying to match a particular color, you know how hard it can be. Not only are there nearly limitless color variations, but each manufacturer has their own formulas and tints. Often times, the only way to get the exact color you need is to get it custom mixed.
Unfortunately, that’s not really an option when it comes to filament for your 3D printer. Will that roll of orange from Hatchbox actually match the orange from Overture? That’s where the Filament Librarian comes in. Created by [Joe Kaufeld], the project aims to catalog and photograph as many 3D printer filaments as possible so you can see exactly what you’re getting.
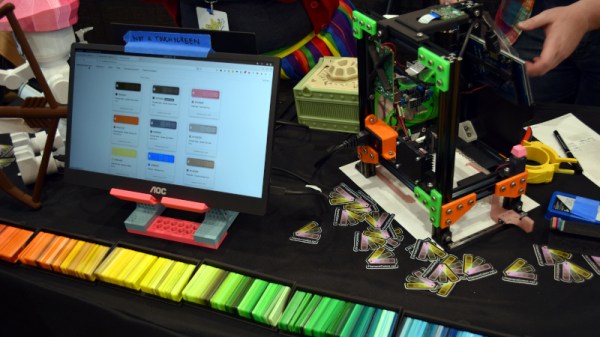
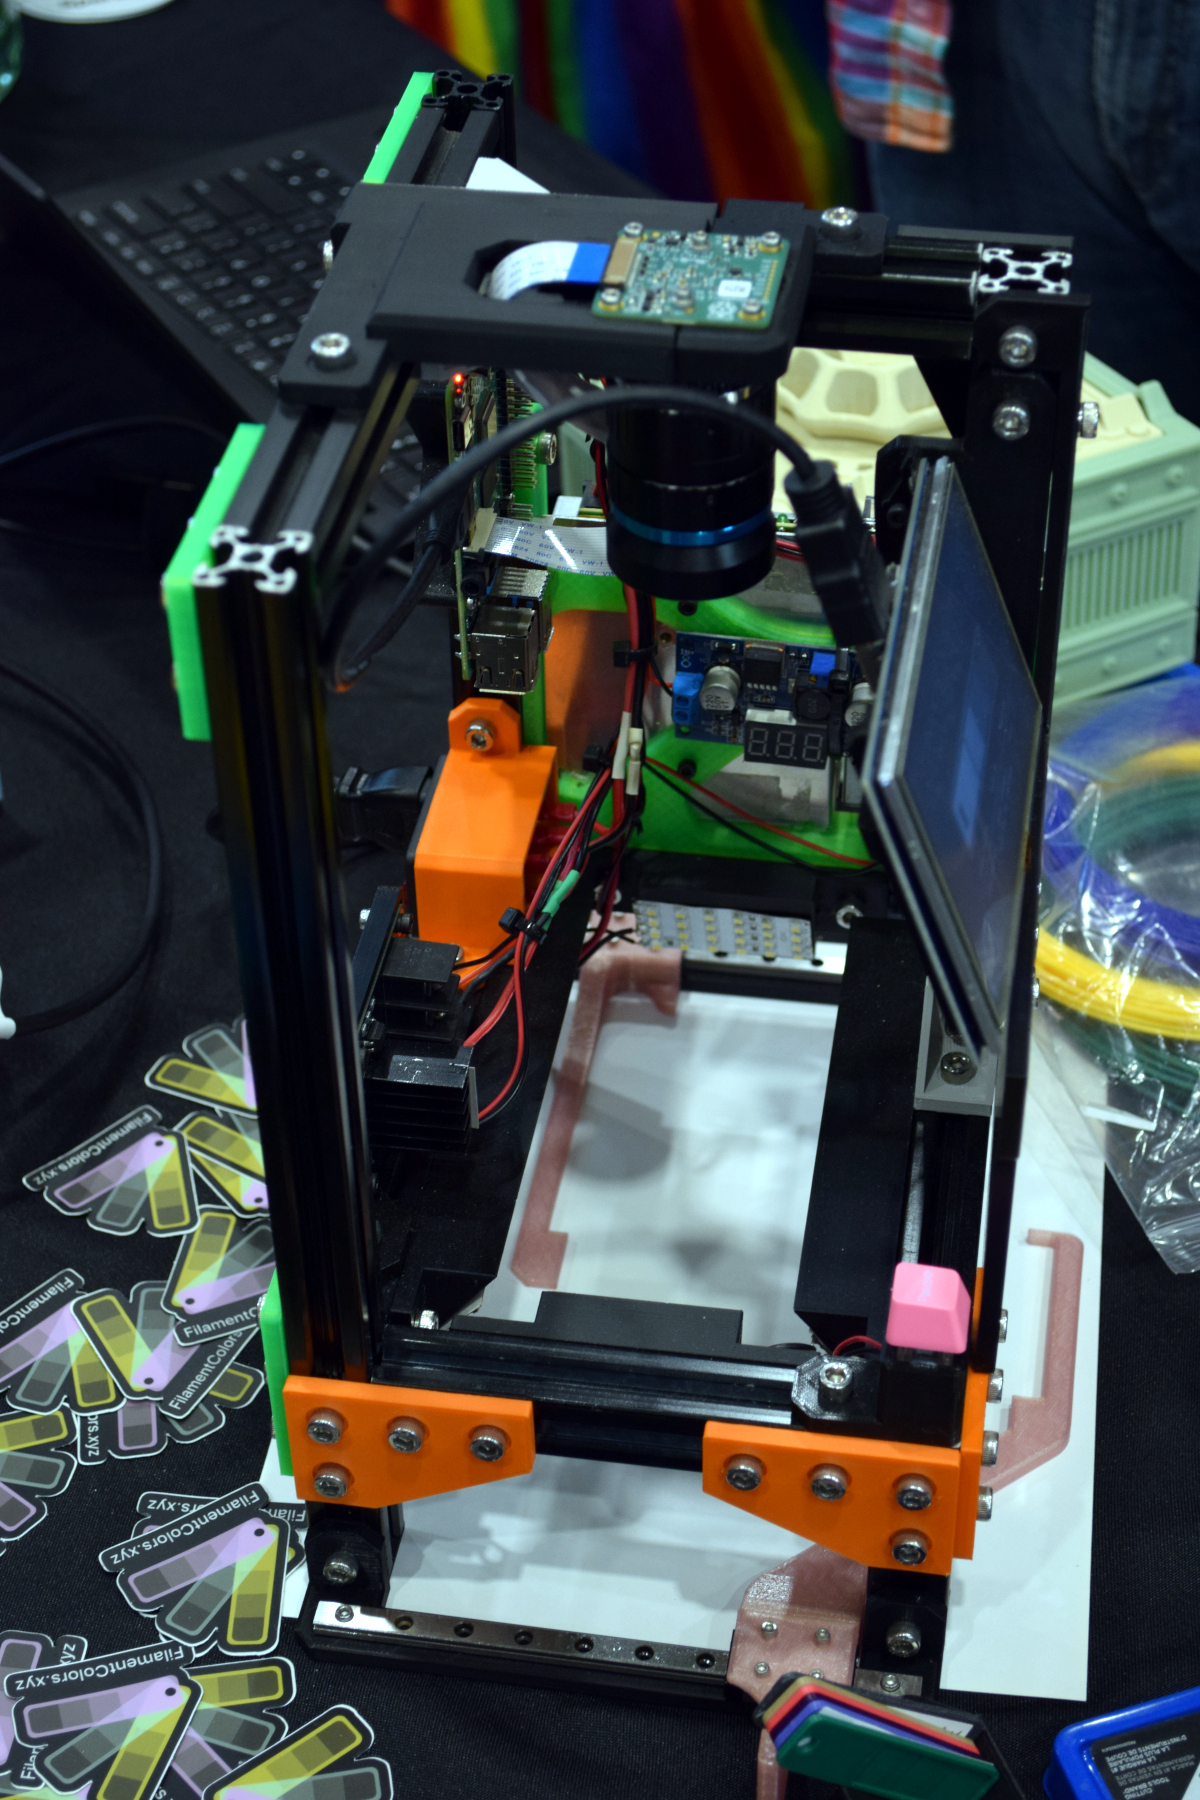 Now of course, if it was as easy as looking at pictures of filament swatches on your computer, you wouldn’t need this service to begin with. So what’s the trick? A custom automated camera rig, powered by the Raspberry Pi, is used to position, light, and photograph each filament sample in the library. So while [Joe] can’t promise your monitor is showing a perfect representation of each filament’s color, you can at least be sure they will all look correct in relation to each other. So for example, the site can help you figure out if the local Microcenter stocks anything that comes close to matching Prusament’s Galaxy Silver PLA.
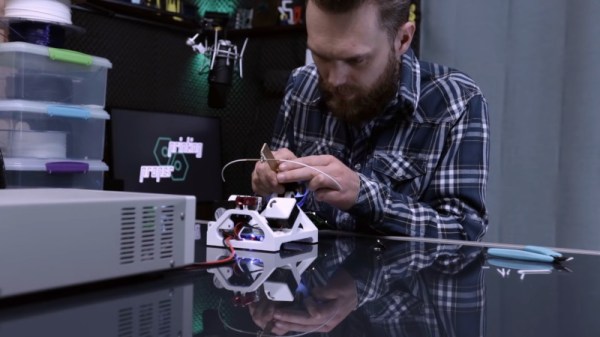
[Joe] brought a collection of his samples along with his slick camera setup to the 2022 East Coast RepRap Festival so attendees could see first-hand how he adds a new filament to the database. With an easy-to-use touch-screen interface, it takes just seconds to get the camera ready for the next shot.
Now that he’s got the hardware and the procedure down, [Joe] is asking the community to help out by providing him with filament samples to process. It doesn’t take much: all he asks is you snip him off a couple meters of filament, write down what it is and who makes it on a pre-made form, and drop it in the mail. If you’re in the US, you can send it directly to his address in Indiana, and for those on the other side of the globe, he’s got a drop point in the Netherlands you can use.
We love a good passion project here at Hackaday, so here’s hoping that the Filament Librarian receives plenty of new filament samples from all over the planet to feed into that fancy camera setup of his.