It’s no secret that we like 3D printing, but Artist and architect [Michael Hansmeyer] really likes 3D printing. So much so that he’s based his entire career around exploring the artistic possibilities of what he calls “computational architecture”.
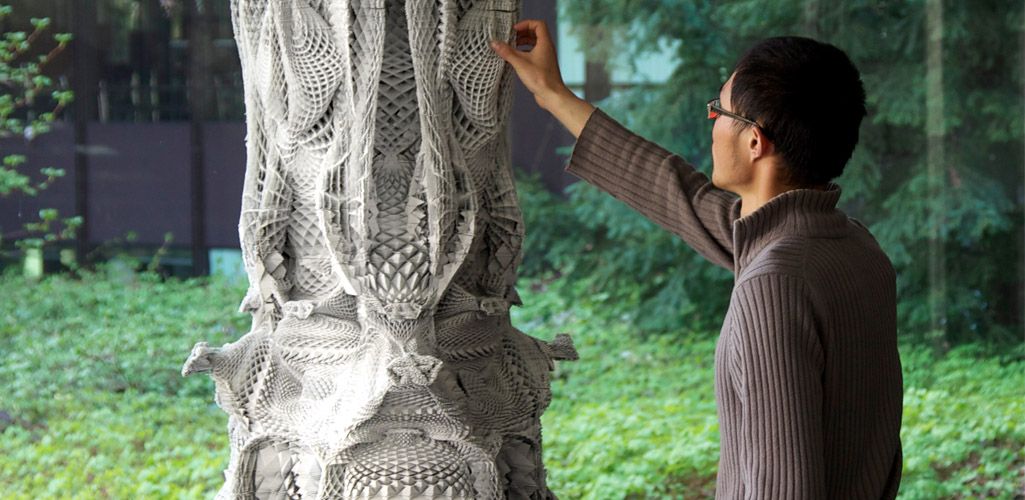 We first fell in love with [Michael]’s work “Columns” because it was both daring and relatively low-budget at the same time. He made a series of architectural-sized columns out of cross-sections of laser-cut cardboard. Why cardboard? Because his goal was to make the columns as complex as possible and the current range of 3D printers couldn’t give him the resolution he wanted.
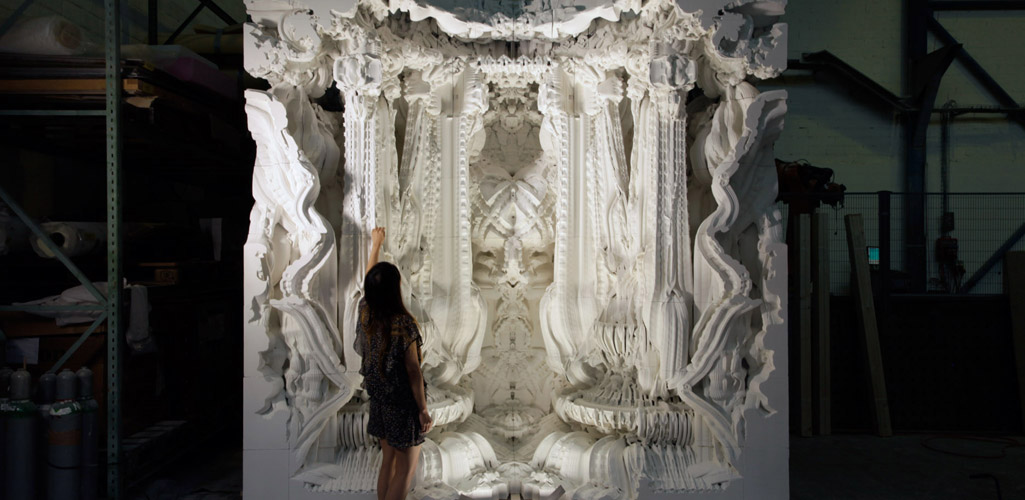 Fast-forward to “Digital Grotesque”. Now [Michael] has access to a large-scale sand printer, and the license to go entirely nuts. He makes a space reminiscent of a Rococo grotto, but full of so much detail that you can’t really take it all in: it’s nearly fractal. Some stats: 11 tons of printed sandstone, 260 million surfaces, 30 billion voxels. We’re stoked that we don’t have to dust it!
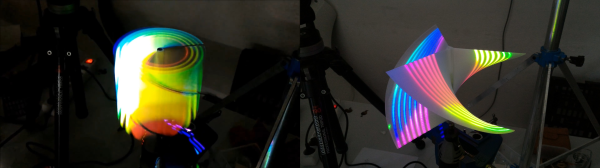
 His latest piece, “Arabesque Wall” is partly organic and elegant, and part Aliens. If we can play art critic, we think it’s beautiful. Go click through the portfolio. (And although they never got printed, we really like some of the “Voxels” series of cellular-automata pieces.)
From new paint materials opening up new color possibilities to new instruments enabling entirely different types of music, art, and technology mutually inform each other much more than we often appreciate. In ten years time, we’ll be looking back on this work and saying “this piece looks good” and “that piece looks bad” instead of “wow, amazing tech!”. But for now, we’re also content to wallow in the “wow”.
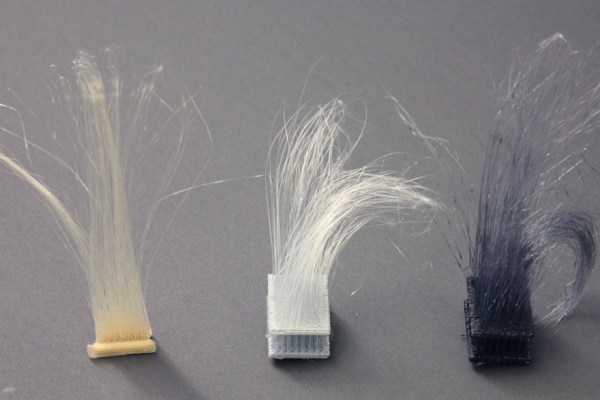
 To avoid this particular phenomenon, 3D printing slicers generally have options like retraction and wiping. But, instead of trying to stop the stringing, [Chris Harrison, Gierad Laput, and Xiang “Anthony” Chen] decided to embrace it. Through extensive experimentation, they figured out how to introduce stringing in a controlled manner. Instead of random strings here and there, they’re able to create strings exactly where they want them, and at specific lengths and thicknesses.