Being a bit shocked at the prices of articulating arm microscope mounts, not to mention the shipping fees to the UK, [CapTec] realized they looked substantially similar to your typical computer monitor arm mount. Thinking he could adapt a monitor arm for much less money, he fired up FreeCAD and started designing.
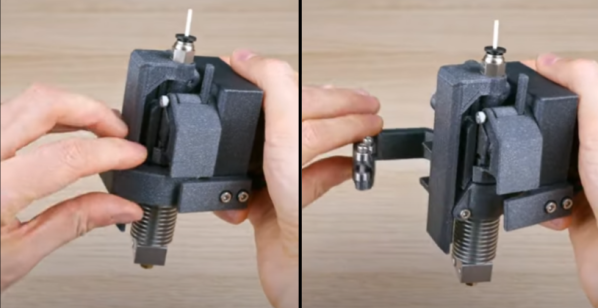
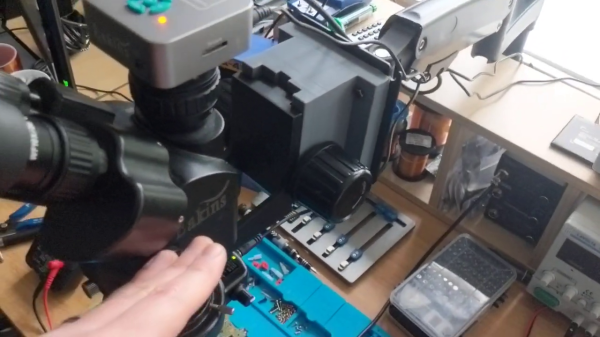
[CapTec] is using this to support his Amscope / Eakins camera-equipped trinocular microscope, but notes that the same mechanical bracket / focus rack interface is found on binocular ‘scopes as well. He observes that the mount is no more stable than your desk or lab bench, so keep that in mind.
Ultimately the monitor arm set him back less than $40, and all told he reckons the whole thing was under $55. Based on prices he’s been researching online, this represents a savings of well over $200. In his calculations, the shipping fee comprised quite a hefty percentage of the total cost. We wonder if they are artificially high due to coronavirus — if so, the make / buy price comparison might yield different results in the future.
This type of project is a perfect use-case for a home 3D printer — making your own parts when the normal supply channels are unavailable or overpriced. Are articulating arms that are purpose-built for microscopes significantly different than those designed for big computer monitors? If you know, please comment down below.
Continue reading “Repurpose A Monitor Arm As Microscope Mount”