Picture it: you’re on the treadmill, running through a forest, sweating like a pig, and the doorbell rings because a package is being delivered. Would you even hear it? Chances are, if you’re rocking out to music on headphones and your treadmill is as noisy as [Antonio]’s, you wouldn’t, and you’d once again face the dreaded ‘we’ll try later’ slip.
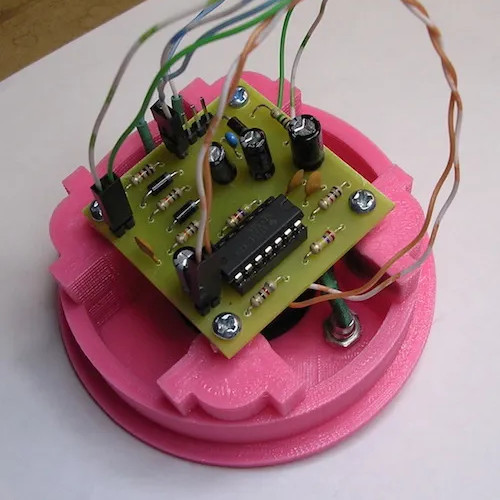 What you need is something that thing listens for the doorbell and flashes a giant 20 mm red LED to alert you. Could this be done with a 555? Yes, in fact, [Antonio] used a pair of them in the form of the 556 on the alert side.
The first 555 is wired up in astable mode to control the tempo of the flashing light, and the second timer is in monostable mode to control the length of time the light flashes. Power comes from the doorbell’s 9V, which is wired up through an existing Ethernet jack.
Now whenever the doorbell rings, [Antonio] has 60 seconds of flashing light in order to react, stop the treadmill, and jump off to answer the door. To conserve power when [Antonio] is relaxing, there’s an on/off switch.