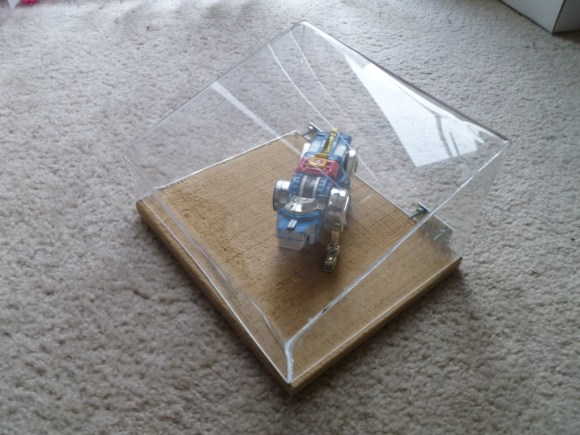
Yet another project that proves you need to acquire a laser cutter. This Airsoft turret rotates, tilts, and includes a hopper for ammo.
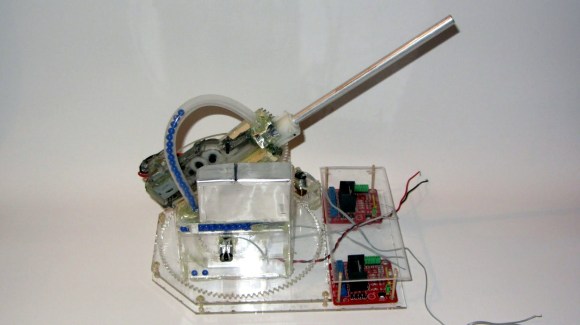
All of the pieces were cut from acrylic. The base includes a bracket which keeps the large rotating gear level by sandwiching it between the layers. That and the tilt mechanism are pretty straight forward. The module responsible for loading the BBs is pretty neat though. It uses a gear with round teeth the same diameter as the ammo. Once a BB is picked up it is forced upward into the tubing that feeds the gun. Get the full picture from the demo video after the break.
The one thing [The Liquider] is wondering about is how to provide feedback for the tilt and rotate functions. We can’t think of an easier way than to use simple rotary encoders. The Arduino Mega he wishes to use as a driver will have no problem interfacing with reflectance sensors and the acrylic makes it simple to mount this type of black and white encoder wheel.
Continue reading “Airsoft Turret Has Turn, Tilt, And Auto-feed To Keep Those BBs Flying”