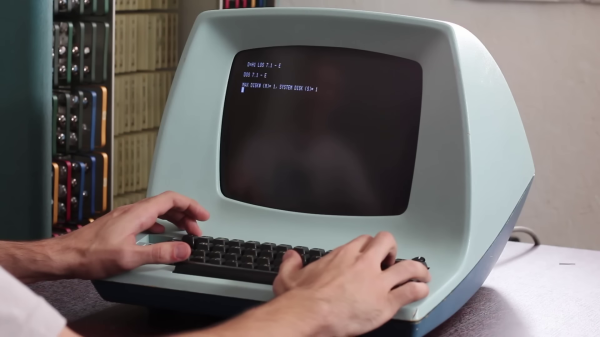
Not so long ago, most computer users didn’t own their own machines. Instead, they shared time on mainframes or servers, interacting with this new technology through remote terminals. While the rise of cloud computing and AI might feel like a modern, more dystopian echo of that era, some look back on those early days with genuine fondness. If you agree, check out this 70s-era terminal replica from [David Green].
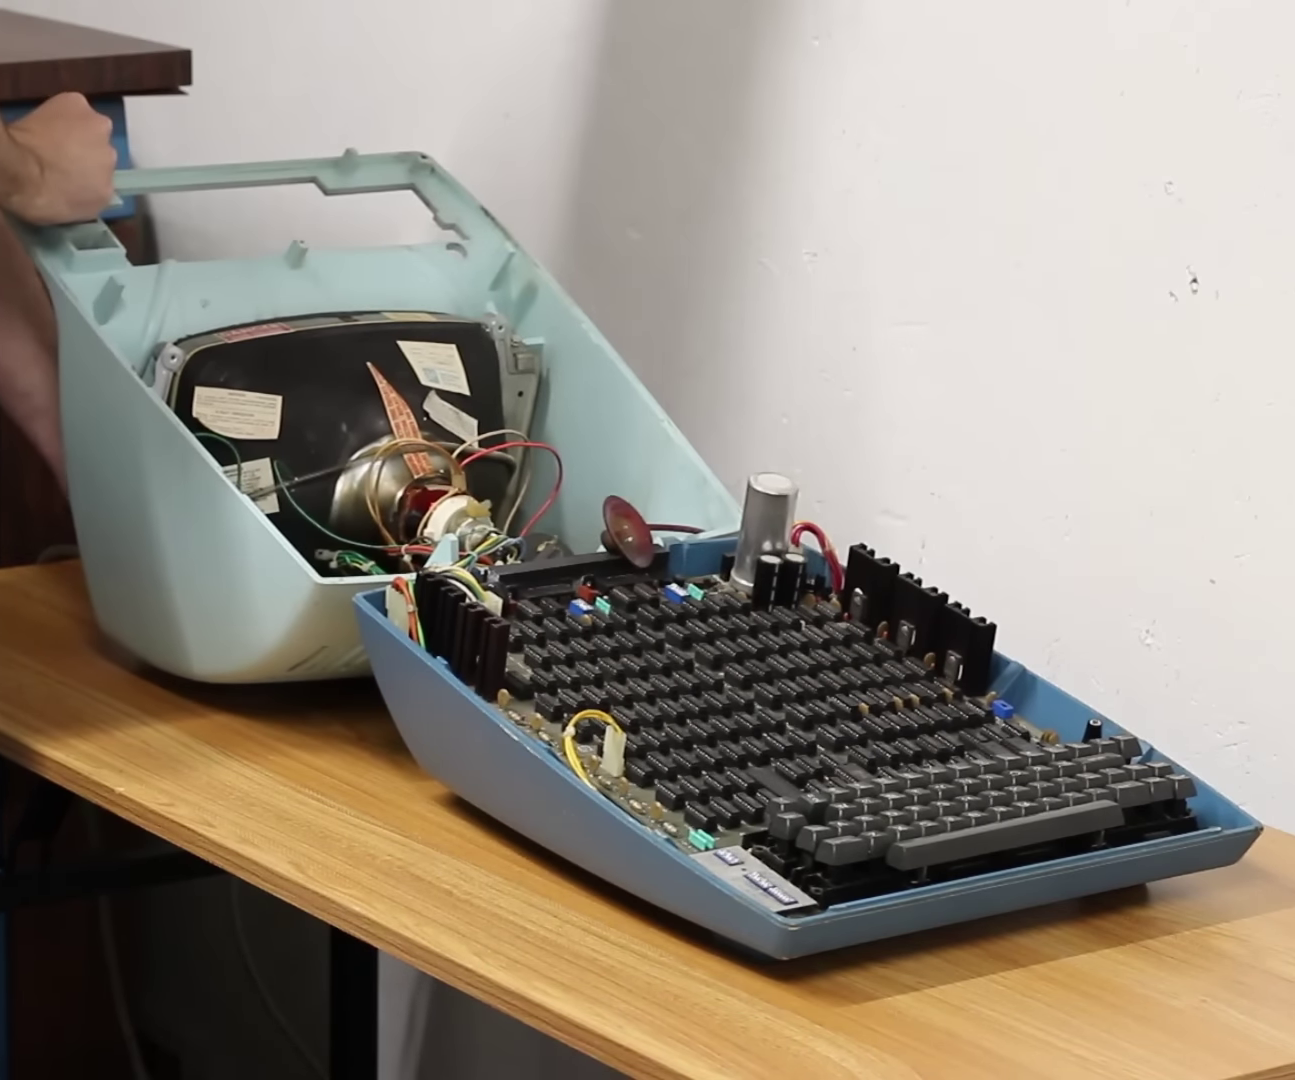
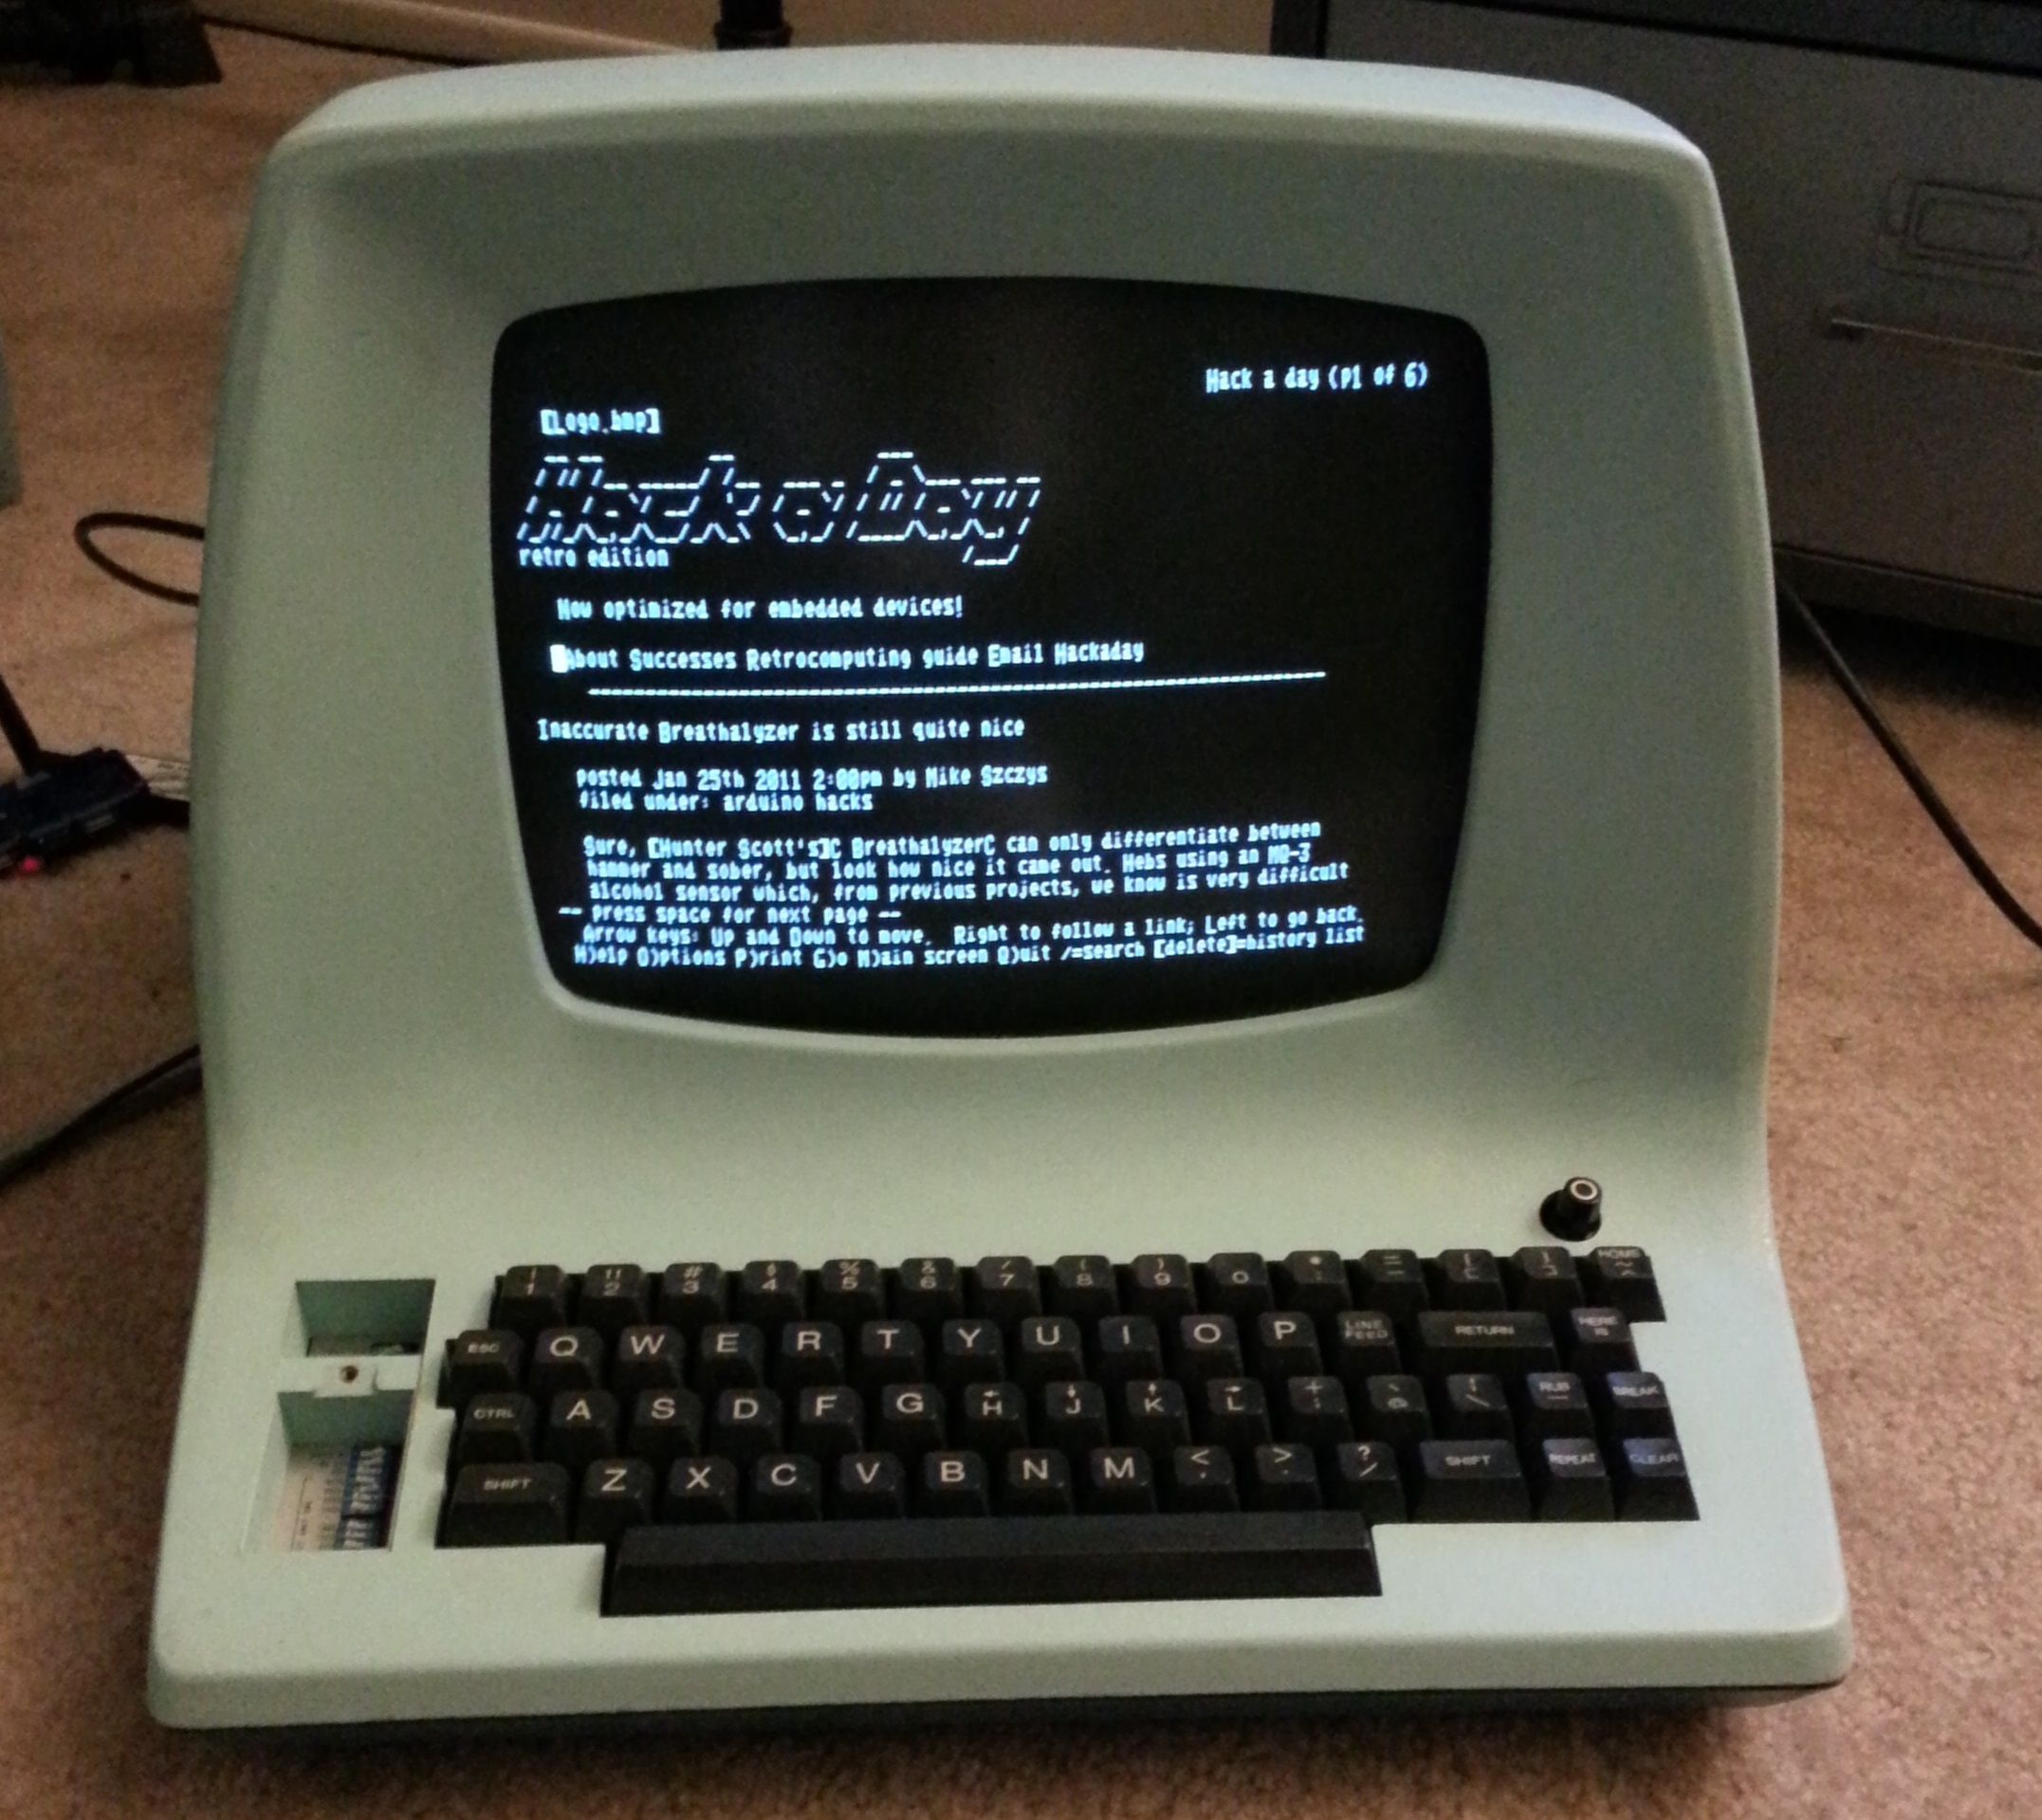
The inspiration for this build was a Lear Siegler ADM-3A terminal seen at a local computer festival. These machines had no local computing resources and were only connected to their host computer via a serial connection. The new enclosure, modeled on this design, was 3D-printed and then assembled and finished for the classic 70s look. There are a few deviations from a 70s terminal, though: notably, a flat LCD panel and a Raspberry Pi 3, which, despite being a bit limited by today’s standards, still offers orders of magnitude more computing power than the average user in the 70s would have had access to.
Continue reading “Computer Terminal Replica Inspired By 70s Hardware”