The Strangest Way To Stick PLA To Glass? With A Laser And A Bit Of Foil

Ever needed a strong yet adhesive-free way to really stick PLA to glass? Neither have we, but nevertheless there’s a way to use aluminum foil and an IR fiber laser to get a solid bond with a little laser welding between the dissimilar materials.

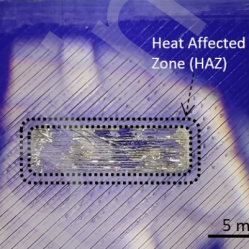
A piece of sacrificial aluminum foil bonds the PLA to glass with a form of laser welding, with precise control and very little heat to dissipate.

It turns out that aluminum can be joined to glass by using a pulsed laser process, and PLA can be joined to aluminum with a continuous wave laser process. Researchers put them together, and managed to reliably do both at once with a single industrial laser.

By putting a sacrificial sheet of thin aluminum foil between 3D printed PLA and glass, then sending the laser through the glass into the aluminum, researchers were able to bond it all together in an adhesive-free manner with precise control, and very little heat to dissipate. No surface treatment of any kind required. The bond is at least as strong as any adhesive-based solution, so there’s no compromising on strength.

When it comes to fabrication, having to apply and manage adhesives is one of the least-preferable options for sticking two things together, so there’s value in the idea of something like this.

Still, it’s certainly a niche application and we’ll likely stick to good old superglue, but we honestly didn’t know laser welding could bond aluminum to glass or to PLA, let along both at once like this.

A person putting a screw into a CNC spoil board on the left of the image. Their drill is chartreuse and black. Clamps hold a rectangular board down at all four corners. The spindle of the CNC is just visible on the right hand side of the image.

Workholding Options For The Beginner CNC Operator

Designing a file to cut on a CNC is only part of the process. You also have to keep it in place while the machine does its work. [Garrett Fromme] walks us through five different work holding techniques.

Since every project is different and stock material can vary from thin veneer to much larger pieces, there’s no one right work holding method for every project, and not all methods are applicable to all materials. A vise is great for small projects that need to be held very securely and won’t be damaged, vacuum tables can make switching pieces quick in a production environment, fasteners will hold a piece securely at the expense of your spoil board, clamps are fairly versatile but fiddly to setup, and tape and CA glue are quick but require more consumables.

[Fromme] does a quick demonstration of setups with these different methods and their limitations, which is a great place to start for the beginner CNC operator. Just like 3D printers, CNCs are a far cry from the replicators in Star Trek that can automagically create what you ask it to, but proper workholding lets you waste less material and operate the machine more safely.

Our own [Elliot Williams] had a look at how CNCs aren’t as automated as you think. If you do need some CNC clamps, you might try these printable parametric clamps, or if you want something more beautiful, give these metal toe clamps a go.

Continue reading “Workholding Options For The Beginner CNC Operator”

Raspberry Pi Test Stand Tells You Which Glues To Use

Not all glues are created equal; or rather, not every glue is good for every application. But how is one to know which glue to use in which kinds of joints? The answer to that is not always clear, but solid numbers on the comparative strength of different glues are a great place to start.

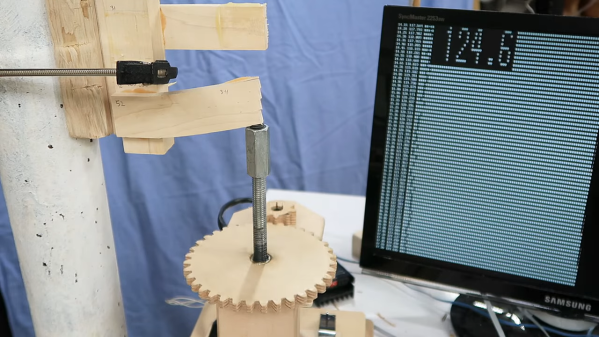
To quantify what can ordinarily be a somewhat subjective process, there’s probably no one better than woodworker and hacker [Matthias Wandel], equipped as he is with his DIY strength-tester. Using its stepper-driven power to blast apart glued lap joints, [Matthias] measured the yield point of the various adhesives using a strain gauge connected to a Raspberry Pi.

His first round of tests had some interesting results, including the usually vaunted construction adhesive ending up in a distant last place. Also performing poorly, at least relative to its reputation and the mess it can cause, was the polyurethane-based Gorilla Glue. A surprise standout in overall strength was hot glue, although that seemed to have a sort of plastic yield mode. Ever the careful empiricist, [Matthias] repeated his tests using hardwoods, with remarkably different results; it seems that glues really perform better with denser wood. He also repeated a few tests to make sure every adhesive got a fair shake. Check out the video below for the final results.

It’s always good to see experiments like this that put what we often take for granted to the test. [John] over at the Project Farm channel on YouTube does this kind of stuff too, and even did a head-to-head test of epoxy adhesives.

Continue reading “Raspberry Pi Test Stand Tells You Which Glues To Use”

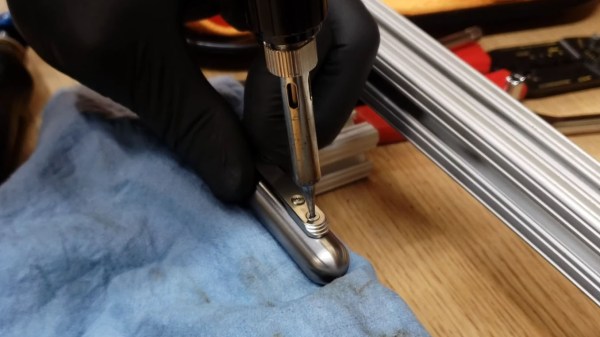
A soldering iron applied to a stuck threadlocked screw in a titanium pen

Removing Threadlocked Screws With A Soldering Iron

We’ve all been there – that last stubborn screw, the one thing between you and some real progress on a repair or restoration. It’s stuck tight with thread-locking fluid, and using more torque threatens to strip the head. Frustration mounting, drilling that sucker out is starting to seem pretty tempting. But wait! [Daniel] offers a potential solution using nothing but a soldering iron.

This tool hack is pretty simple, but all the great ones tend to be straightforward. In the video, [Daniel] is faced with a titanium Torx screw that refuses to come loose due to threadlocker, an adhesive that is applied to screws and other fasteners to prevent them coming loose. Available in a variety of strengths, thread-locking fluid is great at keeping screws where they need to be, but too much (or the wrong kind) can seize a screw permanently.

Instead of drilling out the offending screw, [Daniel] reaches for his soldering iron. By applying a significant amount of heat to the screw head, the adhesive starts to give. After heating, working the screw back and forth breaks the threadlocker, thus freeing the screw. The whole process takes just a couple of minutes, and potentially saves the repairer from destroying a screw.

The chemistry behind thermoset adhesives makes for some great bedtime reading, however the main takeaway is that threadlock fluid, while somewhat resistant to heat, will eventually become brittle enough for the screw to come loose. Unlike most adhesives, which melt under high temperature (think glue sticks), thermoset materials tend to initially harden with the application of heat, before turning brittle and breaking. While high-temperature threadlocker derivatives exist, typical Loctite-branded threadlocker (and similar products) would not appear to be able to stand the heat of a typical soldering iron.

This soldering iron hack isn’t the first we’ve featured on Hackaday – check out this method on removing enamel from magnet wire. If you’re not too squeamish, also check out our thoughts on soldering iron cauterization.

Continue reading “Removing Threadlocked Screws With A Soldering Iron”

Teardown Experts Sing Praise Of Stretch-Release Adhesives

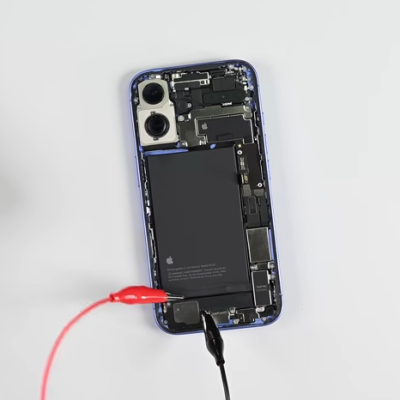
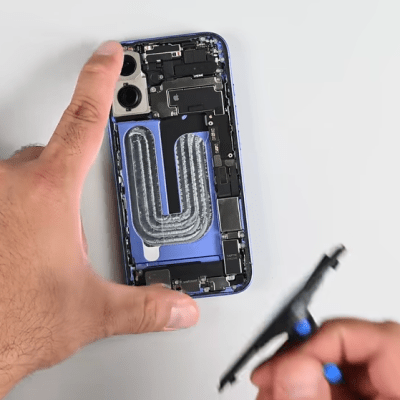
Anyone who enjoys opening up consumer electronics knows iFixit to be a valuable resource, full of reference pictures and repair procedures to help revive devices and keep them out of electronic waste. Champions of reparability, they’ve been watching in dismay as the quest for thinner and lighter devices also made them harder to fix. But they wanted to cheer a bright spot in this bleak landscape: increasing use of stretch-release adhesives.

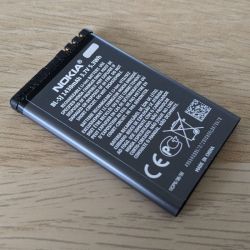
Nokia BL-50J Battery
An elegant battery, for a more civilized age.

Once upon a time batteries were designed to be user-replaceable. But that required access mechanisms, electrical connectors, and protective shells around fragile battery cells. Eliminating such overhead allowed slimmer devices, but didn’t change the fact that the battery is still likely to need replacement. We thus entered into a dark age where battery pouches were glued into devices and replacement meant fighting clingy blobs and cleaning sticky residue. Something the teardown experts at iFixit are all too familiar with.

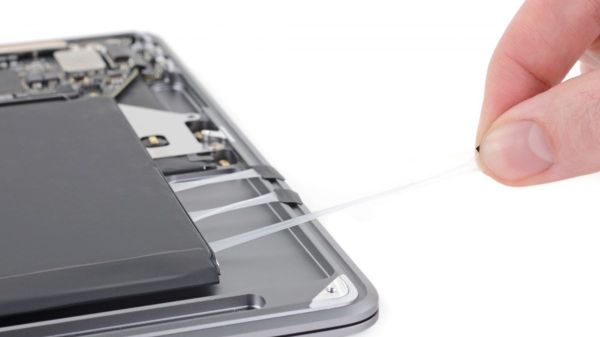
This is why they are happy to see pull tabs whenever they peer inside something, for those tabs signify the device was blessed with stretch-release adhesives. All we have to do is apply a firm and steady pull on those tabs to release their hold leaving no residue behind. We get an overview of how this magic works, with the caveat that implementation details are well into the land of patents and trade secrets.

But we do get tips on how to best remove them, and how to reapply new strips, which are important to iFixit’s mission. There’s also a detour into their impact on interior design of the device: the tabs have to be accessible, and they need room to stretch. This isn’t just a concern for design engineers, they also apply to stretch release adhesives sold to consumers. Advertising push by 3M Command and competitors have already begun, reminding people that stretch-release adhesive strips are ideal for temporary holiday decorations. They would also work well to hold batteries in our own projects, even if we aren’t their advertised targets.

Our end-of-year gift-giving traditions will mean a new wave of gadgets. And while not all of them will be easily repairable, we’re happy that this tiny bit of reparability exists. Every bit helps to stem the flow of electronics waste.

Friendly Fiberglassing: Can Hide Glue Replace Epoxy?

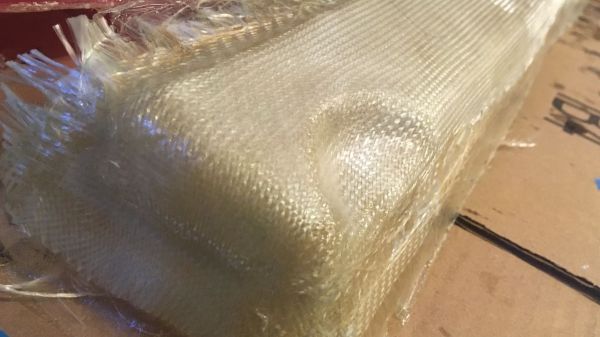
Hide glue has been around for thousands of years, and some of it is holding wood pieces three thousand years after application. It is made from animal protein, so vegetarians may want to stick to the petroleum-based adhesives. [Surjan Singh] wanted to see if its longevity made it a contender with modern epoxy by casting a couple of fiberglass car parts with the competing glues. In short, it doesn’t hold up in this situation, but it is not without merit.

Musical instrument makers and antique restorers still buy and use hide glue, but you would never expose it to heat or moisture. To its credit, hide glue doesn’t require a ventilator. All you need is boiling water and a popsicle stick, and you are in business. [Surjan] writes his findings like a narrative rather than steps, so his adventures are a delight to read. He found that a car part made with fiberglass and epoxy will withstand the weather better than the alternative because heat and humidity will soften hide glue. His Saab 96 isn’t the right application, but since it is nearly as strong as epoxy once set, you could make other fabric shapes, like a flannel nightstand or a lace coffee table, and you could shape them in the living room without toxifying yourself

No matter how you want to work with glues and substrates, Bil Herd has you covered, and here is an excellent tip for a cheap degassing setup.

Fail Of The Week: Z-Tape Is No Substitute For Solder

Here at Hackaday, we see all kinds of mechanical construction methods. Some are impressively solid and permanent, while others are obviously temporary in nature. The latter group is dominated by adhesives – sticky stuff like cyanoacrylate glue, Kapton tape, and the ever-popular hot glue. They’ve all got their uses in assembling enclosures or fixing components together mechanically, but surely they have no place in making solid electrical connections, right?

Maybe, maybe not. As [Tom Verbeure] relates, so-called Z-tape just might be an adhesive that can stand in for solder under certain circumstances. Trouble is, he couldn’t find the right conditions to make the tape work. Z-tape, more properly called “Electrically Conductive Adhesive Transfer Tape 9703”,  derives its nickname from the fact that it’s electrically conductive, but only in the Z-axis. [Tom] learned about Z-tape in [Joe FitzPatrick]’s malicious hardware prototyping workshop at the 2019 Hackaday Superconference, and decided to put it to the test.

A card from a Cisco router served as a testbed thanks to an unpopulated chip footprint. The 0.5-mm pin spacing on the TSOP-48 chip was within spec for the Z-tape, but the area of each pin was 30 times smaller than the recommended minimum bonding area. While the chip was held down mechanically by the Z-tape, only five of the 48 pins were electrically connected to the pads. Emboldened by the partial success, [Tom] tried a 28-pin SOIC chip next. The larger pins and pads were still six times smaller than the minimum, and while more of the pins ended up connected by the tape, he was unable to make all 28 connections.

Reading the datasheet for the adhesive revealed that constant pressure from a clamp or clip might be necessary for reliable connections, which suggests that gluing down SMD chips is probably not the best application for the stuff. Still, we appreciate the effort, and the fine photomicrographs [Tom] made showing the particles within the Z-tape that make it work – at least in some applications.