Poor air quality is a major problem for city dwellers the world over. Dust, smoke, particles and noxious gases from vehicles, industry and agriculture makes many megacities downright hazardous to live in. Pinpointing the source of pollution and developing strategies for mitigation requires accurate data on pollutant levels, but obtaining these numbers is not always easy.
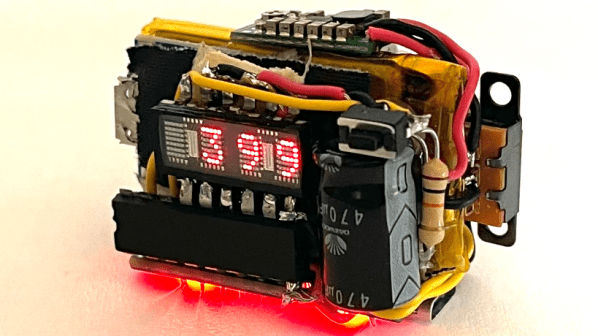
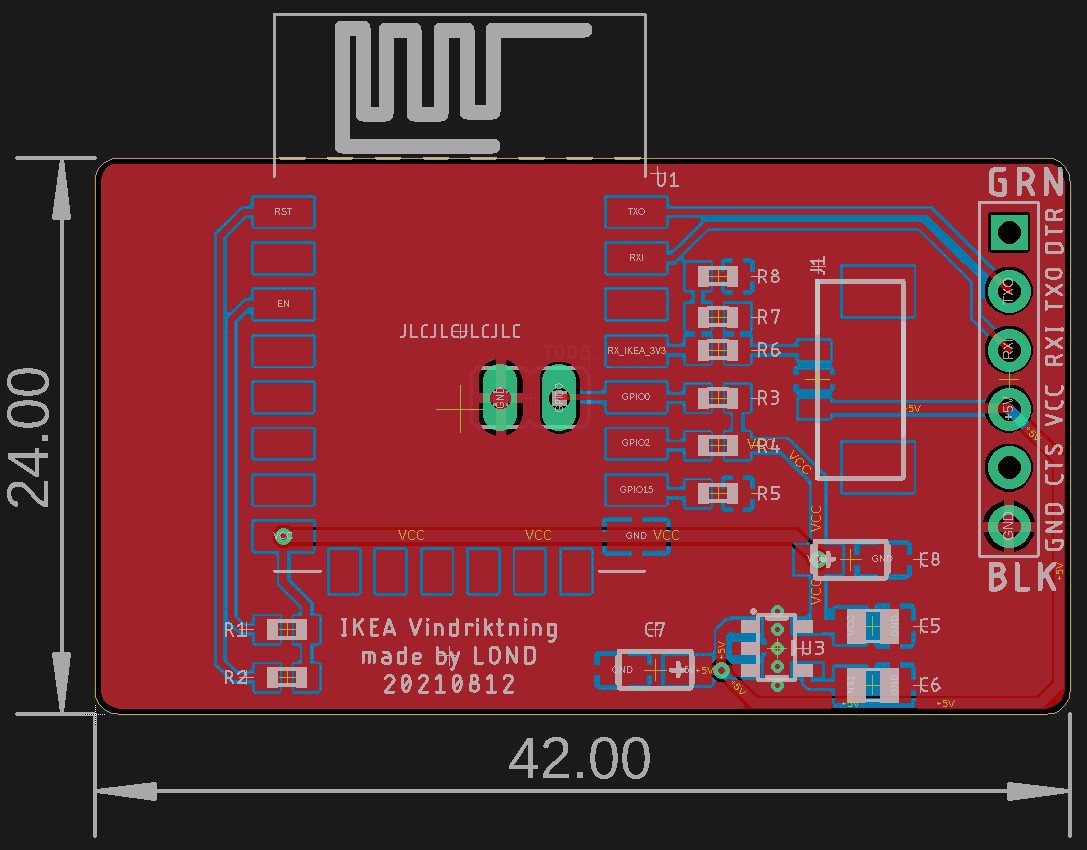
Enter CanAirIO, a citizen science project that aims to gather air quality data from around the world by putting sensors into the hands of as many people as possible. Its team has developed two different sensor nodes for this purpose: an indoor one that can measure CO2, and a mobile one that can measure particulate matter (PM) levels. Both versions are powered by an ESP32 microcontroller that reads out the air quality sensors and connects to the Internet using WiFi or BlueTooth. The data can then be shared online to create detailed maps showing local variations in air quality.
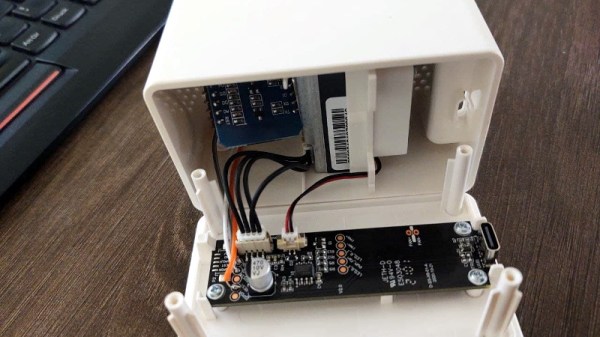
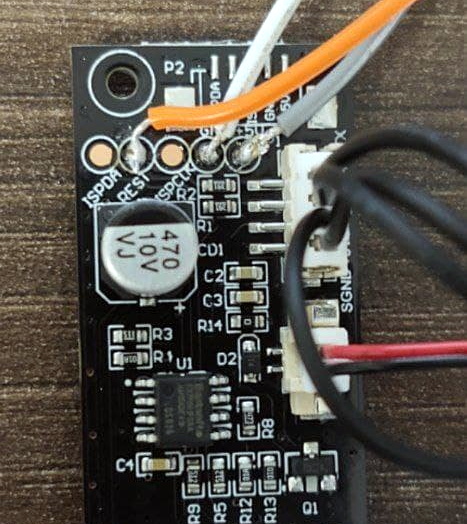
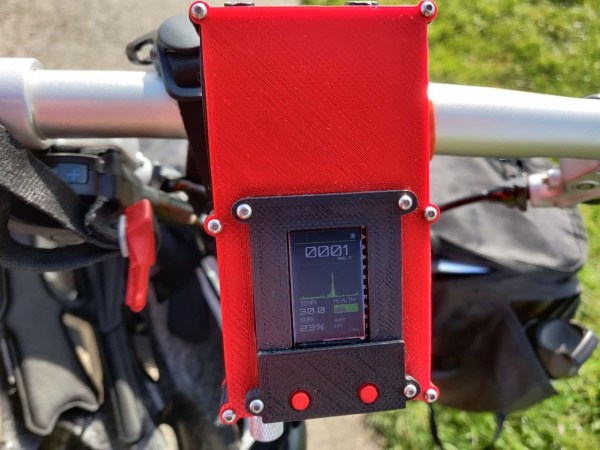
The design of the sensor nodes is fully open-source, allowing anyone with basic electronic skills to build them. The sensors are a Sensirion SCD30 for CO2 measurement and an SPS30 for PM levels. The mobile version comes with a neat 3D-printed enclosure that can be mounted on a bike’s handlebar, enabling the user to quickly gather data around their neighbourhood. A mobile app simplifies setting up the sensors and sharing the data.
The project has already been successful in gathering detailed data in the city of Bogotá, Colombia, and will no doubt prove useful in many other pollution hotspots around the world. We’ve seen similar community efforts to monitor air pollution and even radiation in various places, both showing how relatively simple devices can help to make a difference in people’s wellbeing. Continue reading “Measuring Air Quality Using Mobile Sensors For The Masses”