[Nathan] is a mobile application developer. He was recently debugging one of his new applications when he stumbled into an interesting security vulnerability while running a program called Charles. Charles is a web proxy that allows you to monitor and analyze the web traffic between your computer and the Internet. The program essentially acts as a man in the middle, allowing you to view all of the request and response data and usually giving you the ability to manipulate it.
While debugging his app, [Nathan] realized he was going to need a ride soon. After opening up the Uber app, he it occurred to him that he was still inspecting this traffic. He decided to poke around and see if he could find anything interesting. Communication from the Uber app to the Uber data center is done via HTTPS. This means that it’s encrypted to protect your information. However, if you are trying to inspect your own traffic you can use Charles to sign your own SSL certificate and decrypt all the information. That’s exactly what [Nathan] did. He doesn’t mention it in his blog post, but we have to wonder if the Uber app warned him of the invalid SSL certificate. If not, this could pose a privacy issue for other users if someone were to perform a man in the middle attack on an unsuspecting victim.
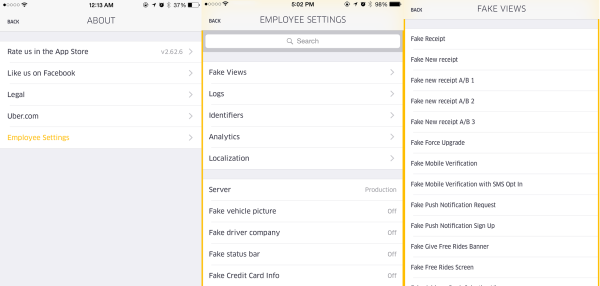
[Nathan] poked around the various requests until he saw something intriguing. There was one repeated request that is used by Uber to “receive and communicate rider location, driver availability, application configurations settings and more”. He noticed that within this request, there is a variable called “isAdmin” and it was set to false. [Nathan] used Charles to intercept this request and change the value to true. He wasn’t sure that it would do anything, but sure enough this unlocked some new features normally only accessible to Uber employees. We’re not exactly sure what these features are good for, but obviously they aren’t meant to be used by just anybody.


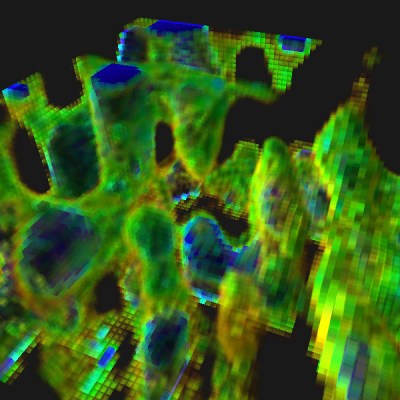
 Armed with this information, [Charles] went for broke and mounted his ESP8266 on a large gantry style mill. He took several long exposure videos of a 360x360x180mm area. The videos were extracted into layers. The whole data set could then be visualized with Voxeltastic, [Charles’] own HTML5/WEBGL based render engine. The results were


