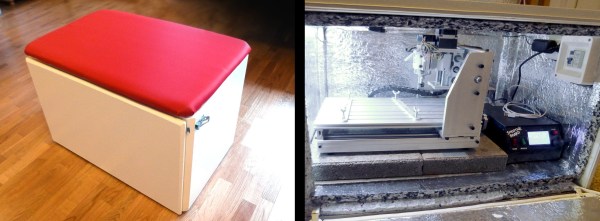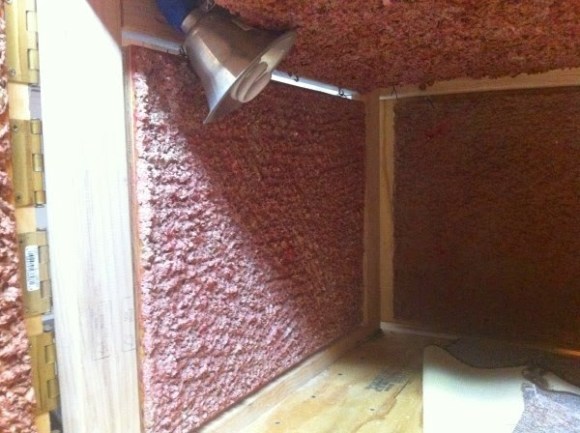
[Bart] and company over at Pumping Station One make a lot of skateboard decks. They wanted to build a CNC Router that was not only portable but had a size that was optimized for cutting skateboard decks. The project got a little out of hand and the CNC Router ended up also being a skateboard! As crazy as that sounds, the craziest part may be that they built it in just one night.
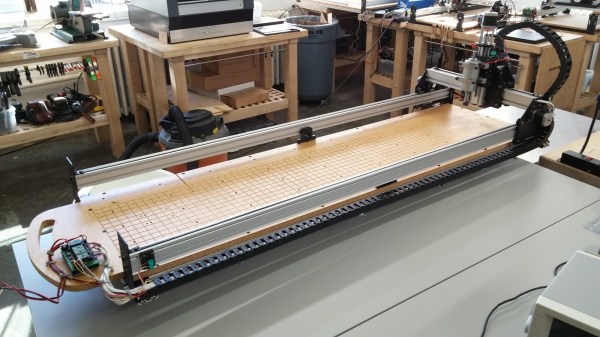
 The project started off with some stock Shapeoko 2 parts. Achieving the deck-cutting size required shortening the X Axis and tripling the length of the Y Axis resulting in a 250 x 1200mm work envelope. The DC spindle used accepts ER16 collets and has a fully variable speed control. The stand alone selectable 24/48 volt power supply has a neat DIY handle to ease transportation. Even though the router itself has skateboard trucks, it also has a handle at the front so it’s easy to grab and drag behind you.
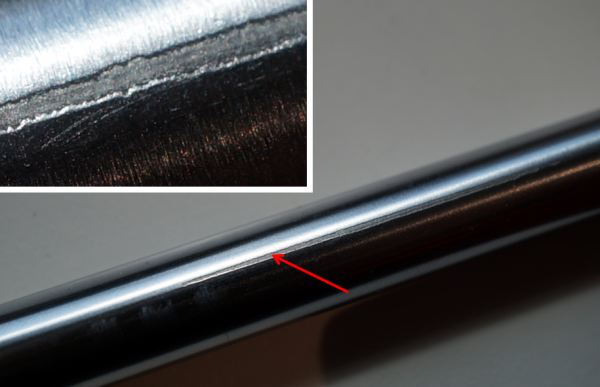
The guys that built this admit that, as a skateboard, it is kind of crappy. They do go on to mention that a 230lb dude was able to ride it without incident. As a project, however, they hit their goals on the head, ending up with an easily-transportable dedicated skateboard-deck-making CNC Router.
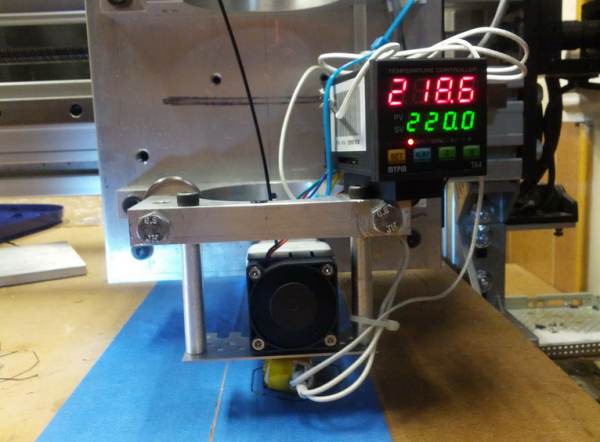
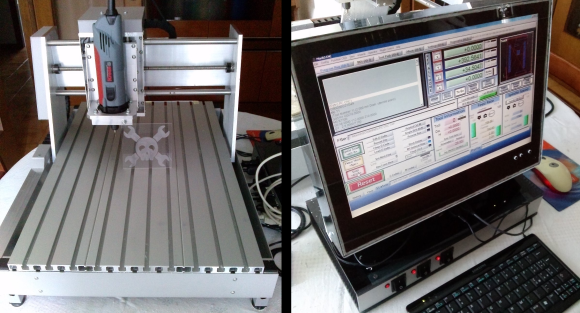
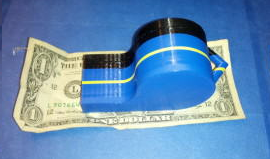 [Jon] used liked Mach3 for controlling his CNC Router so he stuck with it for printing. He’s tried a few slicers but it seems Slic3r works the best for his setup. Once the g-code is generated it is run though Mach3 to control the machine. [Jon] admits that he has a way to go with tweaking the settings and that the print speed is slower than most print-only machines due to the mass of the frame’s gantry and carriage. Even so, his huge whistle print looks pretty darn good. Check it out in the video after the break…