About a dozen old Capcom arcade titles were designed to run on a custom CPU. It was called the Kabuki, and although most of the core was a standard Z80, a significant portion of the die was dedicated to security. The problem back then was arcade board clones, and when the power was removed from a Kabuki CPU, the memory contents of this security setup were lost, the game wouldn’t play, and 20 years later, people writing emulators were tearing their hair out.
Now that these games are decades old, the on-chip security for the Kabuki CPU is a problem for those who have taken up the task of preserving these old games. However, now these CPUs can be decuicided, programming the chip and placing them in an arcade board without losing their memory contents.
Earlier we saw [ArcadeHacker] a.k.a. [Eduardo]’s efforts to resurrect these old CPUs. He was able to run new code on the Kabuki, but to run the original, unmodified ROMs that came in these arcade games required hardware. Now [ArcadeHacker] has it.
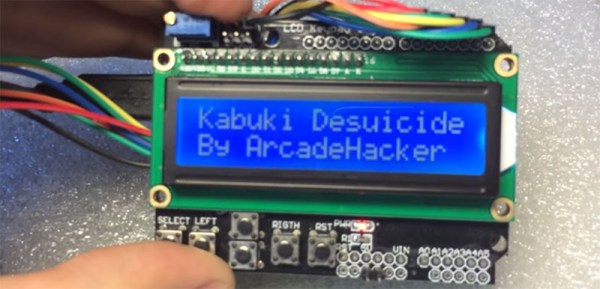
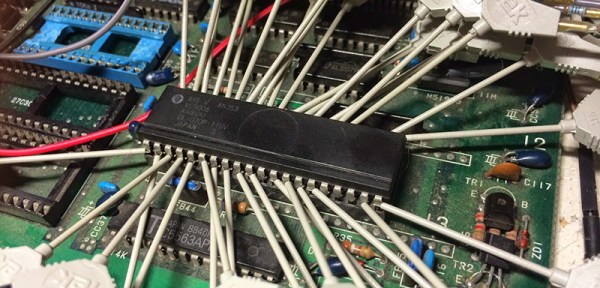
The setup consists of a chip clip that clamps over the Kabuki CPU. With a little bit of Arduino code, the security keys for original, unmodified ROMs can be flashed, put into the arcade board (where the contents of the memory are backed up by a battery), and the clip released. [ArcadeHacker] figures this is how each arcade board was programmed in the factory.
If you’re looking for an in-depth technical description of how to program a Kabuki, [ArcadeHacker] has an incredibly detailed PDF right here.
 This project is