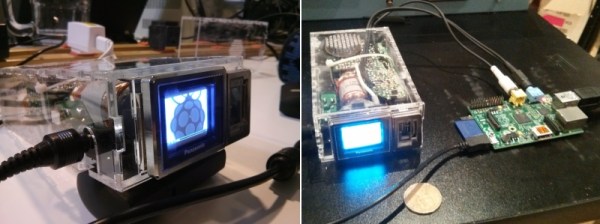
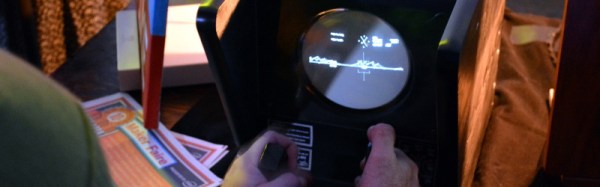
[ErikaFluff] needed an amp for her Grado open cans. Rather than build yet another boring black box, she built what may be the most awesome headphone amp ever by adding a tiny CRT which displays the current audio waveform. She packaged all this up in a customized Hammond box which makes it look like it just rolled off the line from some audiophile studio.
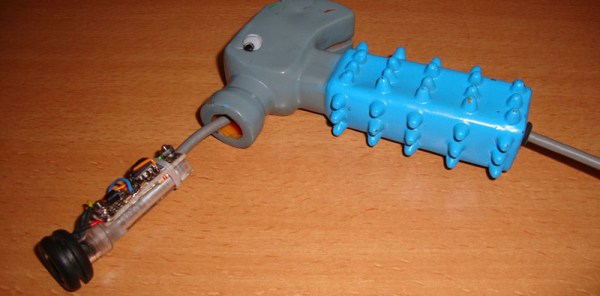
The amplifier in this case is based upon the CMoy, a common headphone amp design. [ErikaFluff] added a MOSFET on the output to drive his relatively low impedance (32 ohm) Grado headphones with reasonable volume. The CRT is from an old video camera viewfinder. Before LCDs were advanced and cheap enough to include in video cameras, CRTs were the only show in town. These tiny black and white screens use high voltage to scan an electron beam across a phosphor screen just like their bigger brethren.
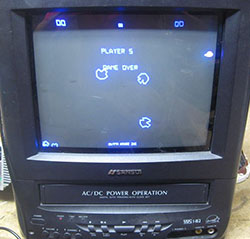
 Since she was going with an oscilloscope style vector scan rather than the raster scan the screen electronics were originally designed for, [ErikaFluff] had to create her own horizontal and vertical deflection circuits. Horizontal scan is created by a 555 timer generating a sawtooth wave at 75 Hz. Vertical deflection is via an LM386 driving a hand wound impedance matching transformer. The high voltage flyback transformer and its associated driver circuit were kept from the original CRT, though repackaged to make them as small as possible.
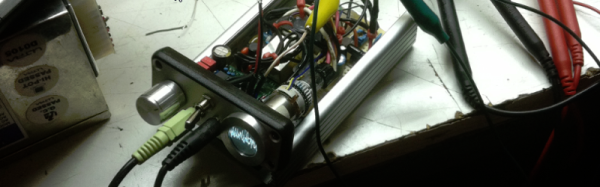
You might think that having a few thousand volts next to a sensitive audio amplifier would cause some noise issues. We also worried a bit about shorts causing unexpected shock treatments through the wearer’s ears. [ErikaFluff] says there is no need to for concern — the signal is fed to the CRT circuit through optocouplers. The audio circuit is also electrically split from the CRT and runs on a virtual ground. Judicious amounts of shielding tape keeps the two circuits isolated.
This may not be the most practical project, but we think it’s pretty darn cool. The response over on Reddit’s electronics subreddit seems to be positive as well. We hope [ErikaFluff] is sitting down when this post gets published!

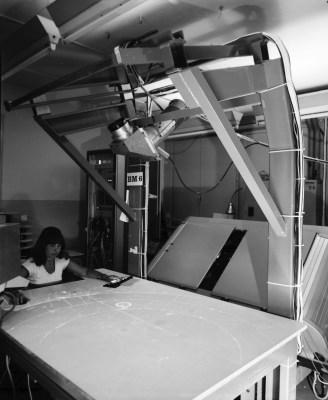 RN is no stranger to innovative display systems. That should be no surprise, considering CERN staff are trying to work with massive amounts of data collected by thousands of scientists. Here we see one of those systems, a projection table of some sort.