The double-slit experiment, first performed by [Thomas Young] in 1801 provided the first definitive proof of the dual wave-particle nature of photons. A similar experiment can be performed that shows diffraction at optical frequencies by changing the reflectivity of a film of indium-tin-oxide (ITO), as demonstrated in an April 2024 paper (preprint) by [Romain Tirole] et al. as published in Nature Physics. The reflectivity of a 40 nm thick film of ITO deposited on a glass surface is altered with 225 femtosecond pulses from a 230.2 THz (1300 nm) laser, creating temporal ‘slits’.

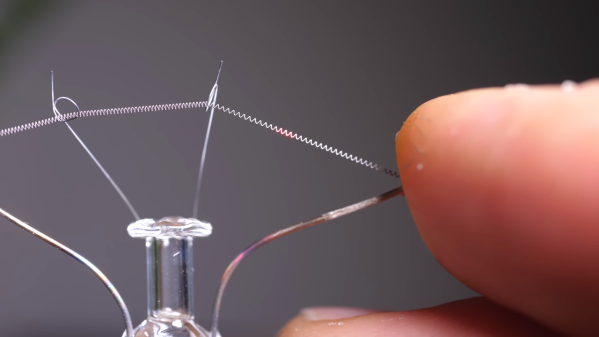
The diffraction in this case occurs in the temporal domain, creating frequencies in the frequency spectrum when a separate laser applies a brief probing pulse. The effect of this can be seen most clearly in an interferogram (see excerpt at the right). Perhaps the most interesting finding during the experiment was how quickly and easily the ITO layer’s reflectivity could be altered. With ITO being a very commonly used composition material that provides properties such as electrical conductivity and optical transparency which are incredibly useful for windows, displays and touch panels.
Although practical applications for temporal diffraction in the optical or other domains aren’t immediately obvious, much like [Young]’s original experiment the implications are likely to be felt (much) later.
Featured image: the conventional and temporal double-slit experiments, with experimental setup (G). (Credit: Tirole et al., Nature Physics, 2024)