[Adan] had an old Game Boy sitting around, and without anything better to do decided to investigate the link cable protocol with a microcontroller. He had a Stellaris Launchpad for the task, but initially had no project in mind. What he came up for this adventure in serial protocols is a first gen Pokemon trade spoofer that allows him to obtain pokemon without having two Game Boys, or for the weird ones out there, “friends.”
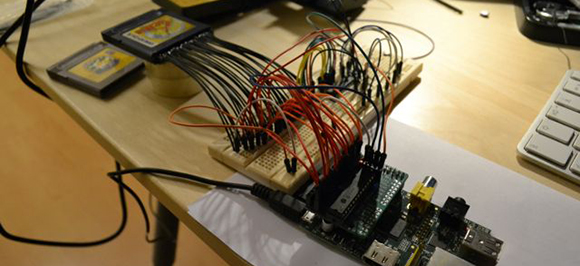
The Game Boy link protocol is extremely well documented (dead link, try Internet Archive), so getting data from the Game Boy to the Launchpad was as simple as a soldering up an old link cable connector to a piece of perf board. After figuring out the electronics, [Adan] looked at what happened when two Pokemon games tried to trade pokemon. When two Game Boys are linked, there are two in-game options: trade or battle. Looking at the data coming after the ‘trade’ option, [Adan] found something that could possibly be the data structure of the Pokemon being sent. He reverse-engineered this all by himself before discovering this is also well documented.
Bringing everything together, [Adan] figured out how to trade non-existent Pokemon with a small dev board. Right now he’s only transmitting Pokemon that are hard-coded on the Launchpad, but it’s very possible to transmit the Pokemon values in real-time over USB.
Thanks [Dan] for sending this in, and no, we don’t know what’s up with the influx of Pokemon posts over the last week. Video of the spoof below.