 There’s no questioning [Throaty Mumbo]’s uncanny skill at answering questions that nobody ever asked, such as whether it’s possible to watch YouTube videos on a Nintendo Game Boy Color handheld gaming system.
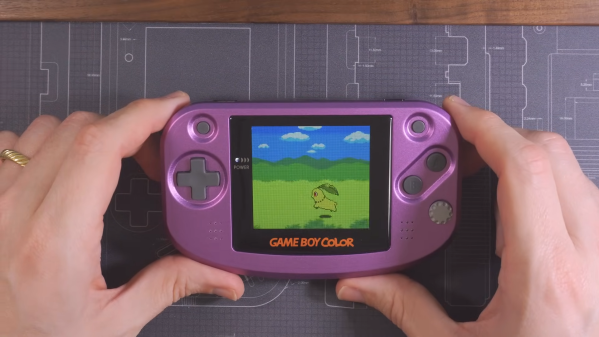
Of course the answer here is a resounding ‘sorta’, loosely defined by what you mean with ‘watch’ and ‘video’ exactly. For the impatient there’s the GitHub project page with the project summary, along with a detailed video containing hijinks and a playback demo on real Game Boy Color hardware with the cobbled-together GBCTube cartridge.
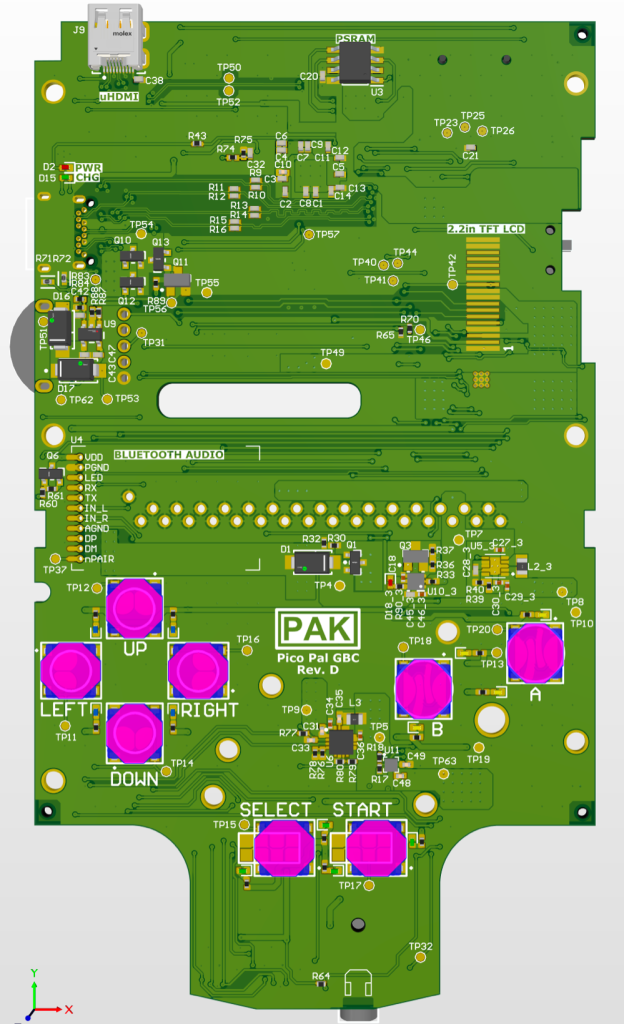
The nice thing about these cartridge-based gaming systems is that you get direct access to the system’s hardware via the cartridge bus, with for systems like the GBC a basic cartridge PCB readily available if you’re feeling that prototyping itch.
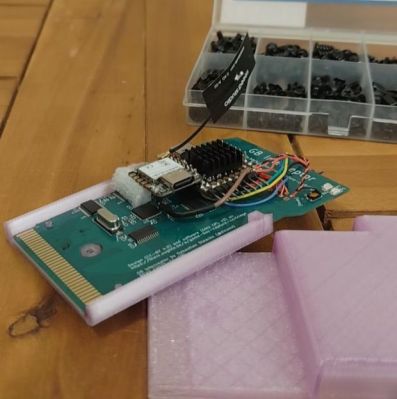
Such a cartridge breakout board for the GBC was thus used as the core of this project, with an ESP32-C6 acting solely as Wi-Fi bridge for the RP2350B MCU which handles basic player firmware and bridging duty between the GBC and the streamed video data from the host PC. It’s the latter does the heavy lifting of wrangling the YouTube experience into something that sort of works on the GBC’s amazing, very vibrant, backlight-free 160×144 resolution color LCD.
With the cartridge inserted you can search for a video title on the GBC, select a video which is then downloaded with yt-dlp on the host PC and prepared for streaming. Audio is handled by the RP2350B to free up CPU cycles on the GBC, for which a separate speaker is slapped into the cartridge for high-fidelity mostly-synced audio.
Perhaps the most fascinating question that one is left with is whether a more powerful Espressif MCU like e.g. the ESP32-S31 could combine all these tasks into a single package. Not because there’s a particular reason to do so, but more out of sheer morbid curiosity, perhaps.
Continue reading “Watch YouTube On A Game Boy Color With A Special Cartridge”