One of the best things about having your amateur radio license is that it allows you to legally build and operate transmitters. If you want to build a full-featured single-sideband rig with digital modes, have at it. But there’s a lot of fun to be had and a lot to learn from minimalist builds like this Michigan Mighty-Mite one-transistor 80-meter band transmitter.
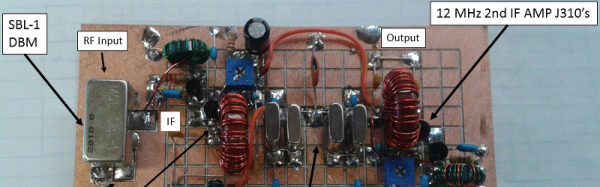
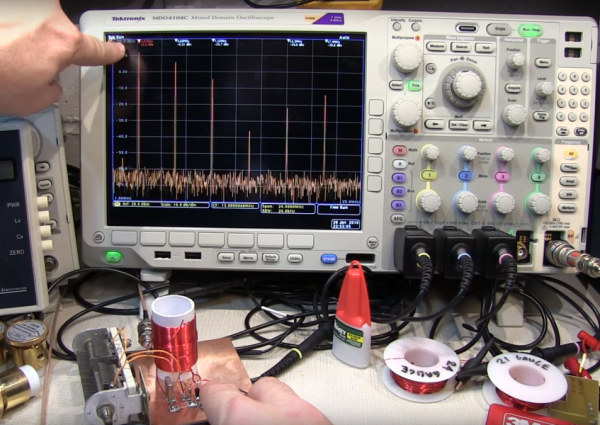
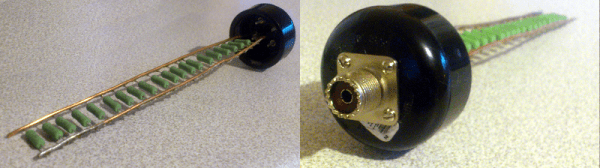
If the MMM moniker sounds familiar, it may be because of this recent post. And in fact, [W2AEW]’s build was inspired by the same SolderSmoke blog posts that started [Paul Hodges] on the road to his breadboard and beer can build. [W2AEW]’s build is a bit sleeker, to be sure, but where the video really shines is in the exploration and improvement of the signal quality. The basic Mighty-Mite outputs a pretty dirty signal – [W2AEW]’s scope revealed 5 major harmonic spikes, and what was supposed to be a nice sine wave was full of divots and potholes. There’s only so much one transistor, a colorburst crystal and a couple of capacitors can do, so the video treats us to an explanation of the design of the low-pass filter needed to get rid of the harmonics and clean up the output into a nice solid sine wave.
If your Morse skills aren’t where they should be to take advantage of the Might-Mite’s CW-only mode, then you’ll need to look at other modulations. Maybe a tiny FM transmitter would suit your needs better?

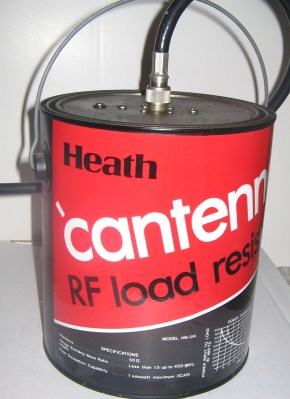 The Cantenna (not the Pringle’s kind; see right) was a famous dummy load design when Heathkit was in business. It was a single carbon rod immersed in a paint can full transformer oil (which we now know was full of