Every time we look at the little short Z axis of our CNC mill, we think about converting a drill press to a mill. In theory, it seems like it ought to be easy, but we never quite get around to it. [AvE] did get around to it and made his usual entertaining video about it that you can see below. If you haven’t seen any of [AvE’s] videos before, be warned: there is a little colorful language in a spot or two.
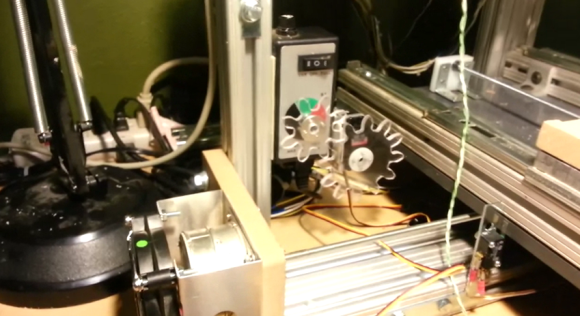
This isn’t a CNC mill, by the way, although we suspect you could convert it. Essentially, he adds a spindle and an XY table to a Ryobi drill press. It sounds simple, but getting everything to work did take a few tricks, including a blow torch.
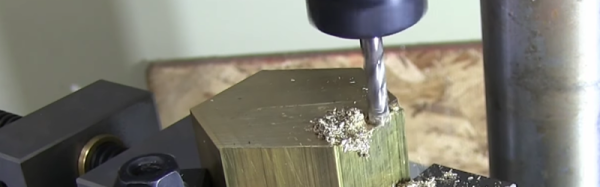
Actually, turns out the blow torch didn’t really do it, but we won’t spoil the final resolution to the problem. Once it was resolved, though, he did manage to do some actual milling, accompanied by some music we wouldn’t associate with [AvE].
Although billed as a “poor man’s” build, the XY table alone was about $200. So add in the cost of the drill press, the spindle, and the mill and this is still a fair chunk of cash. We’d love to see it compared to a Harbor Freight milling vise. We suspect the Harbor Freight vise might not be as good, but is the difference worth the $130 difference in price?
We’ve seen this kind of conversion done before without the colorful language. If you do this conversion and want some practice, why not build a magnetic carabiner?