This Is A 3D Ink Jet Printer

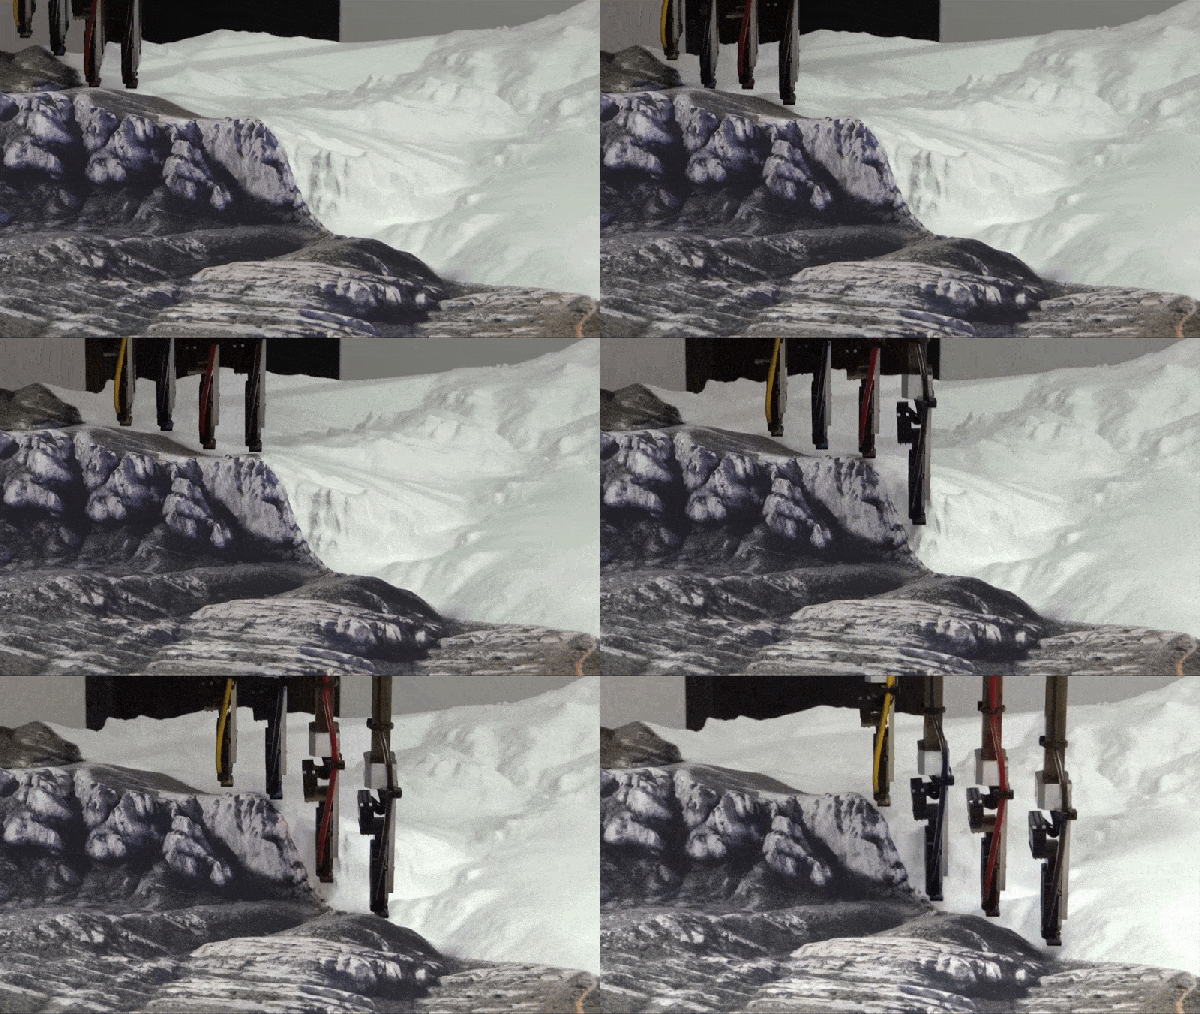
We spend a lot of time thinking of how to create 3D objects, but what about being able to print full color graphics on the objects we create? This isn’t just multicolor, this is full-color! Here’s one elegant solution that uses ink jets to print full color images on 3D terrain models.

Admittedly we are very late to the party on this one as the technology was spotted on season 22, episode 7 of How It’s Made that aired way back in 2013. The segment shows terrain models — think of the physical contour map under glass that you might see at a National Park or at the main lodge of a ski resort. It’s easy enough to envision how the elevation is carved out of foam by a CNC. But the application of color printing to those surfaces is what caught our eye this time around. It’s a custom rig that a company called Solid Terrain Modeling built for this purpose. Since the height at any point on the work material is already known from the milling process, four ink heads (black, cyan, magenta, yellow) have been added to individual Z-axis actuators, applying a raster image as they traverse the surface.

Part of what makes this work is the post-processing steps that follow milling. The model is very carefully cleared of debris before being sprayed with primer. Another coat of an undetermined material (“a specialty coating to receive the ink”) gets the piece ready for the ink. The final step after printing is a protective clear coat. In the How It’s Made episode, buildings and other structures are then 3D-printed and added.

It seems like the trick is to get the heads to have as small of a footprint as possible for clearance when printing in sloped areas. We’re not experts in all the available consumer ink-jet printers out there, but finding a setup where the heads are separated from the reservoirs would be key. Watching this segment made us so excited to think of the person/people who got to hack this rig together as part of their job.

Looking for other ways to abuse ink jet parts? [Sprite_TM] came up with a way to make them handheld so you print on anything from latte foam to your buddy’s forearm. There’s no better name for that than the Magic Paintbrush.

Continue reading “This Is A 3D Ink Jet Printer”

Soon… Inkjet Your Circuit Boards

Printed circuit board fabrication — especially in basements and garages — have been transformed by the computer revolution. Before that, people would use a permanent marker or little decals to layout circuit boards prior to etching. Sometimes, they’d do it on film and use a photo process, but they did make decals that you applied directly to the board to resist the etch. Now a team from Georgia Tech, University of Tokyo, Carnegie Mellon, and the University of Nebraska has brought things full circle. Their process inkjet prints silver traces on a substrate that they can then transfer to a circuit board — no etching required.

They start with a standard Epson inkjet with cartridges that have silver-bearing ink. The patterns print on a transfer paper that ensures the particles fuse so there’s no sintering step required to make sure the traces are all conductive. A sticky backing is applied and peels the pattern off the transfer paper. You can see more in the video below.

Continue reading “Soon… Inkjet Your Circuit Boards”

Heavily Hacked Printer For DIY PCBs

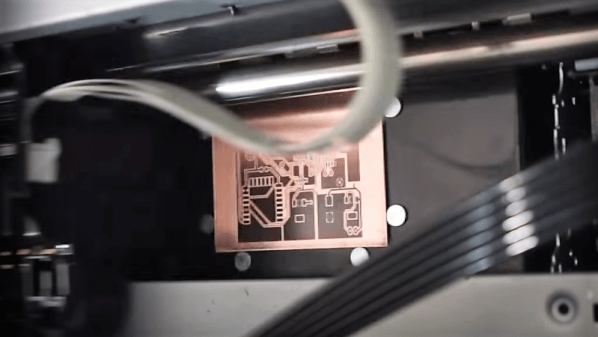
Sometimes we get tips that only leave us guessing as to how — and sometimes why — a project was built. Such is the case with this PCB printer; in this case, the build specifics are the only thing in question, because it puts out some pretty impressive PCBs.

All we have to go on is the video after the break, which despite an exhaustive minutes-long search appears to be the only documentation [Androkavo] did for this build. The captions tell us that the printer is built around the guts from an Epson Stylus Photo 1390 printer. There’s no evidence of that from the outside, as every bit of the printer has been built into a custom enclosure. The paper handling gear has been replaced by an A3-sized heated flatbed, adjustable in the Z-axis to accommodate varying board thicknesses. The bed runs on linear rails that appear custom-made. Under the hood, the ink cartridges have been replaced with outboard ink bottles in any color you want as long as it’s black. The video shows some test prints down to 0.1 mm traces with 0.1 mm pitch — those were a little dodgy, but at a 0.2 mm pitch, the finest traces came out great. The boards were etched in the usual way with great results; we wonder if the printer could be modified to print resist and silkscreens too.

[Androkavo] seems to have quite a few interesting projects in his YouTube channel, one of which — this wooden digital clock — we featured recently. We’d love to learn more about this printer build, though. Hopefully [Androkavo] will see this and comment below.

Continue reading “Heavily Hacked Printer For DIY PCBs”

Re-manufacturing Inkjet Cartridges For 3d Printing


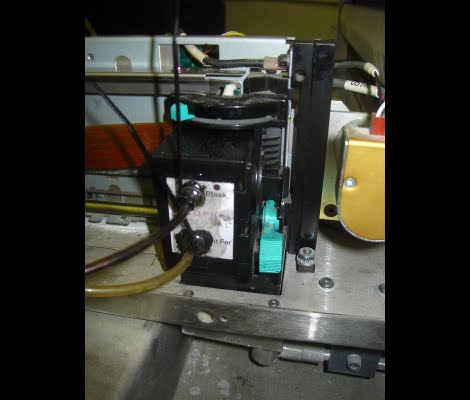
[Nullset] uses inkjet printer technology for his 3D printing needs. We usually think of hot-plastic printing like the RepRap or Makerbot when we hear about rapid prototyping, but this setup uses a liquid bonding agent to turn powder into a solid structure. Standard inkjet cartridges can be used to precisely place the bonding agent, but it’s hard on the heads and you have to replace them often. [Nullset] is getting pretty good at it, and decided to write a tutorial on the modifications necessary to print with bonding liquid.

At its core, the method injects binder into the cartridge through one port while using a second for drainage. [Nullset] found that the needle fittings used to inflate a basketball work great for this. He drills a couple of holes that the threaded end of the needles fit into. That connection is sealed with some epoxy, and the tubing that delivers the binder is zip-tied to the needles. A bit of purging is necessary to get rid of any old ink, but after the initial flush you’ll be up and running pretty quickly. He figures the whole process can be one in around 10 minutes once you get the hang of it.