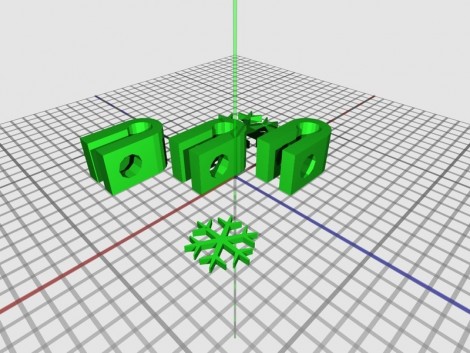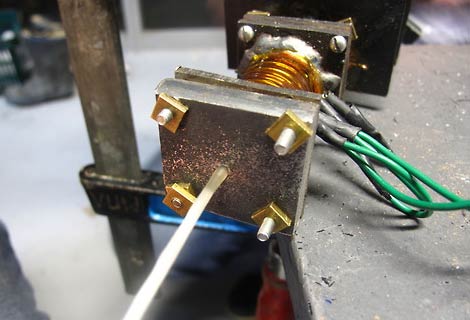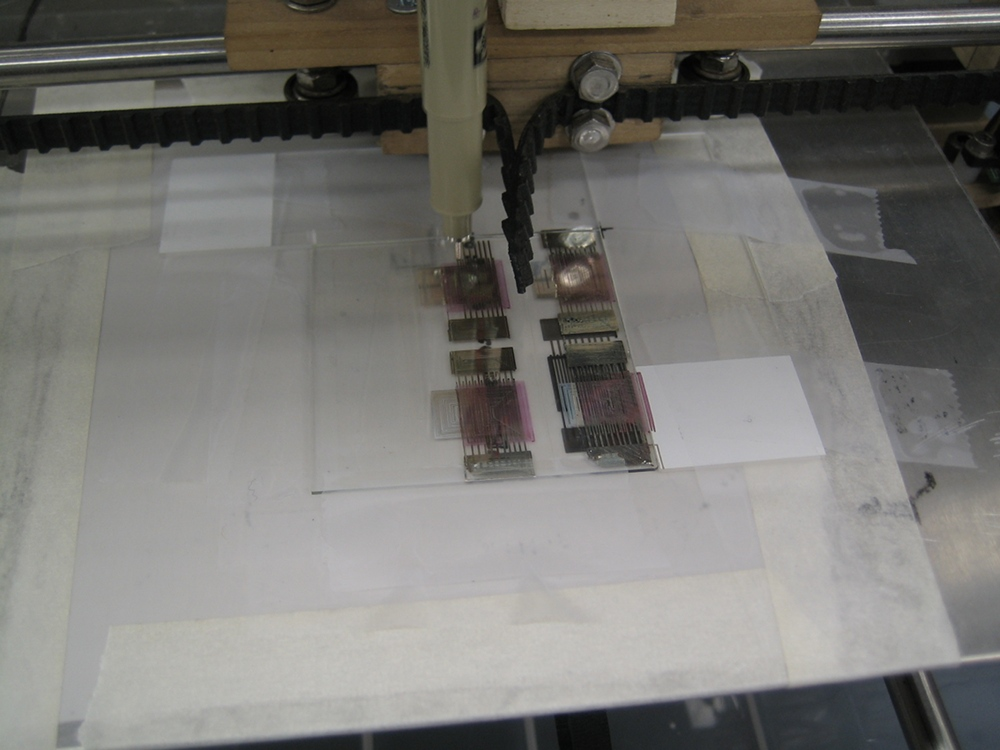
[Mr. Kim] and [John Sarik] made a presentation(pdf) at last weekend’s Botacon conference on how they made organic field-effect transistors (OFETs). A wooden RepRap, the fancifully named Unicorn from Makerbot (or printed from Thingiverse), hacked felt pen, a handful of chemicals, and a couple of pieces of lab equipment were needed to print (plot) out transistors. We were unable to attend the conference, so this is what we inferred from the slides. Silver ink is printed onto a glass slide to form the gate regions, cured and partially masked-off. A layer of CP1 Resin is spin-coated onto the slide to form the dielectric barrier between the gate and the semiconductor, the drain, and source regions. Silver ink is once again used, this time to print out the drain and source regions. The last thing printed is P3HT dissolved in toluene to form the semiconductor region. It would be interesting to see this process modified so that all coatings and curing can be done without removing the slide from the printer.
makerbot79 Articles
The Twelve Days Of… Self-replicating
Okay, it’s more like the 23 days but who’s counting? [Kliment] is giving the gift of self-replication this holiday season by uploading one new printable part a day. If you follow along and print each one you’ll have a Prusa Mendel by Christmas (this started on 12/2 so you’ll need to catch up). The Prusa is a variation on the Mendel that uses bushings wherever possible, reducing the need for bearings down to just two.
So yeah, you need to have access to a 3D printer in order to make the parts for this 3D printer, but that’s how it always works. [Kliment] has gone the distance to make this little exercise enjoyable. The parts that take longer to print are reserved for the weekends, some have been altered to include a holiday theme, and all of them have been optimized to fit on a Makerbot build platform.
[Thanks Christopher]
3D Printing With LEGO
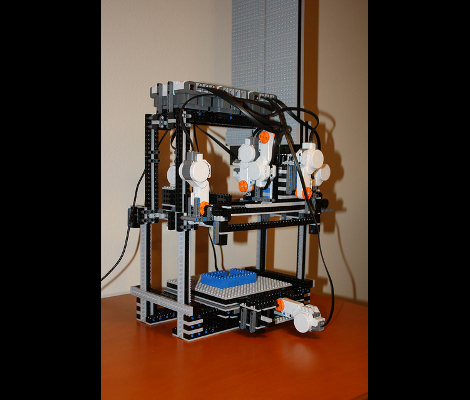
With 2400 LEGO bricks and a lot of patience, [Will Gorman] built a LEGO 3D printer. It’s similar to a RepRap or a Makerbot, but instead of extruding plastic, it uses pre-extruded building blocks (aka LEGO bricks). The grey wall extending far above the unit itself is a feed magazine which holds the raw material. A Java application takes an MLCad file and translates it into building instructions for the printer. Those instructions are then sent to the device via USB. See it happen after the break.
Now this just needs to be combined with the LEGO sorting machine for an inexhaustible supply of bricks.
Bronze Casting With MakerBot
That, dear readers, is the smell of a new Hackspace opening up in Davenport Iowa. It is also the lovely scent of burning plastic. Because how do you celebrate a new Hackerspace? By casting bronze coins of course!
Begin by having a MakerBot extrude plastic coins, then compact the plastic coin in sand to produce a mold. Heat up your bronze in a trashcan furnace and pour it into the mold. The plastic melts away and you’re left with a bronze coin.
There are probably some safety measures and precautions that should be followed as well…
Using Makerbot For Dishwasher Repair
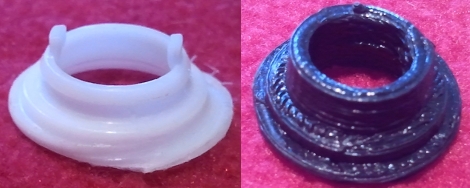
[Daryll Strauss’] dishwasher had some problems that he traced to a worn out part on the upper spinning arm. The hackerspace he belongs to has a Makerbot and he though this would be the perfect opportunity to print his own replacement part. He picked up some inexpensive digital calipers and set to work mapping out the dimensions of the broken piece. He took his hand-drawn cross section and built a replica part in Blender. Once he had it just right he generated the g-code and printed the part. His replacement works very well, and it’s a bit thicker (by design) than the original so hopefully that means it will hold up longer.
Recyclebot Digests Milk Jugs To Feed MakerBot
The old saying, “garbage in, garbage out” may need to be re-evaluated. Students at Victoria University of Wellington are developing a machine that recycles old milk jugs, extruding an HDPE plastic filament that can then be fed into a MakerBot for 3D printing.
The process involves grinding the plastic into small pieces, then pressing these through a heater and extruder plate to produce a continuous bead of the proper diameter for the MakerBot. Nichrome wire — the stuff of hair dryers and toasters — forms the heating element, and this must be regulated within a specific temperature range for different plastics. The initial grinder design is hand-cranked, but they are working toward a fully automated system. It appears that the machine could also recycle old MakerBot output, provided the grinder has sufficient torque.
3D Printed MakerBot
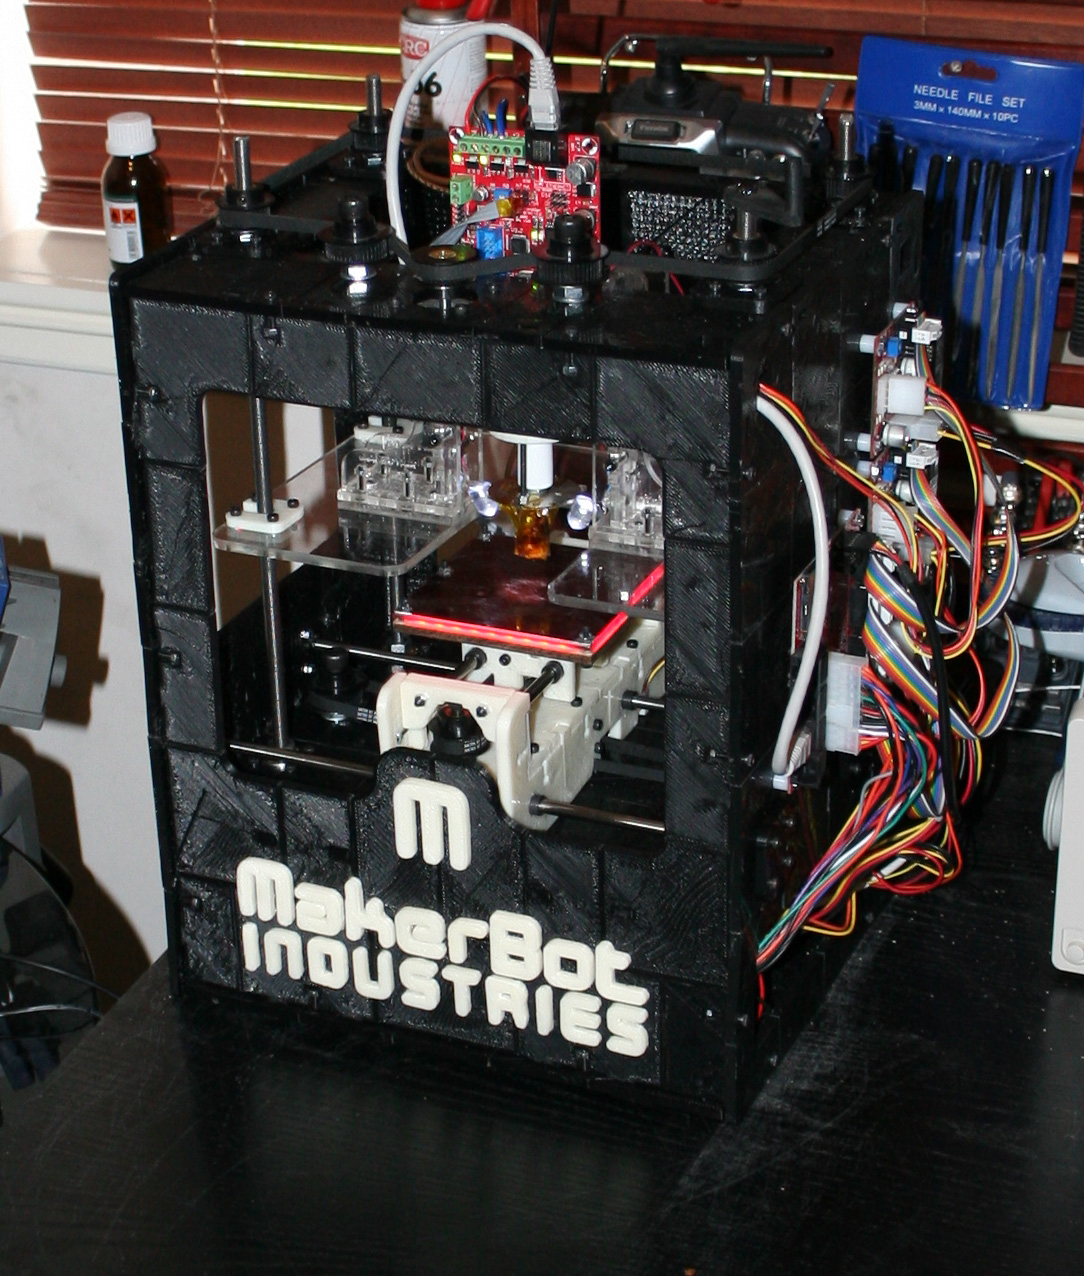
[Webca] has made a 3D printed MakerBot with his MakerBot. Using five pounds of plastic, the design replaces all of the plywood used to create a regular MakerBot. This complements the existing designs for the 3D printed extruders, dinos, and other parts already on Thingiverse. An interesting mile marker in the history of 3D printing. We might make one after we make a Mendel and tons of Hack a Day Badges. We also look forward to improvements people will contribute to the design such as using less plastic or a parameterized design to make a really big (or small) MakerBot.