Faux Silkscreen On A PCB Made With A Laser Cutter

If you’re getting PCBs professionally made, silkscreen usually comes free as part of the package. However, if you’re making your own, the job is on you. [Tony Goacher] makes his own PCBs on a CNC router, so he’s not getting any silkscreening as part of that bargain. But he wondered—could he do something analogous with a laser cutter?

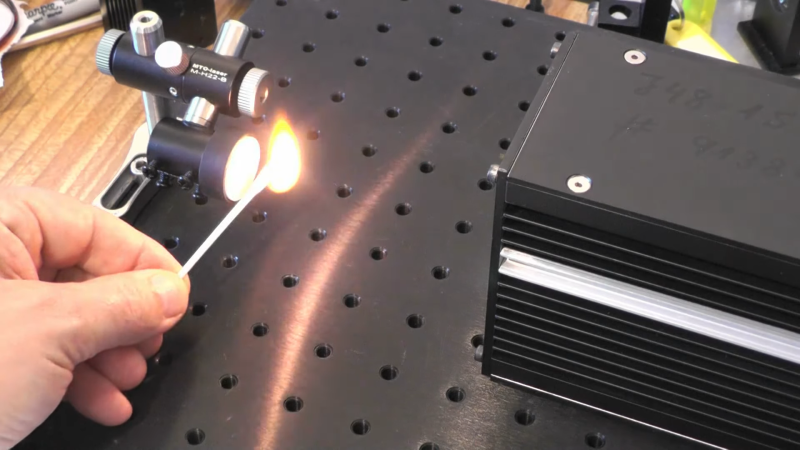
The answer is yes. The silkscreen layer was first exported from DesignSpark, with the file then sent to LightBurn to prep it for laser cutting. The board outline layer was first engraved on to a piece of scrap as an alignment aid. Then, the board was placed in the laser cutter, with the silkscreen scorched directly on to the fiberglass.

The results are encouraging, if imperfect. [Tony] says he ran at “quite fast speed at quite high power.” The markings are all there, but they’re a little melty and difficult to read. He noted at lower speeds and lower power, the results were a bit more readable.

PCBs aren’t really an ideal engraving or laser marking material, but this technique could be servicable for some basic markings on DIY PCBs. We look forward to seeing how [Tony] improves the process in future. Video after the break.
Continue reading “Faux Silkscreen On A PCB Made With A Laser Cutter”

Inside An EBay Marking Laser

When it comes to trolling eBay for cool stuff, some people have all the luck. Whereas all we ever seem to come across is counterfeit chips and obviously broken gear listed as, “good condition, powers on”, [Les Wright] actually managed to get more than he bargained for with one of his recent eBay purchases.

In his video teardown and tour of an industrial marking laser, [Les] suggests that he was really just in it for the optics — which is not a surprise, given his interest in optics in general and lasers in particular. The 20-W CO2 laser once etched barcodes and the like into products on assembly lines, but with a 2009 date code of its own, it was a safe bet that it was pitched due to a burned-out laser tube. But there were still high-quality IR optics and a precision X-Y galvanometer assembly to be harvested, so [Les] pressed on.

The laser itself ended up being built around a Synrad RF-stimulated CO2 tube. By a happy accident, [Les] found that the laser actually still works, at least most of the time. There appears to be an intermittent problem with the RF driver, but the laser works long enough to release the magic smoke from anything combustible that gets in its way. The galvos work too — [Les] was able to drive them with a Teensy and a couple of open-source libraries.

Galvos, lenses worth more than $800, and a working laser tube — not a bad haul. We’ll be following along to see what [Les] makes of this booty. Continue reading “Inside An EBay Marking Laser”

caliper jaw tools

Printable Caliper Jaws Increase Precision, Deflect Derision

If you’ve watched as many machining videos as we have, no doubt you’ve seen someone commit the cardinal sin of metalworking: using caliper jaws to scratch a mark into metal. Even if it’s a cheap Harbor Freight caliper rather than an expensive Starrett or Mitutoyo tool being abused, derision and scorn predictably rain down upon the hapless sinner’s head.

The criticism is not without its merit, of course. Recognizing this, [Nelson Stoldt] came up with these clamp-on nosepieces designed to turn calipers into a better marking tool. Using stock calipers as marking gauges always introduces some error, since the jaws are equal lengths and thus have to be held at a slight angle to the workpiece in order to make a mark. The caliper jaws correct for this admittedly negligible error by extending one jaw, allowing it to ride on a reference face while the other jaw remains perpendicular to the workpiece. As a bonus, the short jaw has a slot to mount a steel marking knife, saving the caliper jaws from damage.

[Nelson] chose to 3D-print his caliper jaws, but they could just as easily be milled from solid stock to make them a little more durable. Then again, you could always 3D-print the calipers in the first place, and integrate these jaws right into them.

How Do You Etch Something You Can’t Move?

We probably don’t need to tell this to the average Hackaday reader, but we’re living in a largely disposable society. Far too many things are built as cheaply as possible, either because manufacturers know you won’t keep it for long, or because they don’t want you to. Of course, the choice if yours if you wish to you accept this lifestyle or not.

Like many of us, [Erik] does not. When the painted markings on his stove become so worn that he couldn’t see them clearly, he wasn’t about to hop off to the appliance store to buy a new one. He decided to take things into his own hands and fix the poor job the original manufacturers did in the first place. Rather than paint on new markings, he put science to work and electroetched them into the metal.

Whether or not you’ve got a stove that needs some sprucing up, this technique is absolutely something worth adding to your box of tricks. Using the same methods that [Erik] did in his kitchen, you could etch an awesome control panel for your next device.

So how did he do it? Despite the scary multisyllabic name, it’s actually quite easy. Normally the piece to be etched would go into a bath of salt water for this process, but obviously that wasn’t going to work here. So [Erik] clipped the positive clamp of a 12 V battery charger to the stove itself, and in the negative clamp put a piece of gauze soaked in salt water. Touching the gauze to the stove would then eat away the metal at the point of contact. All he needed to complete the project were some stencils he made on a vinyl cutter.

We’ve previously covered using electricity to etch metal in the workshop, as well as the gorgeous results that are possible with acid etched brass. Next time you’re looking to make some permanent marks in a piece of metal, perhaps you should give etching a try.

[via /r/DIY]