If you’re into hacking hardware and bending light to your will, [Shoaib Mustafa]’s latest project is bound to spike your curiosity. Combining lasers to project multi-colored beams onto a screen is ambitious enough, but doing it with a galvanomirror, STM32 microcontroller, and mostly scratch-built components? That’s next-level tinkering. This project isn’t just a feast for the eyes—it’s a adventure of control algorithms, hardware hacks, and the occasional ‘oops, that didn’t work.’ You can follow [Shoaib]’s build log and join the journey here.
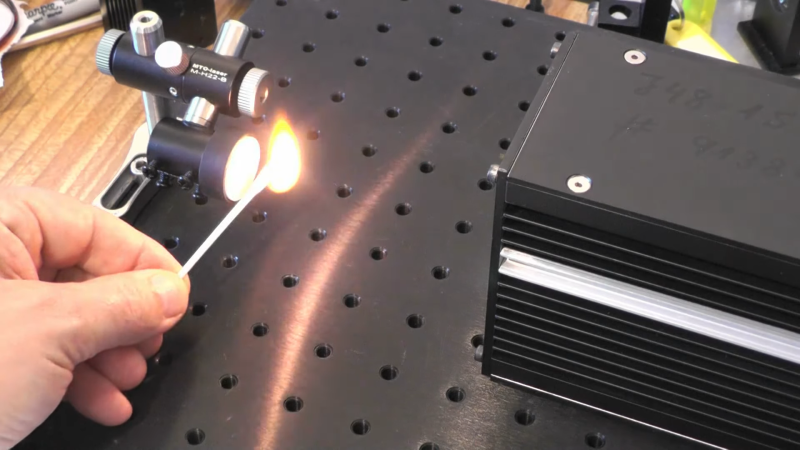
The nitty-gritty is where it gets fascinating. Shoaib digs into STM32 Timers, explaining how modes like Timer, Counter, and PWM are leveraged for precise control. From adjusting laser intensity to syncing galvos for projection, every component is tuned for maximum flexibility. Need lasers aligned? Enter spectrometry and optical diffusers for precision wavelength management. Want real-time tweaks? A Python-controlled GUI handles the instruments while keeping the setup minimalist. This isn’t just a DIY build—it’s a work of art in problem-solving, with successes like a working simulation and implemented algorithms along the way.
If laser projection or STM32 wizardry excites you, this build will inspire. We featured a similar project by [Ben] back in September, and if you dig deep into our archives, you can eat your heart out on decades of laser projector projects. Explore Shoaib’s complete log on Hackaday.io. It is—literally—hacking at its most brilliant.