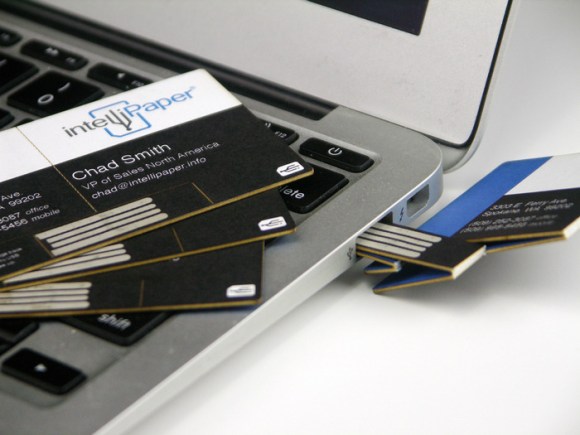
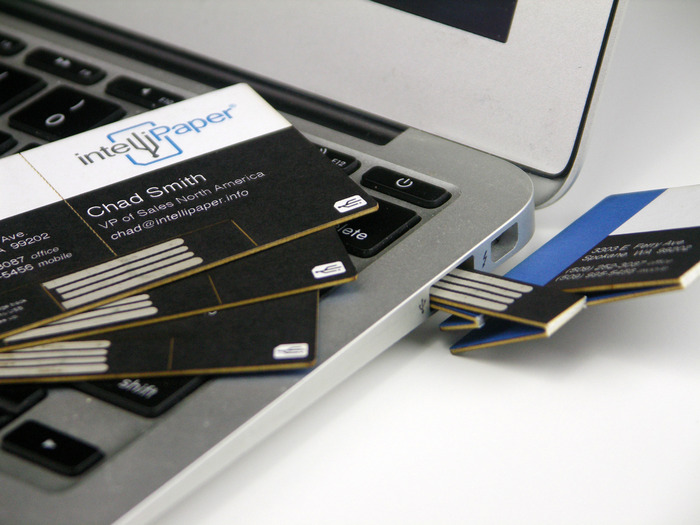
The swivelCard Kickstarter campaign recently received a lot of press coverage and makes some impressive claims as their goal is the development of USB and NFC business cards at a $3 unit price. While most USB-enabled business cards we featured on Hackaday were made of standard FR4, this particular card is made of paper as the project description states the team patented
a system for turning regular paper into a USB drive.
As you can guess this piqued our interest, as all paper based technologies we had seen until now mostly consisted of either printed PCBs or paper batteries. ‘Printing a USB drive on regular paper’ (as the video says) would therefore involve printing functional USB and NFC controllers.
Luckily enough a quick Google search for the patents shown in one of the pictures (patent1, patent2) taught us that a storage circuitry is embedded under the printed USB pads, which may imply that the team had an Application-Specific Integrated Circuit (ASIC) designed or that they simply found one they could use for their own purposes. From the video we learn that ‘each card has a unique ID and can individually be programmed’ (the card, not the UID) and that it can be setup to open any webpage URL. The latter can even be modified after the card has been handed out, hinting that the final recipient would go to a ‘www.swivelcard.com/XXXX” type of address. We therefore got confused by
Imagine giving your business card with pictures, videos, presentations, and websites for the recipient to interact with!
paragraph that the project description contains.
This leads us to one key question we have: what kind of USB drive can make a given user visit a particular website, given that he may have Linux, Windows, Mac or any other OS? They all have similar USB enumeration processes and different key strokes to launch a browser… our wild guess is that it may be detected as storage with a single html file in it. Unfortunately for us the USB detection process is not included in the video.
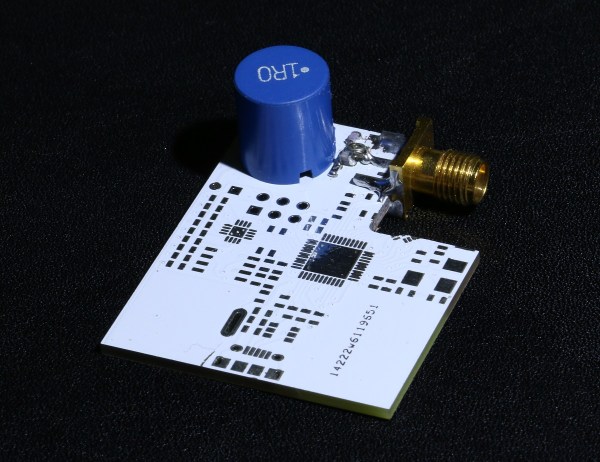
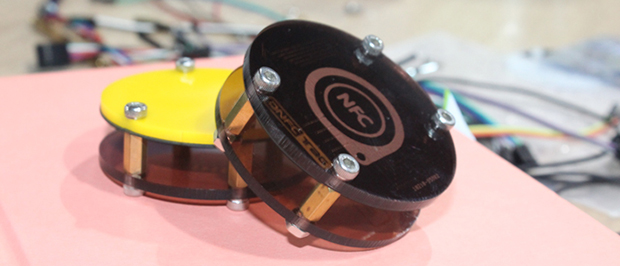
Our final question: Is it possible to embed both USB and NFC controllers in a thin piece of paper without worrying about broken ICs (see picture above)? NFC enabled passports have obviously been around for a long time but we couldn’t find the same for USB drives.
Possible or not, we would definitely love having one in our hands!
Edit: One of our kind readers pointed out that this campaign actually is a re-launch of a failed indiegogo one which provides more details about the technology and confirms our assumptions.
 NFC tags are cool, but programming them to do your bidding – whether unlocking your computer, making an Arduino vending machine, or a smart home application – requires using an NFC device to program the tag over the air. An NFC tag programmable with any ‘ol microcontroller would certainly have some interesting applications, and


