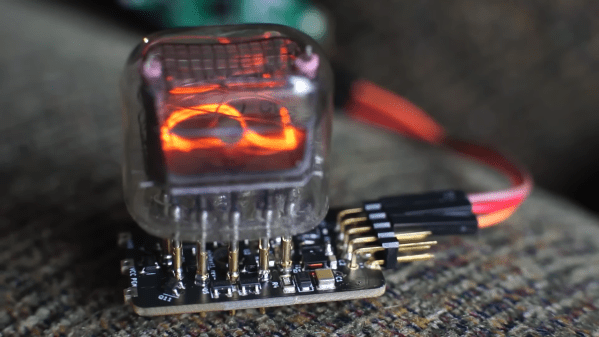
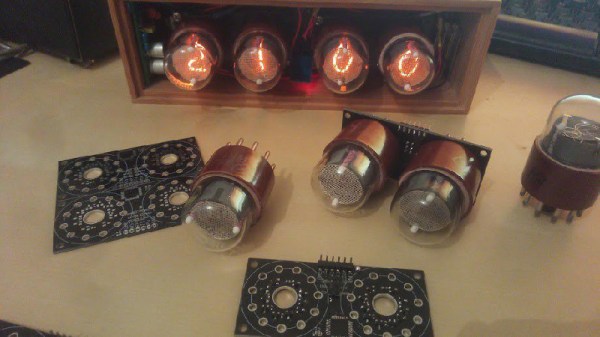
An IN-12B Nixie tube on a compact driver PCB

Modern Components Enable Cheap And Compact Nixie Driver Circuit

Nixie tubes can add some retro flair to any project, but they can also complicate your electronics quite a bit: after all, you need to generate a voltage high enough to ignite the tube and then switch that between ten separate display segments. Traditionalists may want to stick with chunky mains transformers and those unobtainium 74141 segment drivers, but modern components allow you to make things much more compact, not to mention way cheaper. [CNLohr] took this to an extreme, and used clever design tricks and his sharp online shopping skills to make an exceptionally compact Nixie driver circuit that costs less than $2.50.

That price doesn’t include the tubes themselves, but [CNLohr] nevertheless bought the cheapest Nixies he could find: a pair of IN-12B tubes that set him back just $20. He decided to generate the necessary 180 volts through a forward converter built around a $0.30 transformer and a three-cent MOSFET, controlled by software running on a CH32V003. This is one of those ultra-cheap microcontrollers that manage to squeeze a 48 MHz RISC-V core plus a bunch of peripherals into a tiny QFN package costing just 12 cents.

The existing toolchain to program these micros left a lot to be desired, so [CNLohr] wrote his own, called
ch32v003fun. He used this to implement all the control loops for the forward converter as well as PWM control of the display segments – a feature that adds a beautifully smooth turn-on and turn-off effect to the Nixie tubes. There’s still plenty of CPU capacity left to implement other features, although [CNLohr] isn’t sure what to put there yet. Turning the tubes into a clock would be an obvious choice, but the basic system is flexible enough to implement almost anything requiring a numeric display.

The compactness of this circuit is impressive, especially if you compare it to earlier solutions. There’s plenty of fun to be had with cheap-yet-powerful micros like the ch32v003, provided you can find them.

Continue reading “Modern Components Enable Cheap And Compact Nixie Driver Circuit”

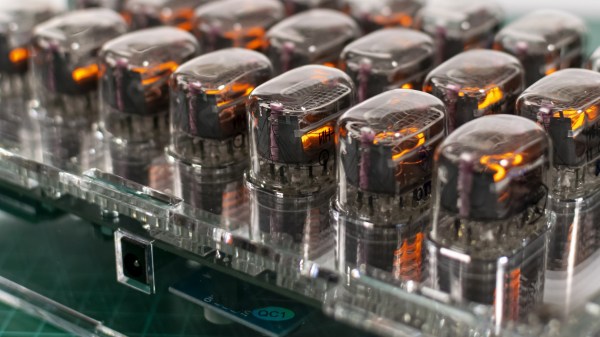
Rows of nixie tubes in clear acrylic

Binary Clock Lets The Nixies Glow

We’re not here to talk about another clock. Okay, we are, but the focus isn’t about whether or not it can tell time, it’s about taking a simple idea to an elegant conclusion. In all those ways, [Marcin Saj] produced a beautiful project. Most of the nixie clocks we see are base-ten, but this uses base-two for lots of warm glow from more than a dozen replaceable units.

There are three rows for hours, minutes, and seconds. The top and bottom rows are labeled with an “H” and “S” respectively displayed on IN-15B tubes, while the middle row shows an “M” from an IN-15A tube. The pluses and minuses light up on IN-12 models so you’ll need eighteen of them for the full light show, but you could skimp and use sixteen in twelve-hour mode since you don’t need to count to twenty-four. We won’t explain how to read time in binary, since you know, you’re here and all. The laser-cut acrylic is gorgeous with clear plastic next to those shiny nixies, but you have to recreate the files or buy the cut parts as we couldn’t find vector files amongst the code and schematics.

Silly rabbit, nixies aren’t just for clocks. You can roll your own, but they’re not child’s play.

Continue reading “Binary Clock Lets The Nixies Glow”

Arduino Shield Makes Driving Nixies Easy

Nixie tubes are adored by hackers across the world for their warm glow that recalls an age of bitter nuclear standoffs and endless proxy wars. However, they’re not the easiest thing to drive, requiring high voltages that can scare microcontrollers senseless. Thankfully, it’s possible to score an Arduino shield that does the heavy lifting for you.

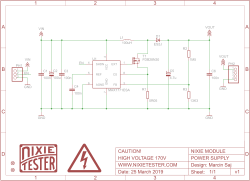
The HV supply is the heart of any Nixie driver.

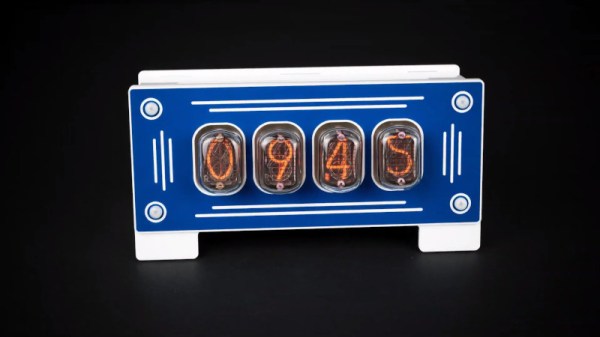
The shield uses HV5812 drivers to handle the high-voltage side of things, a part more typically used to drive vacuum fluorescent displays. There’s also a DHT22 for temperature and humidity measurements, and a DS3231 real time clock. It’s designed to work with IN-12 and IN-15 tubes, with the part selection depending on whether you’re going for a clock build or a combined thermometer/hygrometer. There’s also an enclosure option available, consisting of two-tone laser etched parts that snap together to give a rather sleek finished look.

For those looking to spin up their own, code is available on Github and schematics are also available. You’ll have to create your own PCB of course, but there are guides that can help you along that path. If you’re looking to whip up a quick Nixie project to get your feet wet, this might just be what you need to get started. Of course, you can always go straight to hard mode, and attempt a functional Nixie watch. Video after the break.

Continue reading “Arduino Shield Makes Driving Nixies Easy”

Better Ways To Drive Nixie Tubes

Ah, Nixie tubes. You’re not cool unless you have a few Nixie tubes sitting around, and you’re not awesome unless you’ve built your own Nixie tube clock. That’s what [Thomas] is doing for his entry into the Hackaday Prize, and he’s come up with a very low-cost way of doing it.

For the high voltage supply of this build, [Thomas] is turning to one of the standard circuits based on the MC34063 that’s simple enough and good enough to make everything work. There are really no surprises with the power supply here. This is all a project about turning on different digits inside the Nixie, though, and for that [Thomas] spun his own board capable of driving a pair of IN-1 Nixies with a single ATMega8.

These two-Nixie boards are daisy chained together through a UART connection, where each board passes digits down the line. For example, the first board receives, 12, 30, and 59, displays 59, and passes 12 and 30 down to the next boards. The second board then displays 30 and passes 12 to the last board.

Of course, if you’ve designed a Nixie driver, the next thing to do is to build a clock. [Thomas] had the rather clever idea of making an enclosure for this clock out of concrete, using a 3D printed interior mold. Everything seemed to be going well until it was time to pull the interior mold out, and a few light taps resulted in some fairly large cracks. That’s disappointing, but with a slight redesign and some more fibers in the concrete mix, this is going to turn out to be a weighty win.

Hackaday Links Column Banner

Hackaday Links: January 4, 2015

Chips as furniture is now a thing. It started off with a 555 footstool from Evil Mad Scientist and moved on to an EPROM coffee table. Now [msvm] over on the War Thunder forums has constructed a Nixie tube driver table. It’s based on the K155, and as a neat little addition, he’s included a real vintage chip under glass in the table.

Have some tongs, an anvil, and a blowtorch? Make some bottle openers out of framing nails. There’s a lot of variety here in the shapes of the bottle openers.

[Stephen] used a solid state relay he found on eBay to drive some Christmas lights. The SSR failed. That meant it was time to see inside of this relay looked like. The short answer is, ‘a lot of goop and epoxy’, but the traces look big enough to support the current it’s rated for.

Imagine a part of your 3D printer breaks. That’s alright, just print another…. oh, yeah. Well, I guess it’s time to make a bearing bracket out of wood.

The Electronica MK-54 and MK-61 (actually the Электроника МК-54) were incredibly popular Soviet programmable calculators. Now there’s an emulator for them.

[Rue Mohr] found a very cheap TFT display on an Arduino shield. The chip for the display was an SPF5408, a chip that isn’t supported by the most common libraries. He eventually got it to work after emailing the seller, getting some libraries, and renaming and moving a bunch of stuff. If you have one of these displays, [Rue] just saved you a bunch of time.