Displays We Love Hacking: SPI And I2C

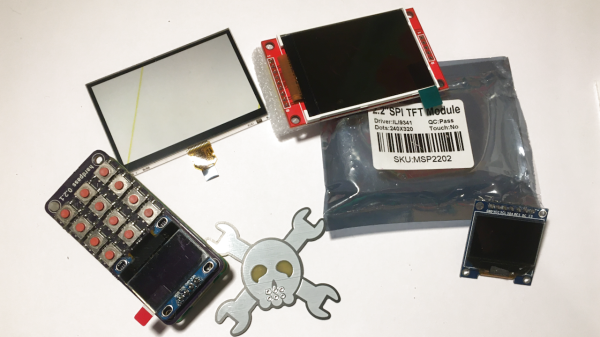
I’ve talked about HD44780 displays before – they’ve been a mainstay of microcontroller projects for literal decades. In the modern hobbyist world, there’s an elephant in the room – the sheer variety of I2C and SPI displays you can buy. They’re all so different, some are LCD and some are OLED, some have a touchscreen layer and some don’t, some come on breakouts and some are a bare panel. No matter which one you pick, there are things you deserve to know.

These displays are exceptionally microcontroller-friendly, they require hardly any GPIOs, or none extra if you already use I2C. They’re also unbelievably cheap, and so tiny that you can comfortably add one even if you’re hurting for space. Sure, they require more RAM and a more sophisticated software library than HD44780, but with modern microcontrollers, this is no problem at all. As a result, you will see them in almost every project under the sun.

What do you need for those? What are the requirements to operate one? What kind of tricks can you use with them? Let’s go through the main aspects.

Continue reading “Displays We Love Hacking: SPI And I2C”

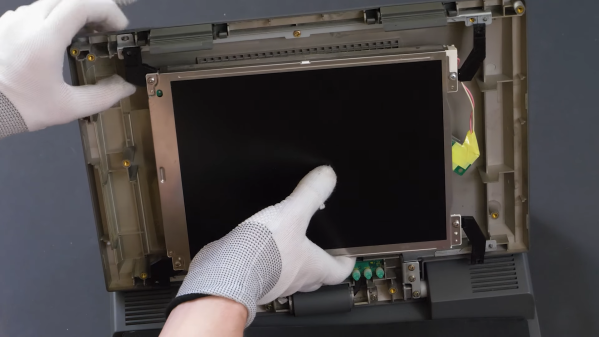
The LCD being replaced in an old laptop

Hackaday Prize 2022: Repairing A Vintage Laptop With Modern Components

Laptop computers may be ubiquitous today, but there was a time when they were the exclusive preserve of rich businesspeople. Back in the early ’90s, the significant added cost of portability was something that few were willing to pay. As a result, not many laptops from those days survive; for those that do, keeping them running can be quite a challenge due to their compact construction and use of non-standard components.

[Adalbert] ran into these problems when he got his hands on a Toshiba T3200SXC from 1991. As the first laptop ever to feature a color TFT display, it’s very much worth preserving as an historical artifact. Sadly, the original display was no longer working: it only displayed a very faint image and went completely blank soon after. Leaky capacitors then destroyed the power supply board, leaving the laptop completely dead. [Adalbert] then began to ponder his options, which ranged from trying to repair the original components to ripping everything out and turning this into a modern-computer-in-an-old-case project.

In the end he went for an option in between, which we as preservationists can only applaud: he replaced the display with a modern one of the correct size and resolution and built a new custom power supply, keeping the rest of the computer intact as far as possible. [Adalbert] describes the overall process in the video embedded below and goes into lots of detail on his hackaday.io page.

Connecting a modern LCD screen was not as difficult as it might seem: where the old display had an RGB TTL interface with three bits per color, the new one had a very similar system with six bits per color. [Adalbert] made an adapter PCB that simply connected the three bits from the laptop to the highest three bits on the screen. A set of 3D-printed brackets ensured a secure fit of the new screen in the classic case.

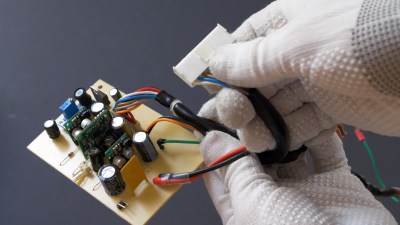
The internal power supply module of a laptopFor the power supply [Adalbert] took a similar approach. He designed a PCB with several DC/DC converters that fit easily inside the computer’s case, leaving enough space to add a battery. This made the old Toshiba more portable than it ever was — believe it or not, the original T3200SXC could only be used with a mains connection.

Once the laptop was restored to working order, [Adalbert] added a few finishing touches: a sound card and speakers made it suitable as a gaming platform, and a network card gave it rudimentary online capabilities. The end result is a T3200SXC that looks and feels exactly the way it did when it was new, but with a few added features. That’s a really satisfying result: many classic laptop projects add modern computing hardware, or even completely replace the original contents. You might also want to check out [Adalbert]’s unusual 3D printer based PCB manufacturing technique that he used for the new power supply.

Continue reading “Hackaday Prize 2022: Repairing A Vintage Laptop With Modern Components”

Arduino Library Makes Digital Rain Like It’s 1999

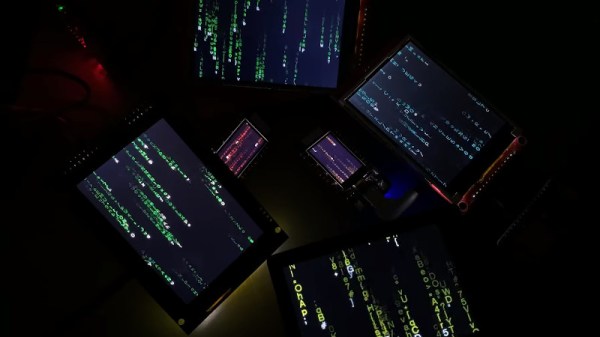
There’s going to be a new Matrix movie in theaters next month, and you know what that means: we’re about to see a whole new generation get obsessed with the franchise’s iconic “Digital Rain” effect. Thanks to modern advertisement technology, expect to see lines of glittering text pouring down the displays of everything from billboards to gas pumps pretty soon.

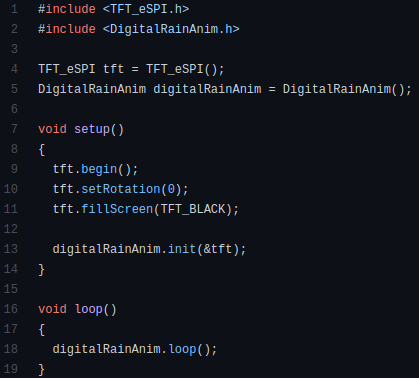
Doesn’t get much easier than that.

For those of us who’ve just been looking for an excuse to break out the old Matrix screensavers, you might as well get a jump on things using this handy Arduino library for the ESP8266 and ESP32. Developed by [Eric Nam], it lets you start up a digital rainstorm on displays supported by the TFT_eSPI library as easily as running digitalRainAnim.loop().

You can even install the library through the Arduino IDE, just open the Library Manager and search for “Digital Rain” to get started. You’ve still got to hook the display up to your microcontroller, but come on, [Eric] can’t do it all for you.

Looking at the examples, it seems like various aspects of the animation like color and speed can be configured by initializing the library with different values. Unfortunately we’re not seeing much in the way of documentation for this project, but by comparing the different examples, you should be able to get the high points.

While our first choice would certainly be a wall of green alphanumeric LED displays, we can’t help but be impressed with how easy this project makes it to spin up your own little slice of the Matrix on the workbench.

Continue reading “Arduino Library Makes Digital Rain Like It’s 1999”

Framed PONG Is Picture Perfect

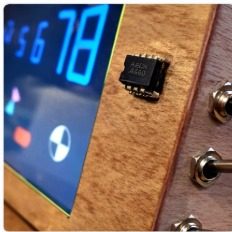
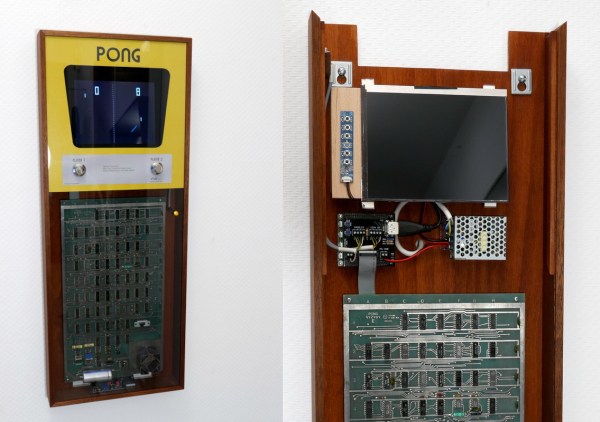
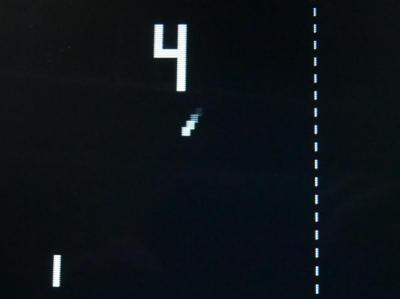
How cool would it have been if arcade cabinets had acrylic panels all along that let you gaze upon the field of TTL chips within? When [Jürgen Müller] scored the innards of an original 1972 PONG machine, that’s exactly what the plan was: build a suitable cabinet that re-imagines PONG as a sleek and stunning work of art.

Instead of trying to cram a CRT in that nice mahogany cabinet, [Jürgen] opted to use an 8″ TFT screen. But get this: [Jürgen] built a Spartan 6 FPGA-based upscaler to adds the scan lines, blur, and afterglow that make it look like the classic PONG experience.

[Jürgen] also built an interface board that amplifies the sound, splits the video out into sync and brightness for the upscaler, and provides 5 V to the PONG circuit board. [Jürgen] decided to circumvent the board’s native voltage regulator in the name of keeping things cool.

[Jürgen] says the project’s web page is in a preliminary stage right now with more information to come. We sure hope that includes a video of it in action. For now, you can check out the files for the interface PCB, the FPGA board, and a list of the fonts.

Should you ever get tired of classic PONG, try playing it in one dimension.

Thanks for the tip, [Anonymous].

Eyesight Guardian Polices Your Poor Pupils

Don’t know about you, but over the last year or so, we have gone from spending ten or twelve hours a day at this computer to upwards of sixteen or eighteen. Fortunately there’s a window behind the monitor for taking those 20/20/20 breaks that are supposed to prevent eye strain, but it’s so hard to remember (and boring) to do it. And nobody needs yet another thing to remember in the name of self-care.

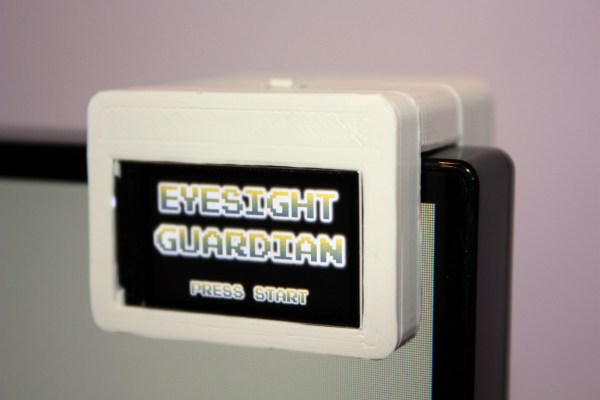
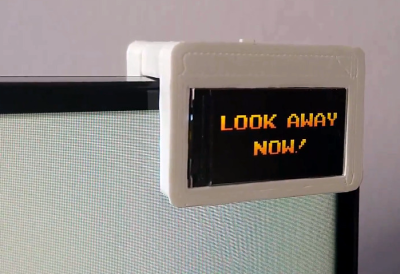
[Daniel Hingston] certainly agrees. As you’ll see in the delightful video after the break, [Daniel] has made a game out of the whole process of stopping every twenty minutes to spend twenty seconds looking at a point that’s at least twenty feet away. Once the break is over, [Daniel] uses the dual-purpose start button to acknowledge having looked away for 20 seconds. The device is meant to clip onto the corner of any monitor, and [Daniel] has provided several sizes of the bridge piece so that everyone can find their fit.

The Guardian’s guts are pretty simple — an Arduino Pro Mini runs the stop watch and a TFT display to show the graphics that live on an SD card. This is a great way to preserve your eyesight by gamifying something we all know we should be doing. It might be nice to add a break timer that counts up to 25 or thereabouts so you have time to stand up and come back. If you press the button too soon, it scolds you and you have to start your eye break over.

Need some more self-care lately? Our own [Jenny List] has your back in these interesting times.

Continue reading “Eyesight Guardian Polices Your Poor Pupils”

Multi-Channel Battery Monitor Aces First Sea Trial

A little over a a year ago, we covered an impressive battery monitor that [Timo Birnschein] was designing for his boat. With dedicated batteries for starting the engines, cranking over the generator, and providing power to lights and other amenities, the device had to keep tabs on several banks of cells to make sure no onboard systems were dipping into the danger zone. While it was still a work in progress, it seemed things were progressing along quickly.

But we know how it is. Sometimes a project unexpectedly goes from having your full attention to winning an all-expense-paid trip to the back burner. In this case, [Timo] only recently put the necessary finishing touches on his monitor and got it installed on the boat. Recent log entries on the project’s Hackaday.io page detail some of the changes made since the last time we checked in, and describe the successful first test of the system on the water.

Certainly the biggest issue that was preventing [Timo] from actually using the monitor previously was the lack of an enclosure and mounting system for it. He’s now addressed those points with his 3D printer, and in the write-up provides a few tips on shipboard ergonomics when it comes to mounting a display you’ll need to see from different angles.

The printed enclosure also allowed for the addition of some niceties like an integrated 7805 voltage regulator to provide a solid 5 V to the electronics, as well as a loud piezo beeper that will alert him to problems even when he can’t see the screen.

Under the hood he’s also made some notable software improvements. With the help of a newer and faster TFT display library, he’s created a more modern user interface complete with a color coded rolling graph to show voltages changes over time. There’s still a good chunk of screen real estate available, so he’s currently brainstorming other visualizations or functions to implement. The software isn’t using the onboard NRF24 radio yet, though with code space quickly running out on the Arduino Nano, there’s some concern about getting it implemented.

As we said the first time we covered this project, you don’t need to have a boat to learn a little something from the work [Timo] has put into his monitoring system. Whether you’re tracking battery voltages or temperatures reported by your BLE thermometers, a centralized dashboard that can collect and visualize that data is a handy thing to have.

TTGO ESP32 Module With Multiple Personalities

Volos Projects educator [Danko Bertović] had a TTGO ESP32 board looking for a project, so he implemented a surprisingly functional weather station for such a small screen. Presumably that was too boring for him, so he decided to write a version of the classic Atari game Breakout instead. [Danko] prefers using the Arduino IDE for ESP32 projects, and has made the Breakout software available as an Arduino sketch. We hope the weather station sketch will be released soon, too. The TTGO is a small ESP32 board with an ST7789V 1.14 in (29 mm) TFT color display, available from your favorite Shenzhen market supplier. This platform is perfect for all kinds of niche applications. We’d love to hear how you are using, or plan to use, these modules in your projects.

We wrote about one such project last summer, where a similar TTGO module was used to display 50-year broadcast delayed transcripts of the Apollo 11 mission. [Danko] is no stranger to Hackaday — he has made several Arduino-based calculator projects.  Perhaps the most remarkable being the circuit sculpture binary number calculator from last year, another project that morphed into a computer game (Pong).

Continue reading “TTGO ESP32 Module With Multiple Personalities”