A Customizable Open Source Mechanical Numpad

Mechanical keyboards with reduced key counts are all the rage these days, but while those streamlined input devices might look cool on your desk, there are times when the traditional number pad or navigation keys are quite handy. Rather than just going without, [Mattia Dal Ben] decided to put together his own mechanical auxiliary input device for when the main board just isn’t cutting it.
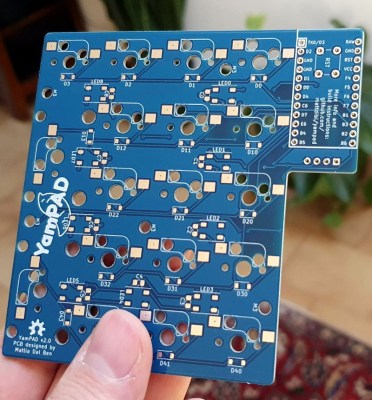
[Mattia] is calling his creation the YamPAD, which stands for Yet Another Mechanical numPAD. One of the major goals for the project is to produce a design that’s easy for others to replicate and customize. His PCB has a socket designed to fit an Arduino Pro Micro, which combined with the QMK firmware, offers a wide array of configuration options. All that’s left is to add in the Cherry MX switches and some 1N4148 diodes.

But if you want to take things a little further, [Mattia] has that covered as well. The PCB design has provisions for RGB LED back-lighting should you find yourself in need of crunching some numbers in the dark. There’s even a spot for a 0.91″ OLED display if you really want to take things to the next level.

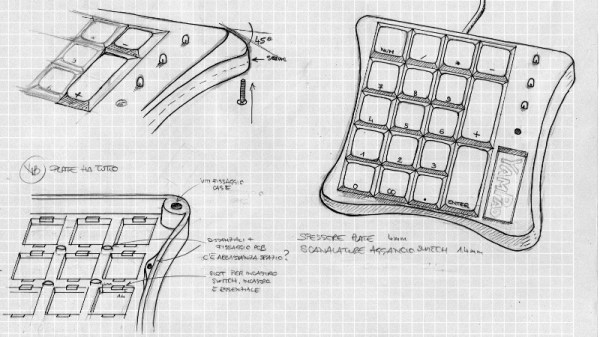
As of right now, the YamPAD is just a bare PCB, but [Mattia] is planning to design a 3D printed enclosure for it soon. The sketches he’s done so far depict a printed case which we think bears more than a passing resemblance to a Wii Fit Balance Board, but of course being a fully open source project, you’ll be free to design your own case based on the PCB’s dimensions. It would be interesting to see what other kind of customization the community might come up with once the design is finalized.

If you like the idea of the YamPAD, you might also want to check out the kbord we covered back in 2017. If you want to see the full keyboard done in this DIY open hardware style, there are already some choice entries into the field.

On A Quest For The Perfect Numpad

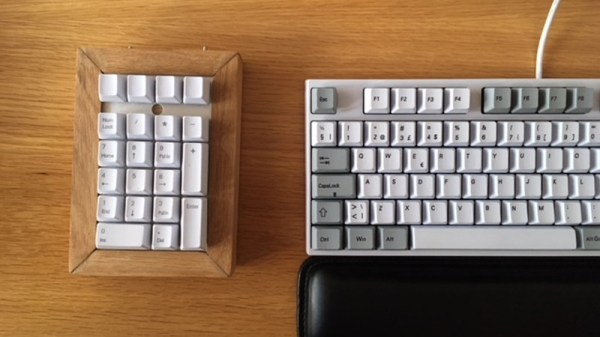
Often times, the only way to get exactly what you want in a device is to just build it yourself. Well, maybe not the only way, but we’ve all certainly told ourselves it was the only way enough that it might as well be true. We don’t know if the DIY imperative felt by [Olav Vatne] to construct his own Bluetooth mechanical number pad was genuine or self-imposed, but in either event, we’re glad he documented the process for our viewing pleasure.

Broken up into three separate posts on his blog, the construction of his custom numpad starts innocently enough with buying a kit from AliExpress. In a rather bizarre twist, the kit arrived assembled, which lead to an arduous period of desoldering to separate all the principle parts [Olav] wanted in the first place. So much for saving time.

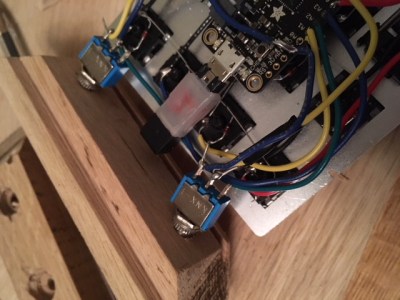
Once he freed all the mechanical keys from the kit’s PCB, he went to town hand-wiring the matrix. After testing to make sure all the keys were wired correctly, the matrix got connected to an Adafruit Feather 32u4 Bluefruit. With the electronics sorted, [Olav] moved on to the software side. Here he was able to accomplish one of his primary goals, having a numpad that works over both USB and Bluetooth.

The last step of the process was creating the wooden enclosure. It basically goes together like a picture frame, with special care given to make sure there are appropriate openings in the case for the switches and USB port to pop through without ruining the overall look of the device.

Thanks to cheap USB-capable microcontrollers, hand-made artisan keyboards are now a thing. This project is a nice way to get started with custom input devices, and it only gets better from here.

Hacking The Right Side Of A Keyboard Completely Off

hacking-the-right-side-of-your-keyboard

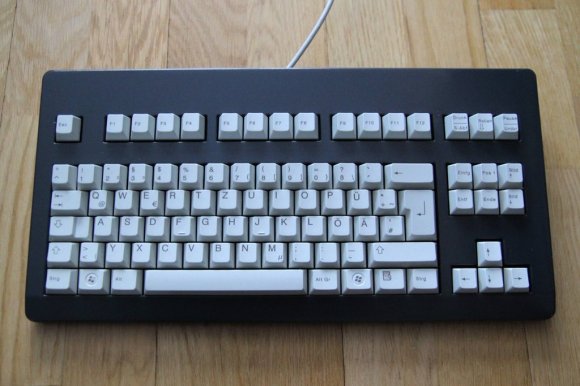
The form factor of this keyboard just doesn’t look right. What’s missing? Oh, the numpad has been completely removed! We use our numpad almost exclusively (especially when coding) so it’s a little hard to figure out why [Ludw] did this. His only mention of motive is that he wanted the mouse closer to the main part of the keyboard and that he didn’t use the numpad. No matter what the reason, we still think he did an amazing job of giving new life to the older keyboard.

It started out as a plain old beige Cherry G80-3000 keyboard. After cracking open the case [Ludw] carefully traced out the connections between the key matrix and the PCB which provides the USB connection. This is because the controller is mounted over on the part of the PCB he his about to remove. Before making the cuts he desoldered all seventeen switches (these can be reused to fabricate a new keyboard, or add switches to various projects). He then lopped off the depopulated substrate and used point-to-point soldering to reconnect the controller. A bit of case alteration removed the extra space while also reusing the nicely molded edges. A clean and tidy paint job finishes the hack.

[via Reddit]

Reclaiming The Numpad For Laptop Users Everywhere

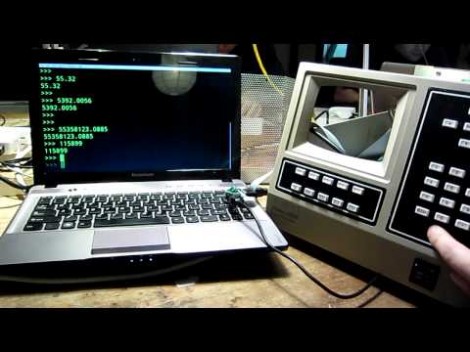
We have to agree with NYCResistor, the exclusion of numeric pads from laptops is a real loss for productivity. Ever try to working with a huge spreadsheet ledger without a 10-key? Sure, there are usually function key alternatives hiding somewhere on those reduced keyboards. But that’s hardly the same thing. We think it’s time to take back the numpad. This project shows you how easy it is by using some old time lab equipment to replace the missing keys.

They’re using a Teensy microcontroller board to translate the key matrix into USB inputs. Most of the work is already done for you because of the USB HID Keyboard library available for the development board. Scanning your own key matrix, or decoding the buttons from some rad hardware like this Walters 600E is up to you. A demo of the rig in action can be found after the jump.

Is there anyone else who wishes the 10-key had an ‘X’ on it for coding hex values? Perhaps that will be a future project for us.

Continue reading “Reclaiming The Numpad For Laptop Users Everywhere”