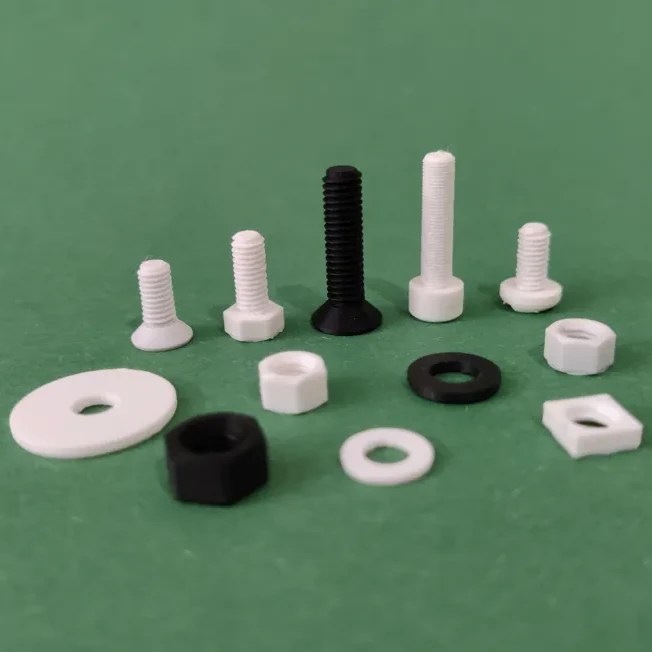
For those times when you could really use a quick 3D model, this metric screw generator will do the trick for screws between M2 and M16 with matching nuts and washers. Fastener hardware is pretty accessible, but one never knows when a 3D printed piece will hit the spot. One might even be surprised what can be usefully printed on a decent 3D printer at something like 0.08 mm layer height.
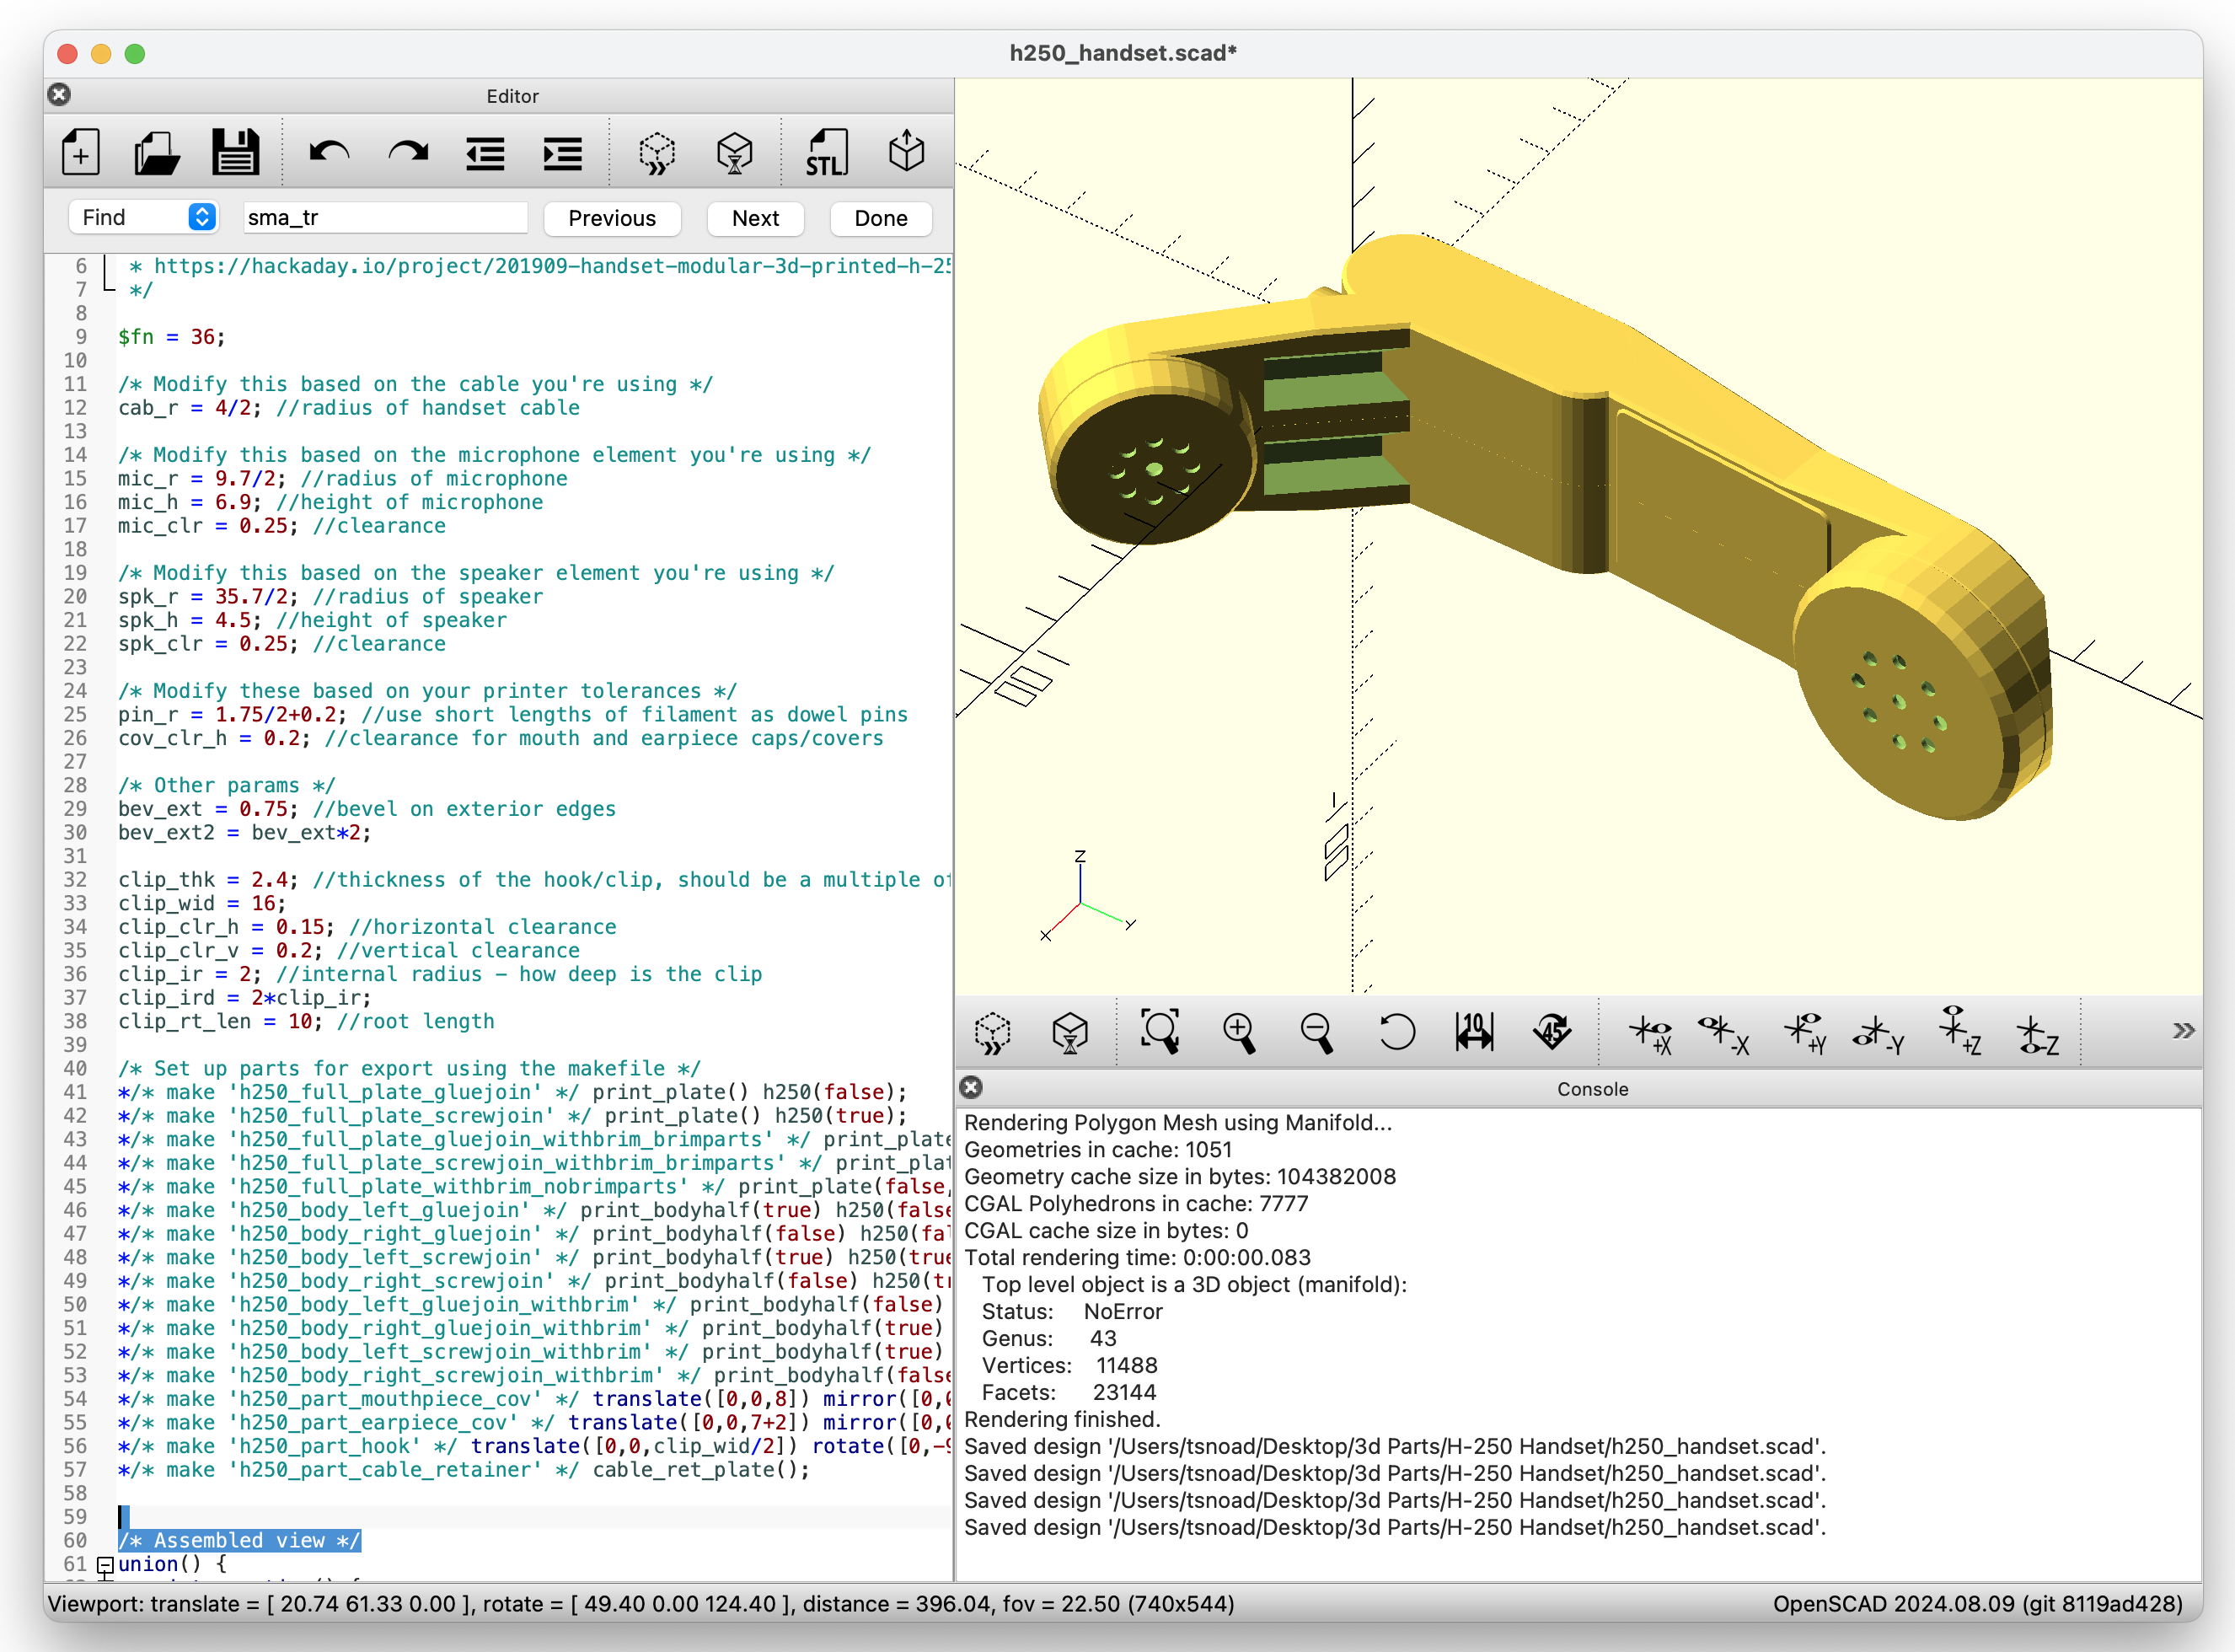
 Behind the scenes, [Jason]’s tool is an OpenSCAD script with a very slick web-based interface that allows easy customization of just about any element one might need to adjust, including fine-tuning the thread sizing. We’re fans of OpenSCAD here and appreciate what’s going on behind the scenes, but one doesn’t need to know anything about it to use the online tool.
Generated models can be downloaded as .3mf or .stl, but if you really need a CAD model you’re probably best off looking up a part and downloading the matching 3D model from a supplier like McMaster-Carr.
Prefer to just use the OpenSCAD script yourself, instead of the web interface? Select “Download STL/CAD Files” from the dropdown of the project page to download ScrewGenerator.scad for local use, and you’re off to the races.