Head for the hills!! We’re all doomed! At least that’s the impression you might get from the headlines about the monster Earth-facing sunspot this week. While any sunspot that doubles in size within a matter of days as AR3038 has done is worth looking at, chances are pretty low that it will cause problems here on Earth. About the best this class of sunspot can manage is an M-class solar flare, which generally cause radio blackouts only at the poles, and may present a radiation problem for the crew of the ISS. So no, this sunspot is probably not going to kill us all. But then again, this is the 2020s, and pretty much everything bad seems like it’s possible.
Speaking of bad outcomes, pity the poor Sonos customers and their ongoing battle with the company’s odd “glitches.” For whatever reason, customers have been getting shipments of Sonos products they never ordered, with at least one customer getting over $15,000 worth of products shipped. The customer reports ordering five Sonos items, but the company saw fit to fill the order six times, stuffing their apartment with goods. Sonos doesn’t appear to be doing much to make it right; while offering the customer free shipping labels to return the goods, they were expected to schlep the packages to a UPS store. And then there’s the money — Sonos charged the customer for all the unordered goods, and won’t issue a refund till it’s all returned.
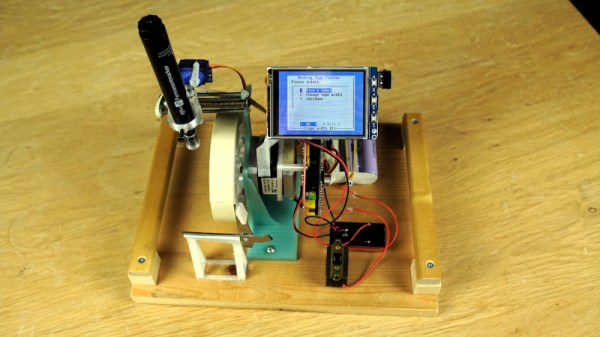
If you’ve ever wondered exactly what the signals going up and down your cable line look like, you’ll want to check out this video from Double A Labs. Using an RTL-SDR dongle and some spectrum analyzer software they probed the RF signals on the cable, with some fascinating results. The first 11 minutes or so of the video are devoted to setting up the hardware and software, although there is some interesting stuff about broadband network architecture right up at the start. The scans are interesting — you can clearly see the 6-MHz quadrature amplitude modulation (QAM) digital channels. We were surprised to learn that these start at just about the FM broadcast band — about 108 MHz. There were a couple of little surprises hiding in the spectrum, like two unmodulated analog TV carriers in one spot, and the fact that there are over 400 virtual channels jammed into 41 6-MHz QAM channels. Broadband indeed.