Right now, [The Big One] is using an ATX power supply as a bench power supply for all his electronics projects. It works, but it’s not ideal. The next step up from a power supply from an old computer is, in order, one of those Chinese deals on Amazon, a used HP supply, or for the very cool people among us, building your own. [The Big One] is very, very cool and he’s building the modular bench supply to rule them all.
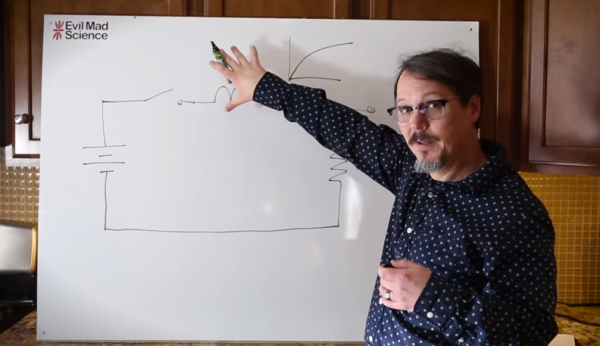
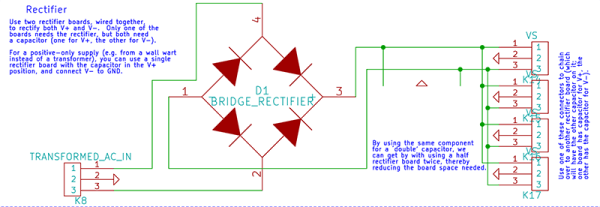
This is not your $100 china special power supply that [The Big One] would have to buy again in a few months. Inside this massive power supply is a massive transformer and rectifier that fans out to multiple power supply modules. The modules themselves will be based on an OPA548 that will be able to supply up to 3A with current limiting.
Each of these channels will be controlled by an ATMega32u4, with all the fancy stuff you’d expect from the ultimate supply; USB for setting voltage, current, and logging data, a nice LCD character display, and it’s surprisingly cheap; just about $100 for the transformer, and about $50 for each module.
It’s shaping up to be a great build, and with all the features, a power supply that would also make a great kit. If you have any input you’d like [The Big One] to hear, let him know on the project page.