Over the last year or so, we’ve seen an explosion in the popularity of cyberdecks — those highly portable and occasionally wearable computers that would make William Gibson proud. A lot of the cyberdecks we see are based on NUCs or the Raspberry Pi and are essentially post-apocalyptic DIY laptops. But what if you want to play with microcontrollers on the go? Do you really need traditional computing power?
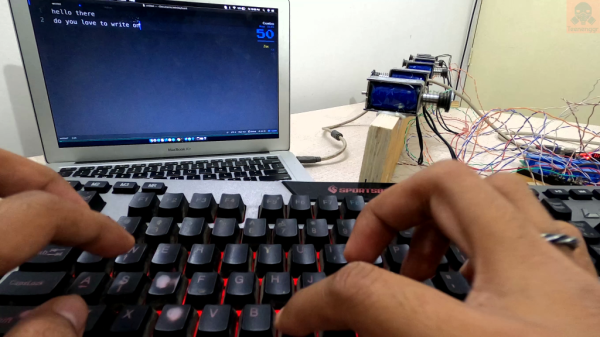
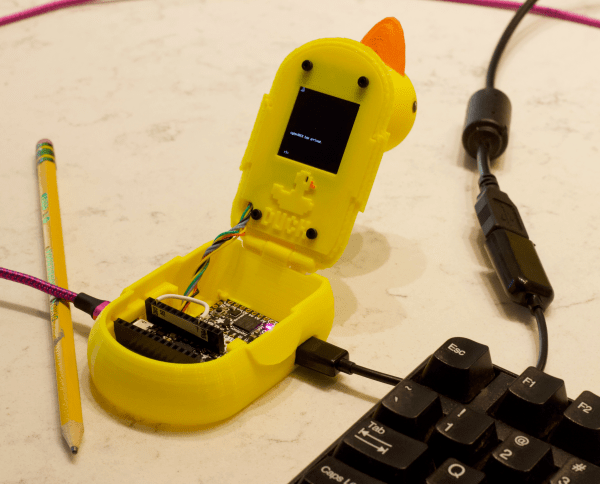
If you build [kmatch98]’s adorable cyberDÛCK, the answer is no. This duck can edit and run CircuitPython files anywhere without a separate computer, as long as you have some kind of USB keyboard. It has a text editor for writing Python scripts the regular way as well as a REPL for running commands on the fly.
One of the biggest hurdles in portable microcontrollering is getting HID access so you can communicate with a keyboard. Flip open cyberDÛCK and you’ll find two ItsyBitsy M4s — one being used as the USB host, and the other controls the display and is meant to be programmed. To get the keyboard input across, [kmatch98] adapted a MicroPython editor to take input from UART. Waddle past the break to check out the sprite demo, and stick around to see [kmatch98] discuss the duck in detail.
We understand if you can’t wait to make one of these yourself. In the meantime, did you know you can code CircuitPython directly from your phone?