Hackaday And Adafruit Launch The Pi Zero Contest

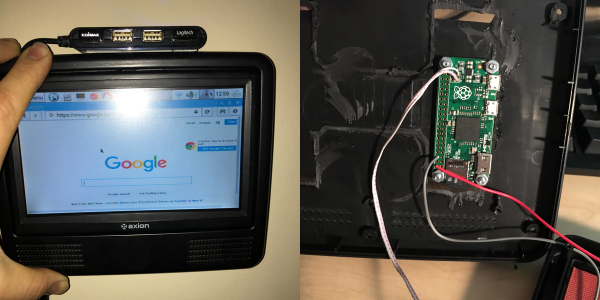
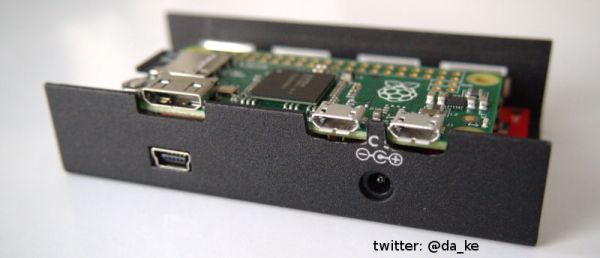
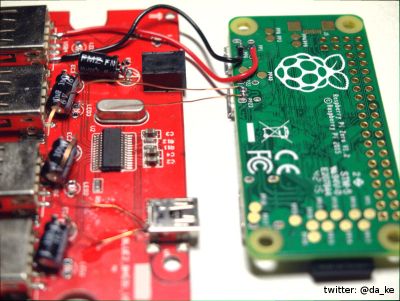
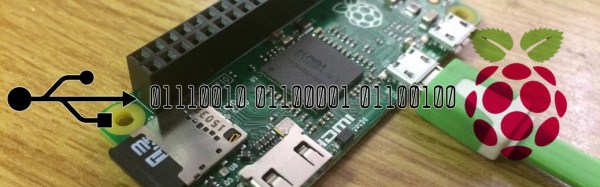
Hackaday and Adafruit are teaming up to bring you the Pi Zero Contest. Unless you’ve been hiding out in your workshop for the past month or so, you probably already know The Pi Zero is the $5 Linux-based computer which has been taking the world by storm. Think you have the next great project for this single-board computer? Enter it for a chance to take home one of three $100 gift certificates to the Hackaday Store. We know Zeros have been hard to find, so we’ll be giving away 10 of them before the contest is over. Even if you don’t have a Pi Zero, read on!

This is all about documenting quality projects to Hackaday.io. We’re looking for well thought out, well documented builds intended for the Pi Zero. Any project submitted to this contest can also be rolled over to the 2016 Hackaday Prize. Think of it as getting a head start.

Here are the details:

  • From February 2nd, to February 20th, Lady Ada will make 10 ‘From the Desk of Lady Ada’ broadcasts focusing on this contest. During each broadcast she will present an idea for a Pi Zero Project. You don’t have to build Lady Ada’s projects, they’re starter ideas to get your wheels turning. If you don’t have a Raspberry Pi Zero, don’t worry! You can prototype with a Raspberry Pi Model B, or a Pi 2. There are also 10 Pi Zero boards up for grabs before the contest is over.
  • The deadline for winning a Pi Zero is 12:00am PST February 25th, 2016. The judges will pick the 10 most well thought out and well documented projects.
  • On February 29th, the judges will announce the winners of 10 Raspberry Pi Zero boards.
  • The grand prize for this contest is one of three $100 gift cards to the Hackaday store. The deadline to enter is 12:00 am PST March 14th, 2016.

Entering is easy.  All you have to do is submit your project. Just click the “Submit to” drop down list on your project page. Then select Adafruit Pi Zero Contest.

So fire up your soldering irons, warm up your 3D printers, and load up your favorite code editor. It’s time to start hacking!

Pi Zero Recipe Kiosk

Why do you want to have a tiny $5 Linux system on a chip? Because you can cram it into a discarded LCD monitor and you’ve got a useful device. [zarderxio] did just that, satisfying the age-old dream of the kitchen computer with junk that was lying around in the basement.

There’s not much to this hack. The Raspberry Pi Zero needs a 5V power supply and the screen has 12V, so a step-down converter takes care of that. [zarderxio] hard-wires the monitor out of the Zero straight up to the monitor’s input jack, and hot-glues a USB hub to the outside of the monitor for a keyboard and mouse. (Because if there’s one thing we know, it’s that the Raspberry Pi Zero needs more USB ports: see exhibit A and exhibit B just for example.)

Now you’re all thinking, “USB keyboard and mouse?!?! I want a touchscreen!” Do you really? In the kitchen, with sticky fingers? Well, the screen in [zarderxio]’s junk box didn’t have a touchscreen, and this makes it more flexible, so we’re on the side of the quick hack done. Who knows, maybe he’ll hack yet another Raspberry Pi Zero into a smudge-proof recipe controller?

[via reddit.]

Pi Zero Video Card Via Bare Metal Programming

Rolling your own synthesizer is no small feat, which is what [Thomas] has taken on with his project “Nerdsynth”. [Thomas] has an impressive amount of data on his site covering the overall design and progress of the project, but that isn’t what piqued our interest. [Thomas] has an on-board TFT display to navigate the versatile Nerdsynth’s menu nerdsynth-sketchbut he wanted to add video output to  do some video sequencing. After some investigation and poking around the available options he decided to tackle yet another sub-project (textbook scope-creep).

[Thomas] chose to do to some bare metal programming on the Pi Zero to use it as a video card for video output. By following a tutorial  from Valvers and modifying an SPI driver from Microelecroniki he was able to clone the video on an external monitor. This is a step in the right direction and we’ll have to keep an eye on his site for updates about video sequencing on the external display.

You can check out a recent demo of the Nerdsynth in action after the break, sadly you’ll have to settle for a pic of the cloned screen (below) until [Thomas] posts another update.

nerdsynth_tv-942x707

Continue reading “Pi Zero Video Card Via Bare Metal Programming”

YAPZH! (Yet Another Pi Zero Hub)

You’d think just about all the permutations of adding a hub to the Raspberry Pi Zero were done. But you’d be wrong. [Daniel’s] approach is to put the Zero inside the existing case for the hub. The LogiLink hub used is in a nice metal case with mounting flanges on the side. It looks robust and not much like a typical consumer hub. This hack would serve well where the Zero and hub might take a few wacks.

Wiring between Zero and Hub

It took some fiddling with the hub components but he made it work. The easy part was wiring the the power and USB test points on the Zero to the hub.

More challenging were the mechanical aspects to physically fit the Zero into the case. Four LEDs were removed since their only purpose was indicating if a cables were plugged into the hub. There are four electrolytic capacitors standing upright that occupied the space needed by the Pi. [Daniel] repositioned them to lie horizontally to provide room for the Zero.

With the Zero able to fit inside the case the next steps are to create mounting holes in the USB board and cut holes in the case to access the HDMI and USB ports and the SD card holder. Some finicky work with a Dremel provided the holes and the cutouts. Fortunately, the mounting holes on the Zero aligned with some open spaces on the USB board. If they don’t, some glue and standoffs might be sufficient.

The only aspect [Daniel] left for you to hack is access to the GPIO port. That would require another cutout to bring out a ribbon cable for controlling your world. After such a nicely detailed writeup with a plethora of pictures, he had to leave something for other hackers to do.

Raspberry Pi Zero – Programming Over USB

Raspberry Pi Zero – Turning The Pi Into A USB Gadget, Over USB

[gbaman] has figured out a simpler way to program the new Raspberry Pi Zero over USB without modifying the board. Why is this useful? One example which appealed to us was setting the Zero’s USB port up as a mass storage device. Imagine plugging in your Pi powered robot, dragging and dropping a Python script into the mass storage device that shows up, and pressing a button on the robot to run the new script. Pretty fancy for $5.00.

You can get the PI to emulate a whole range of devices from a USB MIDI controller to a simple USB serial interface. We’re excited to see what uses people come up with. Unfortunately the Pi Zero is still out of stock most everywhere as we wait for the next production run to finish. Though if you’ve got one, why not check out a few of our thoughts and experiences with the device!

[gbaman] based his work off the work done by [Dave-0] and others over at the Raspberry Pi forums. [LadyAda] also has a version of this hack, which we covered, that involves soldering a header to the pi and using a UART adapter.

[via Hacker News]

Turning The Pi Zero Into A USB Gadget

The Raspberry Pi Zero is limited, or so everyone says, and everyone is trying to cram a USB hub and WiFi adapter on this tiny, tiny board. One thing a lot of people haven’t realized is that the Raspberry Pi Zero comes with a USB OTG port, meaning it can function as a USB device rather than a USB host. This means the Raspi can become a serial device with just a USB cable, an Ethernet device, MIDI device, camera, or just about anything else you can plug into a USB port. Adafruit has your back with a tutorial for using the USB OTG port as a serial and Ethernet interface, and the possible applications are extremely interesting.

The only requirement for using the USB OTG port for device applications is an update to the kernel. This is easily installed by dumping a few files on an SD card and a employing bit of command line wizardry. The simplest example is setting up the Pi Zero as a USB serial device, allowing anyone to log into a serial console on the Pi with just a USB cable.

A slightly more interesting application is setting up the Pi as an Ethernet gadget. This effectively tunnels all the networking on the Pi Zero through a USB cable and a separate computer. The instructions are extremely OS-specific, but the end result is the same: you can apt-get on a Pi Zero to your heart’s desire with a new kernel loaded onto the SD card and a USB cable.

This experimentation is just scratching the surface of what is possible with the OTG port on the Pi Zero. MIDI devices are easy, and with a ton of GPIOs, the Pi Zero itself could become a very interesting musical instrument. Want the Pi Zero to be a storage device? That’s easy too. The USB Gadget will end up being one of the most exciting uses for the Pi Zero, and we can’t wait to see what everyone will come up with next.

Yet Another Pi Zero USB Hub

It’s quite fascinating to see the world of hackers rise up and start messing around with new hardware as soon as it’s released. As everyone knows, the Raspberry Pi Zero only has two micro USB ports… a bit lacking for any computer — even one the size of a credit card. While there will probably be an official USB hub coming out someday, we’ve already seen a few home-made versions — though we think this might be the nicest layout so far!

[Richard Hawthorn] threw this PCB design together to give the Pi Zero four USB 2.0 ports. It can be attached by either a USB connector, or by soldering 4 pins between the two boards. It can either be powered off of the Pi Zero, or with an external power connector jack. In a future design he hopes to add pogo pins so it can just be attached and detached whenever you need it.

It’s a bit more involved than simply strapping a mini USB hub to the back of your Pi, but if you’re interested in a more sleek solution, [Richard’s] got all the details on his GitHub.