There was a time that encryption was almost a dirty word; a concept that really only applied to people with something to hide. If you said you wanted to encrypt your hard drive, it may as well have been an admission to a crime. But now more than ever it’s clear that encryption, whether it’s on our personal devices or on the web, is a basic necessity in a digital society. The age of Big Data is upon us, and unless you’re particularly fond of being a row in a database, you need to do everything you can to limit the amount of plaintext data you have.
Of course, it’s sometimes easier said than done. Not everyone has the time or desire to learn how the different cryptographic packages work, others may be working on systems that simply don’t have the capability. What do you do when you want to encrypt some files, but the traditional methods are out of reach?
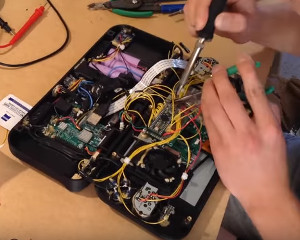
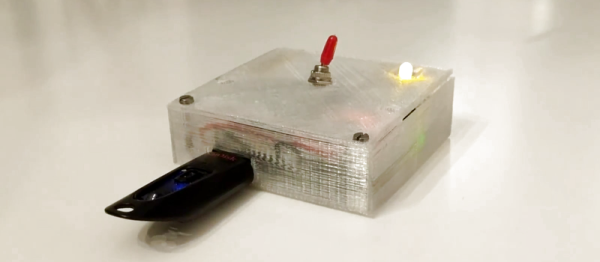
Enter the latest project from [Dimitris Platis]: Cryptopuck. By combining the ever-versatile Raspberry Pi Zero, some clever Python programs, and a few odds and ends in a 3D printed case, he has created a completely self-contained encryption device that anyone can use. Stick a USB flash drive in, wait for the LED to stop blinking, and all your files are now securely encrypted and only accessible by those who have the private key. [Dimitris] envisions a device like this could be invaluable for reporters and photographers on the front lines, protesters, or really anyone who needs a discreet way of quickly securing data but may not have access to a computer.
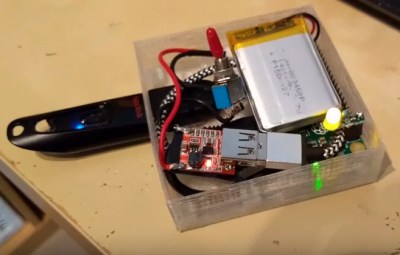
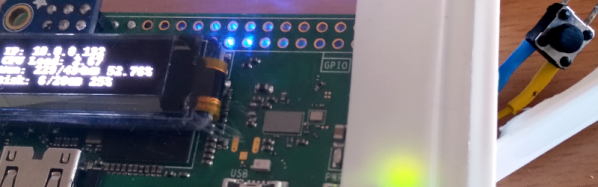
The hardware side is really just the Pi, a switch, a single LED for notifications, and a battery. The real magic comes from the software, where [Dimitris] has leveraged PyCrypto to perform the AES-256 encryption, and a combination of pyinotify and udiskie to detect new mounted volumes and act on them. The various Python scripts that make up the Cryptopuck suite are all available on the project’s GitHub page, but [Dimitris] makes it very clear the software is to be considered a proof of concept, and has not undergone any sort of security audit.
For some background information on how the software used by the Cryptopuck works you may want to check out this excellent primer from a few years back; though if you’d like to read up on why encryption is so important, you don’t need to go nearly as far back in time.
Continue reading “Encrypt Data On The Fly On A Pi With Cryptopuck” →