A decade and a half ago, a developer testified that he was contracted to make code that would swing an election using electronic voting machines. In this year’s presidential primaries, exit polling significantly differed from official results, but only in precincts using unverifiable electronic voting machines. A democracy can only exist if the integrity of the voting process can be assured, and there is no international electoral oversight committee that would verify the elections in every precinct of the United States.
Your vote may not count, but that doesn’t mean you should wait for hours to cast it. This Hackaday Prize aims to end excessive waiting times at polling places, by giving voters a handy app to check the wait times they’re about to face.
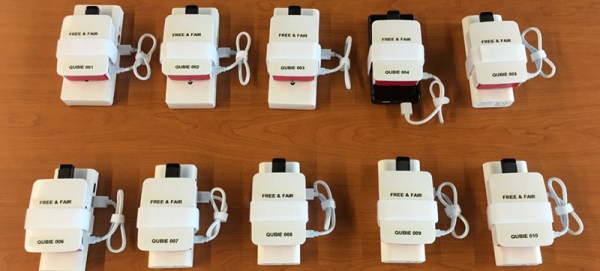
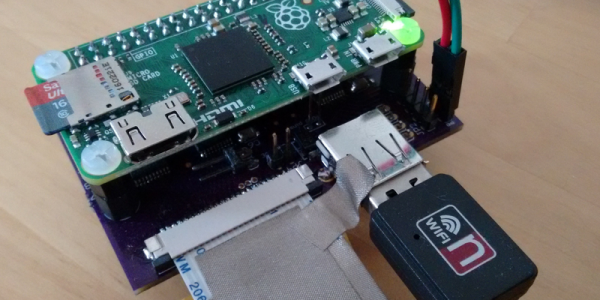
The Qubie is a device that simply keeps track of how long voters are waiting in line at their polling place. The tech behind this is extremely simple – just a Raspberry Pi, WiFi adapter, and a battery. The device keeps track of how long voters have been waiting in line by looking at WiFi coming from smartphones. This data, which has a MAC address in there somewhere, is pseudorandomized and checked every minute or so to get a very good idea of how long a specific smartphone has been in range of the Pi. This data is then broadcast out to a server which figures out how long wait times are at a specific polling place.
In the recent California primary election, the Qubie was used at ten polling places in Shasta county. They logged a total of over 30,000 WiFi contacts and after a cursory examination of the data, saw the phenomena you would expect: surges in activity around lunchtime and at the end of the day. It’s a great project that gathers data that should be automated and public, and a great entry for the Hackaday Prize.


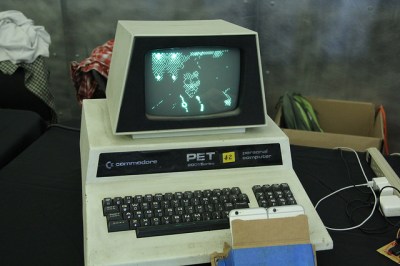
 Here at the Vintage Computer Festival, we’ve found oodles of odds and ends from the past. Some, however, have gotten a modern twist like [bitfixer’s] recent Commodore PET project upgrades.