More and more projects require a software component these days. With everything being networked, it is getting harder to avoid having to provide software for a desktop or phone environment as well as the code in your embedded device.
If you’ve done a lot of embedded systems work, you probably already know C and C++. If so, it is pretty easy to grab up a C compiler and write a command-line application that does what you want. The problem is that today’s users have varying degrees of fear about the command line ranging from discomfort to sheer terror. On a mobile device, they probably don’t even know how to get to a command line. I’ve been waiting for years for the WIMP (Windows/Icon/Mouse/Pointer) fad to fade away, but even I have to admit that it is probably here for the foreseeable future.
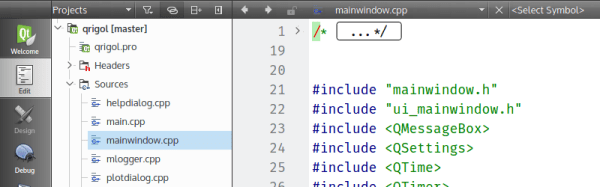
 So what’s the alternative? There are actually quite a few. However, I wanted to talk about one that is free, has a wide range of deployment options, uses C++, and is easy to pick up: Qt. Specifically, creating programs with QtCreator (see right). Yes, there are other options, and you can develop Qt programs in a number of ways.
You might think Qt isn’t free. There was a time that it was free for open source projects, but not for commercial projects. However, recent licensing changes (as of version 4.5) have made it more like using gcc. You can elect to use the LGPL which means it is easy to use the Qt shared libraries with closed software. You might also think that a lot of strange constructs that “extend” C++ in unusual ways. The truth is, it does, but with QtCreator, you probably won’t need to know anything about that since the tool will set up most, if not all, of that for you.
Background
If you ever used Visual Basic or something similar, you will feel right at home with QtCreator. You can place buttons and text edit boxes and other widgets on a form and then back them up with code. Buttons create signals when you push them. There are lots of signals like text changed or widgets (controls) being created or destroyed.
To handle a signal, an object provides a slot. There is a meta-compiler that preprocesses your C++ code to get all the signal and slot stuff converted into regular C++. Here’s the good news: you don’t really care. In QtCreator you can write code to handle a button push and exactly how that happens isn’t really much of a worry.
QtCreator has kits that can target different platforms and — in general — the code is reasonably portable between platforms. If you do want to do mobile development for Android or iOS, be sure that you understand the limitations before you start so you can avoid future pitfalls.
You Need Class
Like many similar frameworks, Qt uses an application class (QtApplication) that represents a do-nothing application. Your job is to customize a subclass and have it do what you want. You add widgets and you can even add more screens, if you like. You can connect signals to existing slots or new slots.
There are many classes available, and the online documentation is quite good. Depending on which version of Qt you are using, you’ll need to find the right page (or ask QtCreator to find it for you). However, just to whet your appetite, here’s the Qt5 reference page. From there you can find classes for GUI widgets, strings, network sockets, database queries, and even serial ports.
I could do an entire tutorial on using QtCreator, but it would be a duplication of effort. There’s already a great getting started one provided. You’ll find there is plenty of documentation.
Portability
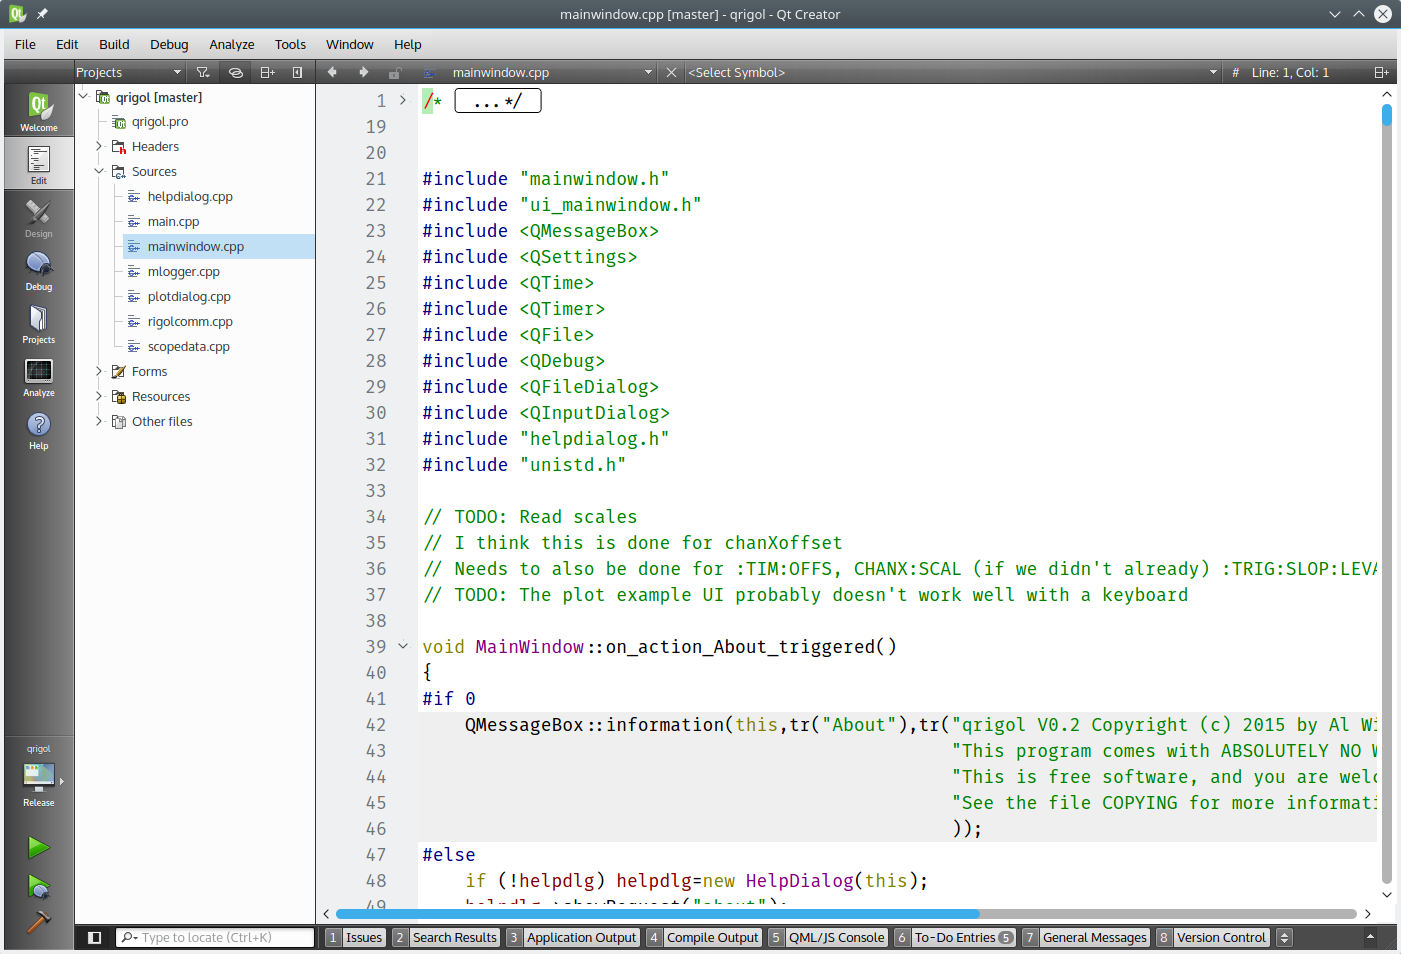
How do you enumerate serial ports? It depends on the platform, right? In Qt, the platform-specific part is hidden from you. For example, here’s a bit of code that fills in a combo box with the available serial port:
MainWindow::MainWindow(QWidget *parent) :
 QMainWindow(parent),
 ui(new Ui::MainWindow)
{
 ui->setupUi(this);
// initialize list of serial ports
 ports = QSerialPortInfo::availablePorts();
// fill in combo box
 for (int i=0; i<ports.length(); i++)
 {
   ui->comport->addItem(ports[i].portName(), QVariant(i));
 }
}
The QSerialPortInfo object provides an array of serial port objects. The ui->comport is a combo box and the addItem method lets me put a display string and a data item in for each selection. In this case, the display is the portName of the port and the extra data is just the index in the array (as a variant, which could be different types of data, not just a number). When you select a port, the index lets the program look up the port to, for example, open it.
When the combo box changes, a currentIndexChanged signal will occur. Here’s the slot handler for that:
void MainWindow::on_comport_currentIndexChanged(int index)
{
QString out;
// get selected index
int sel=ui->comport->currentData().toInt();
// build up HTML info string in out
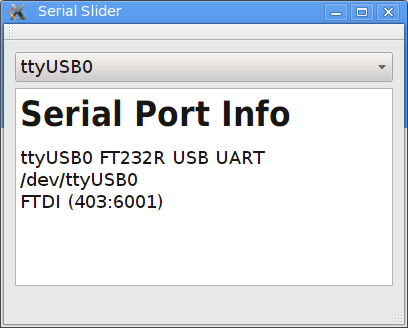
out="<h1>Serial Port Info</h1>";
ui->output->clear();
out += ports[sel].portName() + " " + ports[sel].description() + "
";
out += ports[sel].systemLocation() + "
";
if (ports[sel].hasVendorIdentifier() && ports[sel].hasProductIdentifier())
out += ports[sel].manufacturer() + " ("+ QString::number(ports[sel].vendorIdentifier(),16) + ":" + QString::number(ports[sel].productIdentifier(),16) + ")";
// and put it on the screen
ui->output->setText(out);
}
In this case, the result is information about the serial port. You can see the resulting output, below. The QString is Qt’s string class and, obviously, the text display widget understands some HTML.
Not Just for GUIs
You can develop console applications using Qt, but then many of the provided classes don’t make sense. There’s even a Qt for Embedded (essentially Linux with no GUI). You can find guides for Raspberry Pi and BeagleBoard.
On the mobile side, you can target Android, iOS, and even Blackberry, along with others. Like anything, it probably won’t just be “push a button” and a ported application will fall out. But it still should cut down on development time and cost compared to rewriting a mobile app from scratch.
And the Winner Is…
I’m sure if you want some alternatives, our comment section is about to fill up with recommendations. Some of them are probably good. But it strikes me that not everyone has the same needs and background. The best tool for you might not work as well for me. I find Qt useful and productive.
Even if Qt isn’t your tool of choice, it still can be handy to have in your tool bag. You never know when you will need a quick and dirty cross-platform application.