[Prashant Mohta] got hold of a Raspberry Pi, a 16×2 LCD display and got down to writing a simple game in Python. Pretty soon, he realized that it was cumbersome to have the Ras-Pi and LCD connected when all he wanted to do was write the code. So he wrote a simple Python module which renders the LCD on his computer display. A simple, quick, useful hack.
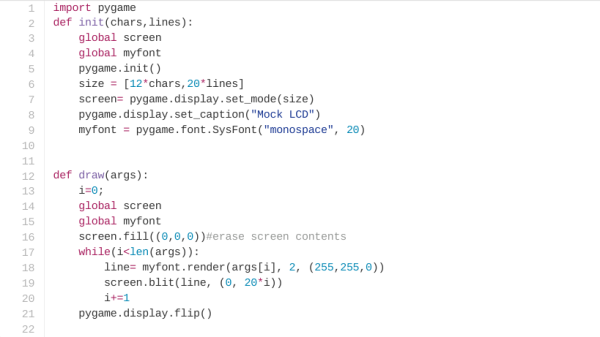
[Prashant]’s code relies on the use of Pygame, a set of Python modules designed for writing games. His code uses just two functions – one to define the LCD (characters and number of lines) while the other draws the characters on the screen by looking up an array. The code is just under 20 lines and available from his Github repo. It will be useful to those who are getting started on Python to help them understand some basics. Python is awesome and writing Python code is pretty simple.
This might draw some flak from the naysayers so if you’re commenting below on the merits, or not, of Python, just keep your comments civil and healthy. In the video below, unrelated to this hack, [Raymond Hettinger] talks about “What makes Python so Awesome”!