Last year’s big hack was software-defined radio; a small USB TV tuner that could listen in on radio broadcasts anywhere between 64 and 1200 MHz. This year, it’s all about the Raspberry Pi, so it’s surprising we’re only just now seeing a mashup of these two pieces of hardware. [Corq] is using a Raspi and RTLSDR TV tuner to listen in on aircraft transponders, and getting a whole bunch of data from aircraft flying overhead.
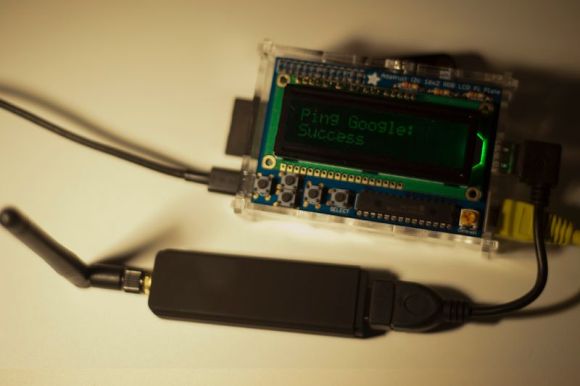
Even though the ADS-B decoder [Corq] is using is written for OS X, he’s reading the data coming from the USB TV tuner over the network with a program called Dump1090. This program allows [Corq] to attach his SDR to a Raspbery Pi and put it somewhere the antenna will get good reception – an attic, or an outdoor weatherproof case – and stream data to his desktop over a WiFi or network connection.
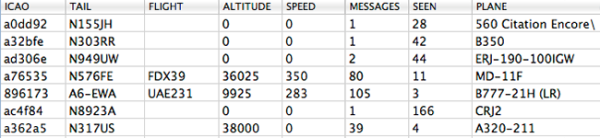
With a USB TV tuner and a Raspberry Pi, [Corq] is able read the tail numbers, altitude, latitude, longitude, speed, heading, and even the type of aircraft currently flying over his house. That’s cool enough, but the fact that he can effectively do this over the Internet makes it a brilliant hardware mashup.