Tending to a garden is usually a rewarding endeavor, as long as there is good soil to work with. If there isn’t, it can either get frustrating quickly having to deal with soils like sand or hard clay, or it can get expensive by having to truck in compost each year. Alternatively, it’s possible to set up systems of growing plants that don’t need any soil at all, although this requires an automated system otherwise known as hydroponics to manage water and nutrients sent to the plants.
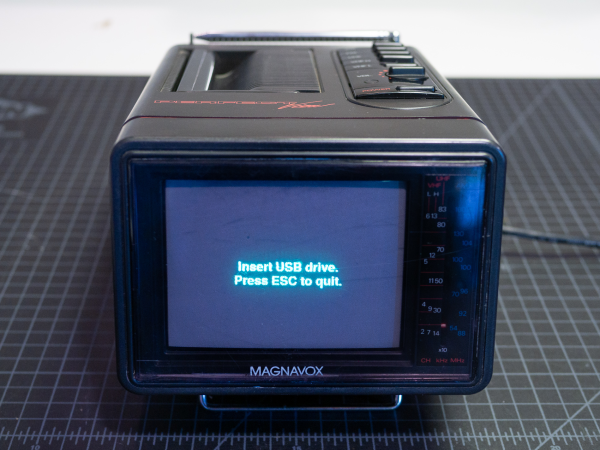
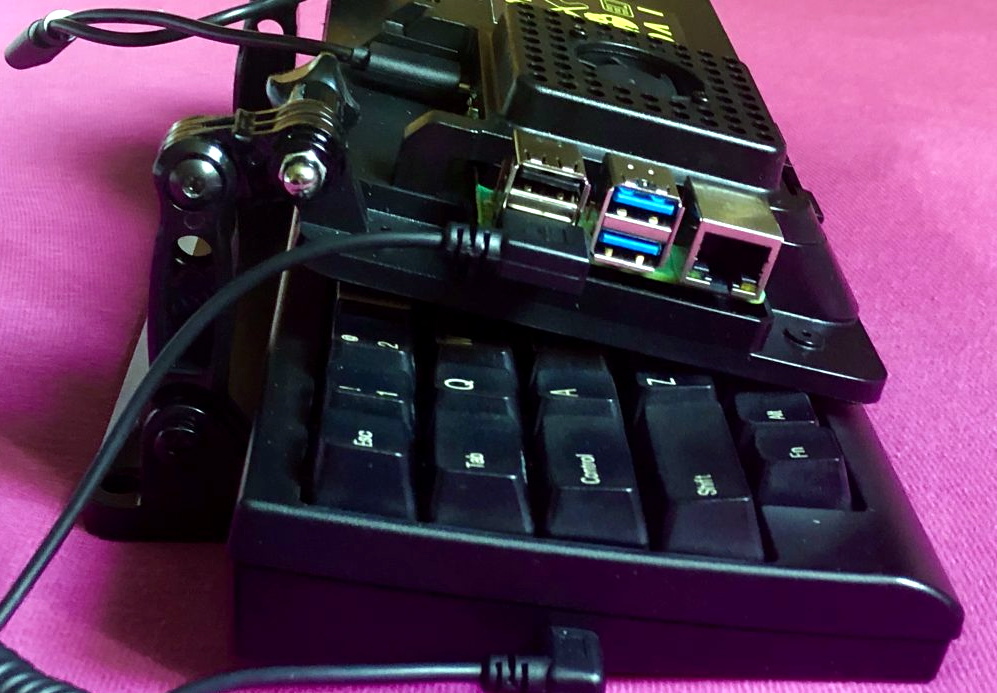
This setup by [Kyle] is unique in that it uses his own open-source software which he calls Mycodo to control the hydroponic system. It is loaded onto a Raspberry Pi 4 (which he notes can now be booted from a USB drive instead of an SD card) which controls all of the peripherals needed for making sure that the water has the correct amount of nutrients and chemical composition.
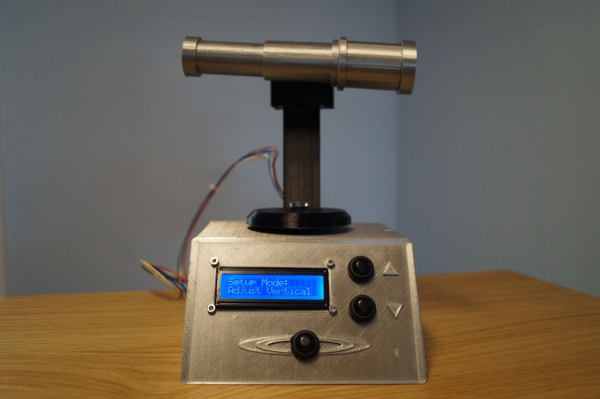
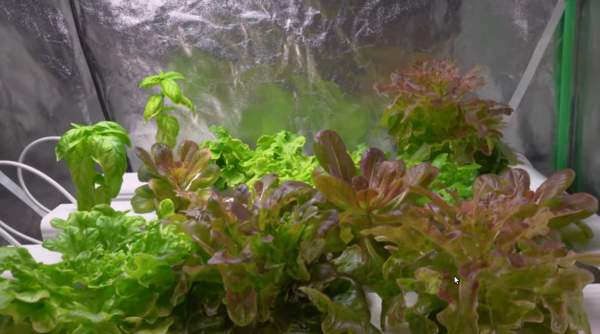
The build is much more than just a software control panel, though. [Kyle] walks through every part of setting up a small hydroponic system capable of effectively growing 15-20 plants indoors. He grows varieties of lettuce and basil, but this system can work for many more types of plants as well. With just slight variations, a similar system can not only grow plants like these, but fish as well.