Control LED Lighting With An Old Stereo Receiver

stereo_controlled_home_lighting

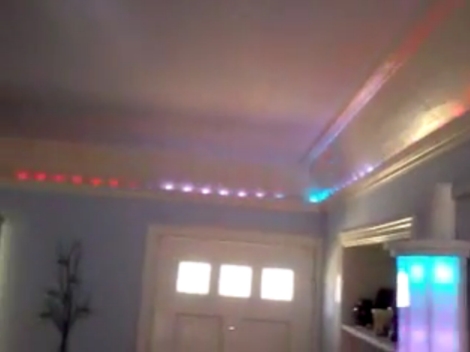
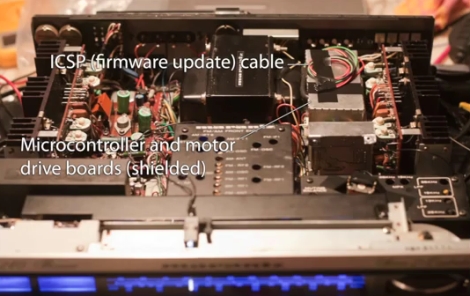
[Marklar] needed an IR receiver for a project he was working on, and his local electronics store was fresh out. He dug through his junk pile and found an old stereo receiver, so he decided to pull the IR module from it before tossing it out. Once he had it taken apart, he figured that he could utilize the wide array of electronic components he found inside, and set off to start a new project.

The control panel housed the components which interested him most of all. Using an Arduino, he was able to easily interface with the rotary encoders as well as the buttons, giving him a cheap and easy way to control his home lighting system. With a bit of programming, he was able to map lighting presets to various buttons, as well as use the rotary encoder to control the LEDs’ brightness and color. As an added bonus, he kept the IR receiver intact and can control his setup wirelessly as well.

Check out the video we have embedded below to see his scavenged control system at work.

[via HackedGadgets]

Continue reading “Control LED Lighting With An Old Stereo Receiver”

RF Robot Controlled From A Terminal Window

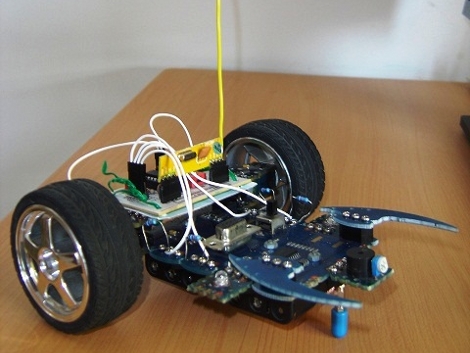
This robot can be controlled from the terminal window of your computer. You can see a manilla-colored board mounted between the wheels. This is the RF receiver which has quite a long antenna that we’ve cropped out to get a better look at the bot itself. [Ashish] picked up an RF transmitter/receiver pair for about $4 and after the break you can watch him walk us through the method he’s using for control.

First off, he had to find a way to interface the transmitter with his computer. He decided to use an Arduino because sending data to it from the computer is as simple as writing to /dev/ttyUSB0. The Arduino sketch just listens for incoming characters on the serial connection and pushes them over the RF transmitter.

We like his development methods. In the video he shows the command syntax used to drive and stop the robot. Once he figured that out he wrote a shell script to send the bot on a preprogrammed square path. From there a bit more coding would give him real-time control which could be extended to something like a web-based interface for smartphone control.

Oh, and if you’re wondering about the bot itself it’s a kit robot which normally uses IR control. [Ashish] upgraded to RF since it doesn’t require line-of-sight to work.

Continue reading “RF Robot Controlled From A Terminal Window”

Radios Without Power Sources

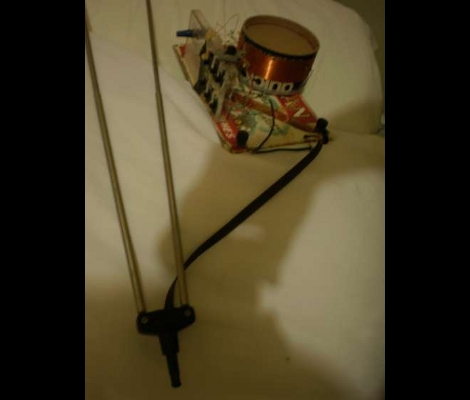
[Goodhart] is sharing his process for building a couple different AM radios. It’s surprising how few components he’s using; the first build is just a germanium diode, some wire, and a piezo earpiece. But it strikes us that both of the radios he gives build instructions for have no power source. We’re also amused by the process of selecting the station. His example uses 770 AM, and requires you to take the wire and place it up in a tree with the two ends about 1216 feet apart. We think there’s something a bit off with the math, but with that much conductor to start with there might be enough induced current for you to actually hear something come out the piezo. We don’t think we’ll be trying this anytime soon, but we’d like to hear comments from those of you who do (or already have).

Data Confirmation With RF Communications

[Rafael] built a system that uses radio frequency for communications. The code he was using with the inexpensive receiver/transmitter pairs already had some error correction but from time to time an entire message would be missed by the receiver. He set out to make these RF communications more robust.

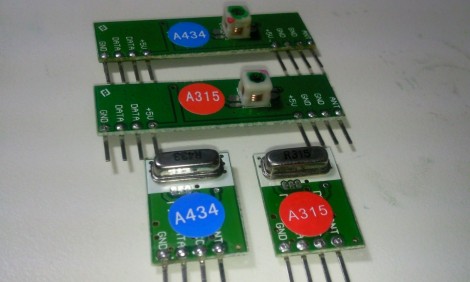
A little more than a year ago we looked at using these same transmitters with an Arduino. [Rafael] has a similar setup but since they are unidirectional he chose to use two pairs for bidirectional communication (each operating at a different frequency to avoid interference). On one end, a computer transmits data to the Arduino which is in a remote location. His confirmation protocol relies on a randomly generated message identifier. The computer will continually transmit the same message. The Arduino continually receives these messages, comparing them with the last successfully received message. If they match, it is considered a successful data transfer and the Arduino transmits a confirmation back to the computer which then starts transmitting the next message.

This isn’t an application-specific protocol. For demonstration purposes [Rafael] built a quick home automation setup that uses it to operate a house lamp.

IR Receiver As USB Keyboard

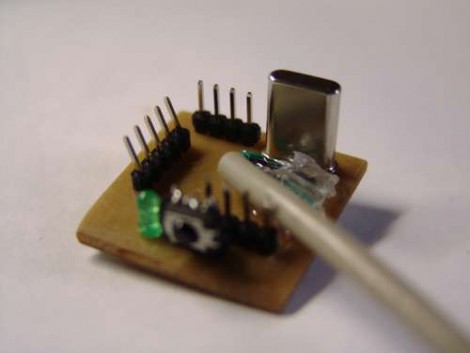
[Arthur] built an IR receiver to use with XBMC. Because it’s software specific he identifies the device on USB as a keyboard, and passes the IR commands as keystrokes used by the popular media platform.

Normally, homebrew IR receivers would use LIRC, the Linux Infrared Remote Control software. But this method doesn’t require you to have that running. In fact, it doesn’t need any setup on the PC end of things. Any remote that uses the Sony SIRC protocol will work off the bat.

[Arthur] chose a PIC 18f2550 for the project. It is a popular microcontroller because it has built-in USB handling. We’re a bit skeptical of the hardware design though. We didn’t see specifically which IR receiver he’s using, but many require some type of filtering so check the suggested layout in the datasheet for your module.

All About VLF Radio

If you’re interested in learning about Very Low Frequency communications take a look at what Larry has to offer on his site. He’s put together a guide to VLF receivers that is short enough to read and clear enough to understand with rudimentary knowledge of circuits. He builds a simple receiver as a working example and a high-powered transmitter that can put out over 2600 watts. Let’s face it, radio operators were the original electronic hackers. Get back to our roots and learn the ways of the transistor.

[Thanks Buddy]

Add IR Control To Your WiFi Router

wrt54g_ir_receiver

[Craig] wanted to use Boxee on his TV but his computer was in a different room. He rigged up a rather dubious method of delivering the A/V signal (this is a hack in the most guttural sense). More interesting to us is his solution for a remote control interface. We’re familiar with building USB connected infrared receivers but [Craig] decided to patch one into the serial connection on his Linksys WRT54G router. Continue reading “Add IR Control To Your WiFi Router”