Gutarist, hacker, and mustache enthusiast [David Neevel] brought together way too many pieces of hardware in order to use his electric guitar as a computer keyboard.
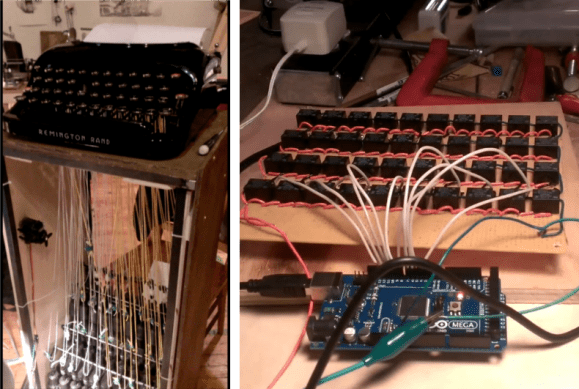
So let’s dig into the house of cards he built for the project. It starts off with the guitar which has been fitted with an additional pickup to interface with a Roland GR-33 synthesizer pedal. That outputs a MIDI signal, which many hackers would have connected to the computer and parsed with a simple script. But not [David], he connected it to an Arduino via an optisolator. Well that’s not too ridiculous, right? Don’t you think he’ll just parse the MIDI signals and push them to the computer via the Arduino’s USB port? Wrong! He translates the MIDI signals into combinations for a big relay board which is emulating the key matrix of an old USB keyboard. But as you can see in the demo video after the jump it works quite well.
If you’re more of the drumming sort there’s an electric drum set version of this hack too.
Continue reading “Horribly Complicated Electric Guitar Keyboard”