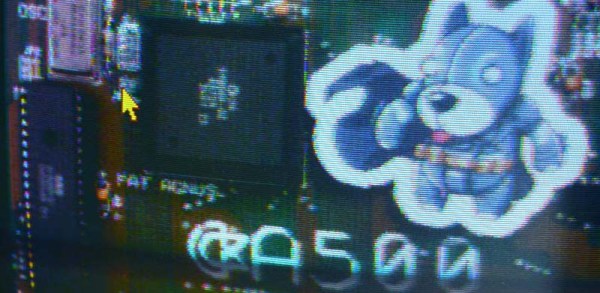
There was a time in the late 80s and early 90s where the Amiga was the standard for computer graphics. Remember SeaQuest? That was an Amiga. The intro to Better Call Saul? That’s purposefully crappy, to look like it came out of an Amiga. When it comes to the Amiga and video, the first thing that comes to mind is the Video Toaster, hardware and software that turns an Amiga 2000 into a nonlinear video editing suite. Digital graphics, images, and video on the Amiga was so much more than the Video Toaster, and at this year’s Vintage Computer Festival East, [Bill] and [Anthony] demonstrated what else the Amiga could do.
scanner95 Articles
DIY Single Pixel Digital Camera
[Artlav] wanted to build a digital camera, but CCDs are expensive and don’t respond well to all wavelengths of light. No problem, then, because with a photodiode, a few stepper motors, the obligatory Arduino, and a cardboard box, it’s pretty easy to make one from scratch.
The camera’s design is based on a camera obscura – a big box with a pinhole in one side. This is all a camera really needs as far as optics go, but then there’s the issue of digitizing the faint image projected onto the rear of the camera. That’s fine, just build a cartesian robot inside the box and throw a photodiode in there.
There are a few considerations when choosing a photodiode for a digital camera. Larger photodieodes have higher noise but lower resolution. [Artlav] has been experimenting with a few diodes, but his options are limited by export control restrictions.
Even with the right photodiode, amplifying the tiny amount of current – picoamps in some cases – is hard. The circuit is extremely sensitive to EMI, and it’s inside a box with stepper motors pulled from the scrap bin. It’s amazing this thing works at all.
Still, [Artlav] was able to get some very high resolution images across a huge range of wavelengths. He’s even getting a few images in mid-wave infrared, turning this homebrew digital camera into the slowest thermal imaging camera we’ve ever seen.
Automatic 3D Scanning On The Cheap
After hearing about a few 3D object scanners, [Will] thought one of these tools could find a place in his workshop. The price of these scanners made him reconsider simply buying one, so he just made one out of parts that were sitting around. This was the first version of his 3D scanner. It worked, but there were a few shortcomings. [Will] had to rotate the object manually. That’s a cheap way of doing it, but the method is tedious.
Now [Will] is back for round two. He’s made some improvements, and this time a few bits of electronics automate the process, allowing [Will] to hit a button, walk away, and come back to a scanned object.
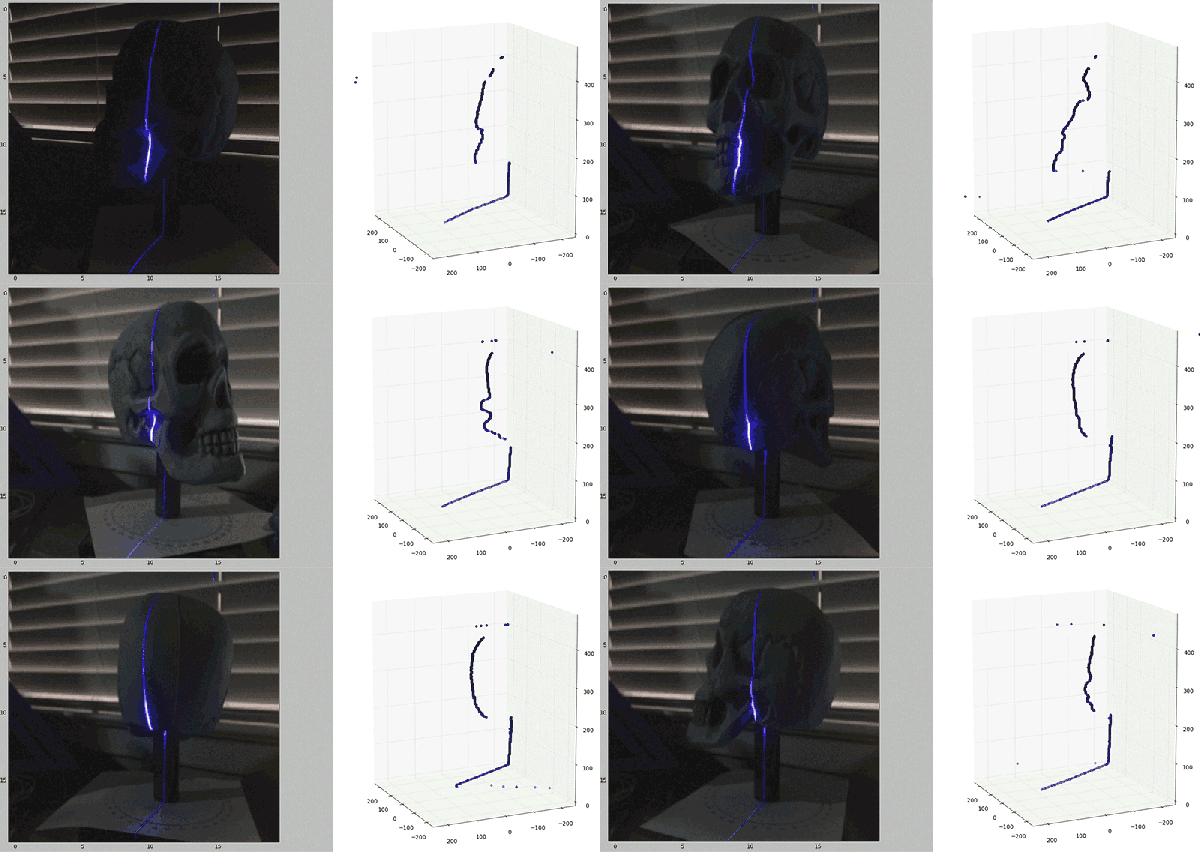
Even though [Will] has improved his setup immensely, the theory of how to scan an object remains the same. He’s projecting a straight vertical line on an object, taking a few snapshots with a webcam, and reconstructing the object with computer vision algorithms and Meshlab. The new additions include a BeagleBone Black, a stepper motor and an EasyDriver from Sparkfun, and a turntable.
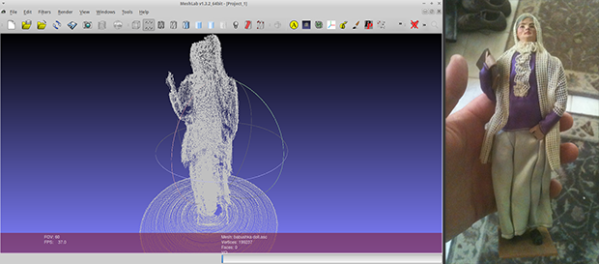
[Will] wrote two scripts for this project. The first does the mechanical heavy lifting – turning the stepper motor and taking a picture, while the second converts the output from the webcam to a point cloud. From there, the point cloud is sent over to Meshlab, and an object appears on [Will]’s hard drive.
There’s about $80 in hardware invested in this setup, and considering the inspiration for this project was the $800 Makerbot Digitizer, we’re going to call [Will]’s experiments in 3D scanning a success.
Scanning On The Cheap
[Will] recently stumbled across the MakerBot Digitizer, a device that’s basically a webcam and a turntable that will turn a small object into a point cloud that can then be printed off on a MakerBotⓇ 3D printer. Or any other 3D printer, for that matter. The MakerBot Digitizer costs $800, and [Will] wondered if he could construct a cheaper 3D scanner with stuff sitting around his house. It turns out, he can get pretty close using only a computer, a webcam, and a Black and Decker line laser/level.
The build started off with a webcam mounted right next to the laser line level. Software consisted of Python using OpenCV, numpy, and matplotlib to grab images from the webcam. The software looks at each frame of video for the path of the laser shining against the object to be scanned. This line is then extracted into a 3D point cloud and reconstructed in MeshLab to produce a 3D object that might or might not be 3D printable.
This is only [Will]’s first attempt at creating a scanner. He’s not even using a turntable with this project – merely manually rotating the object one degree for 360 individual frames. It’s extremely tedious, and he’ll be working on incorporating a stepper motor in a future version.
This is only attempt number 1, but already [Will] has a passable scanned object created from a real-world thing.
A 3D(ollar) Scanner
Once you have a 3D printer, making copies of objects like a futuristic Xerox machine is the name of the game. There are, of course, 3D scanners available for hundreds of dollars, but [Joshua] wanted something a bit cheaper. He built his own 3D scanner for exactly $2.73 in parts, salvaging the rest from the parts bin at his local hackerspace.
[Josh]’s scanner is pretty much just a lazy suzan (that’s where he spent the money), with a stepper motor drive. A beam of laser light shines on whatever object is placed on the lazy suzan, and a USB webcam feeds the data to a computer. The build is heavily influenced from this Instructables build, but [Josh] has a few tricks up his sleeve: this is the only laser/camera 3D scanner that can solve a point cloud with the camera in any vertical position. This potentially means algorithmic calibration, and having the copied and printed object come out the same size as the original. You can check out that code on the git.
Future improvements to [Josh]’s 3D scanner include the ability to output point clouds and STLs, meaning anyone can go straight from scanning an object to slicing it for a 3D printer. That’s a lot of interesting software features for something that was basically pulled out of the trash.
WiFinder Is A Python Driven Roommate Warning System

We’ve all been there. Your roommate is finally out of the house and you have some time alone. Wait a minute… your roommate never said when they would be back. It would be nice to be warned ahead of time. What should you do? [Mattia] racked his brain for a solution to this problem when he realized it was so simple. His roommates have been warning him all along. He just wasn’t listening.
Most Hackaday readers probably have a WiFi network in their homes. Most people nowadays have mobile phones that are configured to automatically connect to these networks when they are in range. This is usually smart because it can save you money by not using your expensive 4G data plan. [Mattia] realized that he can just watch the wireless network to see when his roommates’ phones suddenly appear. If their devices appear on the network, it’s likely that they have just arrived and are on their way to the front door.
Enter wifinder. Wifinder is a simple Python script that Mattia wrote to constantly scan the network and alert him to new devices. Once his roommates are gone, Mattia can start the script. It will then run NMap to get a list of all devices on the network. It periodically runs NMap after this, comparing the new host list to the old one. If any new devices show up, it alerts with an audible beep and a rather hilarious output string. This type of scanning is nothing new to those in the network security field, but the use case is rather novel.
Fingerprint Scanner Both Simplifies And Complicates Opening Garage Door

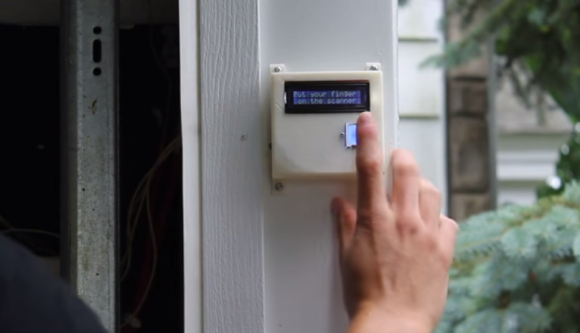
Opening a garage door by hand is a lot of work and a hassle, hence the advent of the garage door opener. Nowadays, some people may even say just pushing the button of a remote control requires too much effort. [nodcah] is one of those people so he came up with a fingerprint scanner that controls a pre-installed garage door opener. All kidding aside, it is a cool project that lets you into your garaage, keeps unknown people out and doesn’t require you to remember to carry a key or remote.
In the center of this project is an ATmega328 that runs a custom Arduino code. This ATmega328 is responsible for controlling a 16 character, 2 line LCD screen as well as communicate with an off the shelf fingerprint scanner from Sparkfun. The fingerprint scanner has a built in CPU, can store up to 20 fingerprints and does all its own processing of fingerprint scans. It then communicates to the ATmega328 with simple commands over serial Tx and Rx lines.
The ATmega328, LCD and fingerprint scanner are all mounted outside the garage in a 3D printed enclosure. If the wires for the internal-garage open/close button were just run straight into this outdoor module, anyone could open it up, short the wires and get into the garage. To prevent this, if the ATmega328 gets the ‘OK’ from the fingerprint scanner, then it sends a signal to an ATtiny85 that is inside the garage. If the ATtiny85 receives the correct signal, it will then actuate the garage door opener by shorting the open/close button contacts. This prevents anyone from sneaking into the garage.
[nodcah] did a great service to the community by making all of the part list, schematics, instructions and Arduino code available so anyone can easily put this project together.
Continue reading “Fingerprint Scanner Both Simplifies And Complicates Opening Garage Door”


