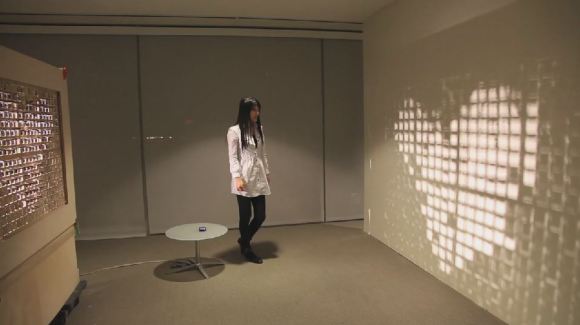
Here’s another interesting project to come out of the MIT Media Lab — it’s called LightByte, and it’s all about interacting with sunlight and shadows in a new, rather unorthodox way.
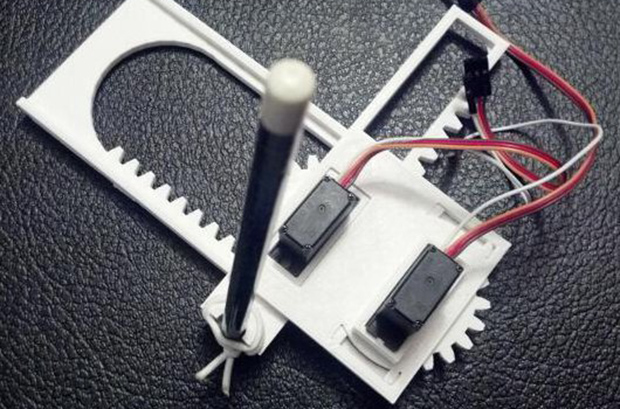
We suppose its technical name could be a massive interactive sun pixel facade, but that’s a bit too much of a mouthful. What you really want to know is how it works, and the answer is, a lot of servos. We weren’t able to find an exact number but the hardware behind LightByte includes well over 100 servos, and a matrix of Arduinos to control them. While that is quite impressive by itself, it gets better — it’s actually completely interactive; recognizing gestures, responding to text messages and emails, and you can even draw pictures with the included “wand”.