In the Blackberry-keyboard-based project lineage story last week, I covered how a series of open-source projects turned into Beepy, a cool Linux PDA with a lively community. To me, it’s yet another demonstration of power that open-source holds, and more importantly, it shows how even a small pet project of yours could cause big moves in the hardware world, provided you publish it – just ask [JoeN], [WoodWorkeR] and [arturo182].
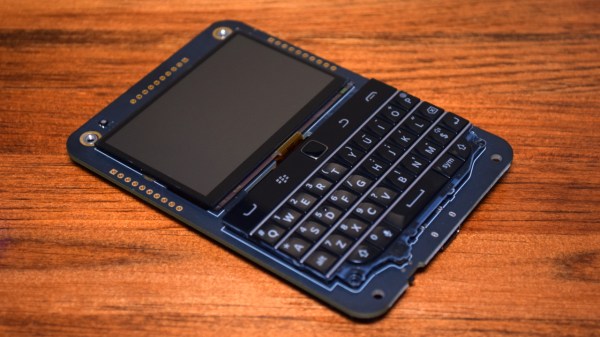
The journey didn’t end there. For all its benefits, Beepy had some flaws to take care of, some board-killing flaws, even. The 5 V boost regulator was never intended for 4.7 V input it gets when charger is connected, and would occasionally cook itself. A charging current resistor was undersized, leading people to either bodge resistors onto their Beepy boards, or have their battery charge for 30 hours until full. A power path diode was undersized, too, and has burned out on more than a few devices. Also, Beepy’s feature package left things to be desired.
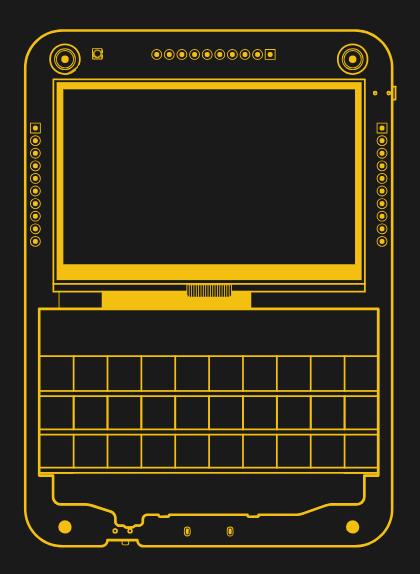
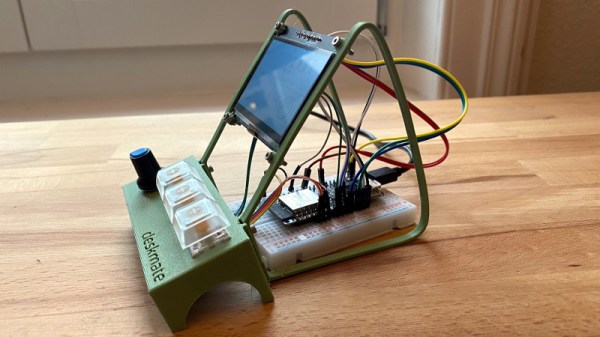
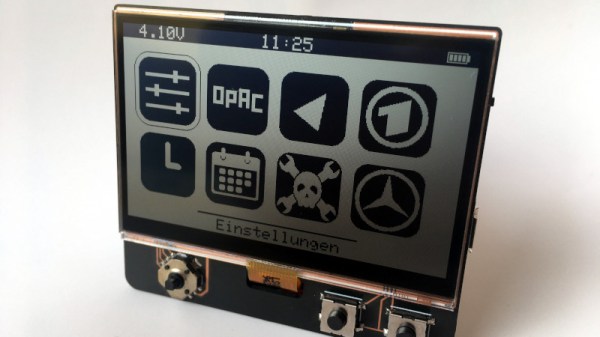
Beepy never made it beyond v1. If I had to guess, partially because of BB Q20 keyboard sourcing troubles, but also definitely some sort of loss of interest. Which is a shame, as the plans v1.5 of the hardware were pretty exciting. In the meantime, other players decided to take up the mantle – here’s a tale of three projects.