Digital Replica Of Antique Weather Monitoring Instrument

Computers and digital sensors have allowed for the collection and aggregation of data barely possible to imagine to anyone in the instrumentation scene even sixty years ago. Before that, things like weather stations, seismometers, level sensors, and basically any other way of gathering real data about the world would have been performed with an analog device recording the information on some sort of spool of paper. This was much more tedious but the one thing going for these types of devices was their aesthetic. [mircemk] is back to bring some of that design inspiration to a digital barometric display.

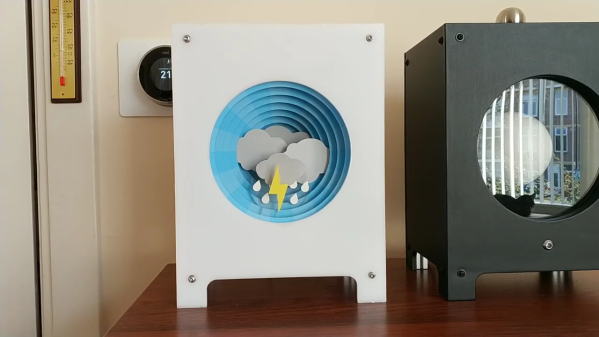
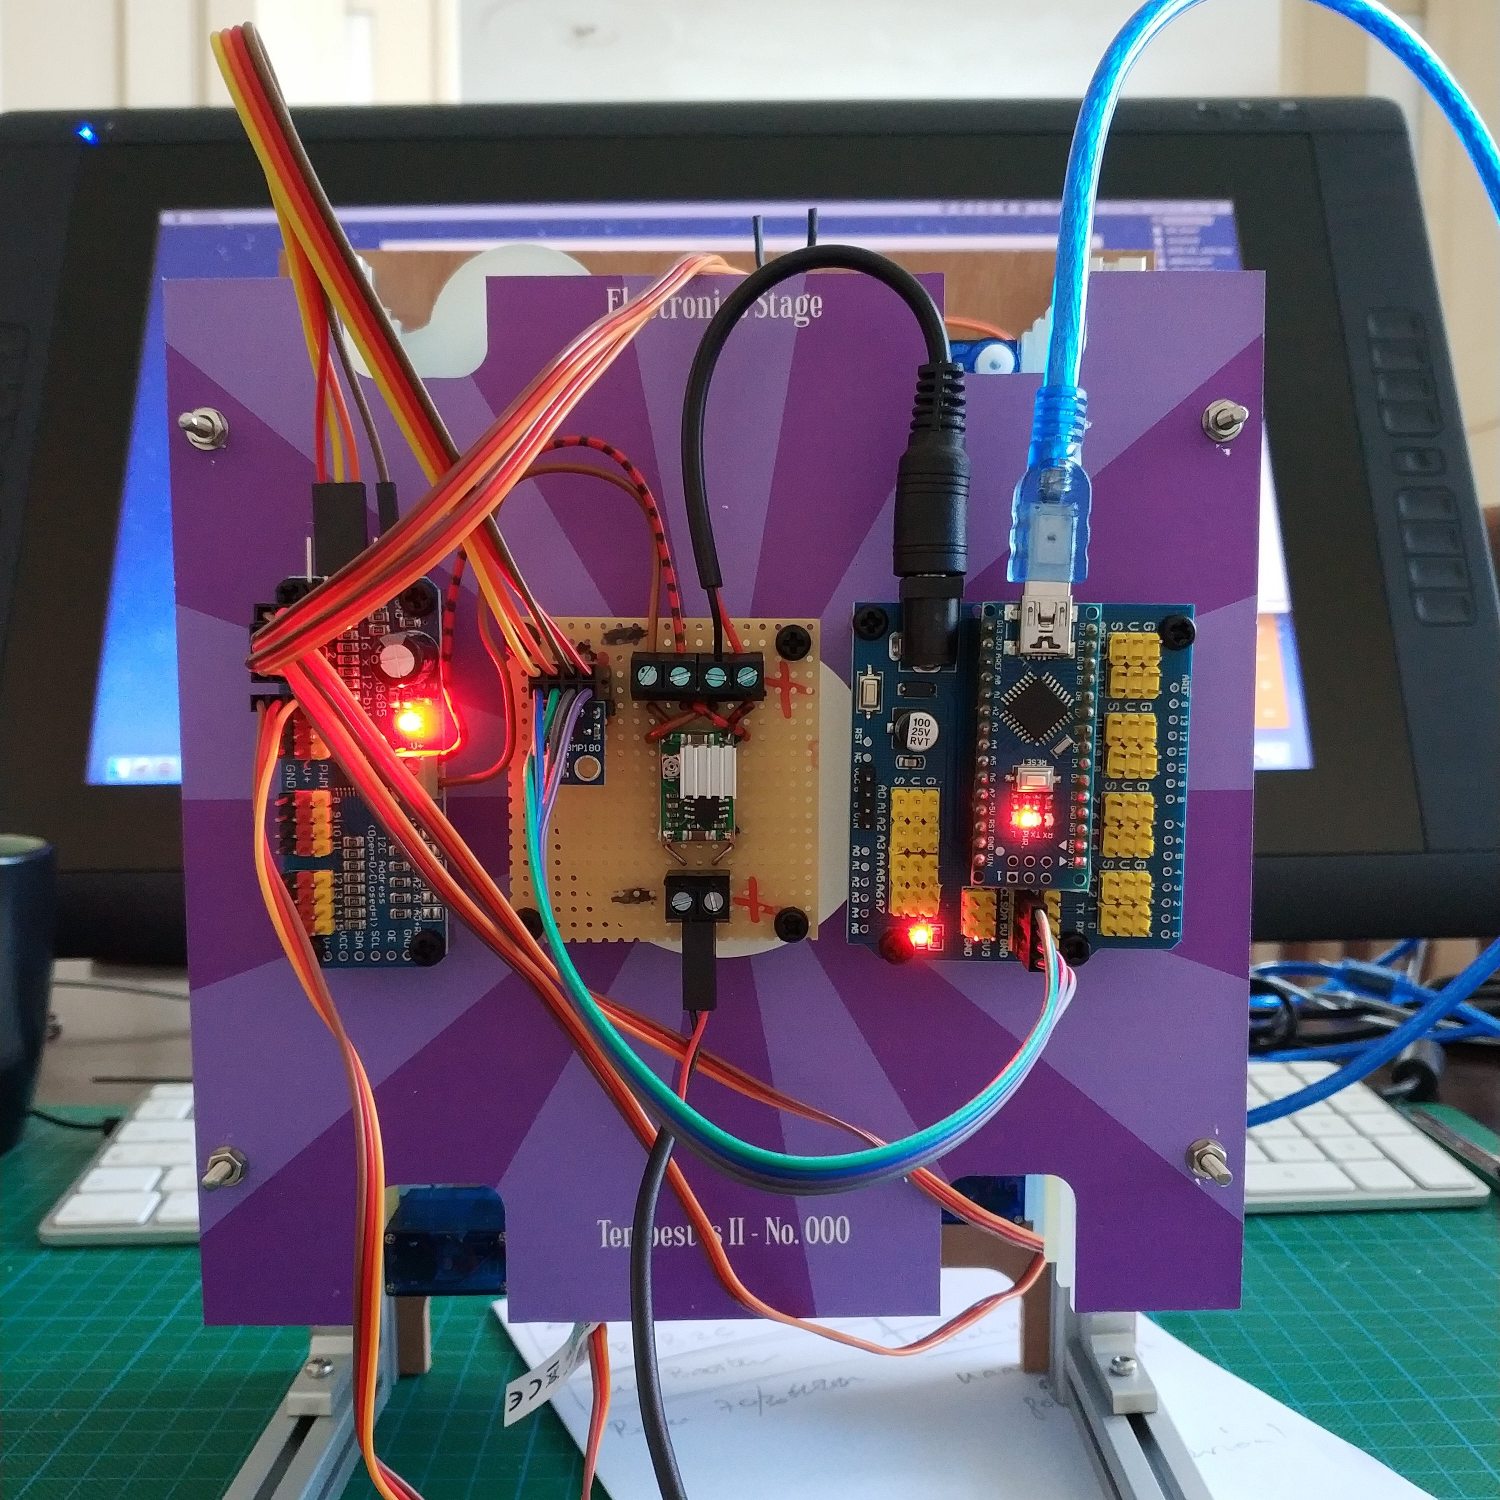
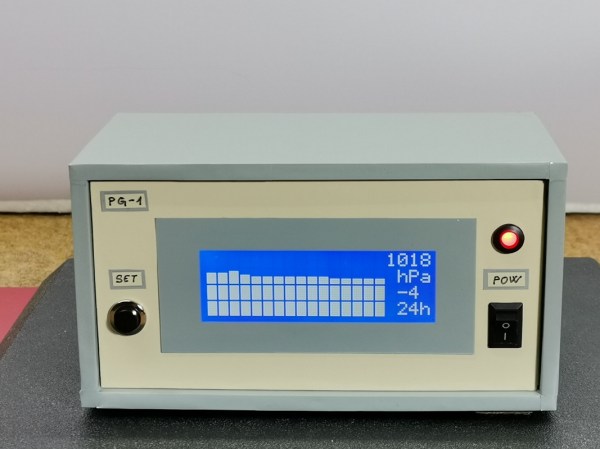
The barometer is based around an Arduino Arduino Nano and a relatively large I2C display to display the captured data. It also uses a BME 280 pressure sensor board, but the technical details of this project are not the focal point here. Instead, [mircemk] has put his effort in recreating the old analog barographs, which display barometric data on a spool of paper over time, on the I2C display. As the device measures atmospheric pressure, it adds a bar to the graph, displaying the data over time much as the old analog device would have.

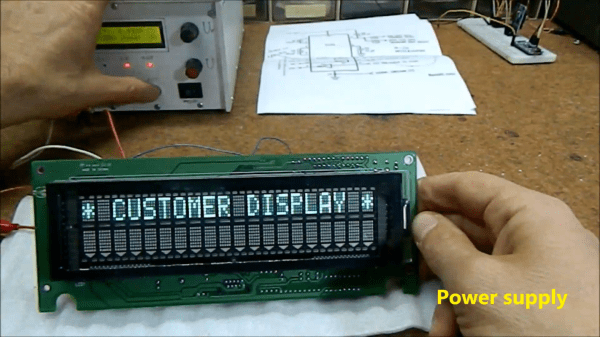
We’ve discussed plenty of times around here that old analog meters and instrumentation like this recreation of a VU meter are an excellent way of getting a more antique aesthetic than is typically offered by digital replacements. Adding in a little bit of style to a project like this can go a long way, or you can simply restore the original antique instead.

Hub-powered bike computer

Battery-less Bike Computer Gets Power And Data From The Wheels

Bicycle generator technology has advanced far beyond the bottle dynamos of years past, which as often as not would introduce enough drag when engaged to stall the bike. Granted, it’s not as much of a current draw as a big old incandescent headlight, but this wheel-powered cyclocomputer is a great example of harvesting both power and data from the rotation of a bike’s wheel.

While there are plenty of cyclocomputers available commercially, [Lukas] was looking for some specific features. His main goal was something usable at night, which means a backlit display, ruling out the usually coin-cell power sources. His bike’s hub dynamo offered interesting possibilities — not only does it provide AC power, but its output frequency is proportional to the bike’s speed. This allows him to derive speed, distance, RPM, time-in-motion, and other parameters to display on the 1×8 character LCD display. There’s some clever circuitry needed to condition the output of the hub dynamo, and a 1.5 farad supercapacitor keeps the unit powered for about four days when the bike isn’t in motion.

As for measuring the frequency of the dynamo’s output, [Lukas] simply used a digital input on the MSP430 microcontroller, with a little signal conditioning of course. He also added a barometer chip for altitude data, plus an ambient light sensor to control the LCD backlight. Everything lives in a clever 3D-printed case with a minimalist but thoughtful design that docks and undocks from the bike easily; [Lukas] assures us that a waterproof version of the case is in the works.

We really appreciate the elegance of this design, and the way it uses the data that’s embedded in the power supply. While [Lukas] appears to have used a commercially available generator, we’ve seen other examples of home-brew hub dynamos before — even one that offers regenerative braking.

Using Arduinos To Drive Undocumented Displays

For those of us old enough to remember the VCR (and the difficulty of programming one), the ubiquitous vacuum fluorescent display, or VFD, is burned into our memories, mostly because of their brightness and contrast when compared to the superficially-similar LCD. These displays are incredibly common even apart from VCRs, though, and it’s easy to find them for next to no cost, but figuring out how to drive one if you just pulled it out of a 30-year-old VCR is going to take some effort. In this build, [mircemk] shows us how he drives unknown VFD displays using an Arduino in order to build his own weather forecasting station.

For this demonstration [mircemk] decided to turn a VFD into a weather forecasting station. First of all, though, he had to get the VFD up and running. For this unit, which came from a point-of-sale (POS) terminal, simply connecting power to the device turned on a demo mode for the display which let him know some information about it. From there, and with the knowledge that most POS terminals use RS232 to communicate, he was able to zero in on the Rx and Tx pins on the on-board microcontroller and interface them with an Arduino. From there it’s a short step to being able to output whatever he wanted to this display.

For this project, [mircemk] wanted the display to output information about weather, but rather than simply pull data from some weather API he is actually using a sensor suite connected to the Arduino to measure things like barometric pressure in order to make a 12-hour forecast. The design is inspired by old Zambretti weather forecasters which used analog wheels to input local weather data. It’s an interesting build not only for the VFD implementation but also for attempting to forecast the weather directly with just a tiny sensor set instead of downloading a forecast to display. To do any better with your own forecasts, you’d likely need your own weather station.

Continue reading “Using Arduinos To Drive Undocumented Displays”

This Barometer Looks Mighty Fine, Rain Or Shine

Mythological legend has it that Tempestas, the Roman goddess of storms and sudden weather, saved the consul Scipio when his fleet of ships got caught in a storm off of Corsica. In return, she demanded that a temple be dedicated to her.

[SephenDeVos]’ beautiful barometer, dubbed Tempestas II,  demands nothing of the viewer, but will likely command attention anyway because it looks so cool. If the weather is anything but clear and sunny, the appropriate sun-obscuring weather actor, be it clouds, more clouds, rain, or lightning will swing into place, blocking out the blue sky in layers, just like real life.

There’s a total of five weather-serving servos, and they’re all controlled by an Arduino Nano through a 16-channel PWM driver. The Nano gets the news from a BMP280 barometric pressure/temperature sensor and drives the servos accordingly.

Nine layers of nicely-decorated Plexiglas® hide the clouds and things in the wings while it’s nice outside. We totally love the way this looks —  it’s even pretty on the back, where the sun don’t shine. This one is new and ongoing, so it seems likely that [Sephen] will post the code before the sun sets on this project. In the meantime, check out the demo after the break.

We don’t see too many barometers builds around here — maybe there’s too much pressure. This one tells you to lay off the coffee when the pressure’s too low.

Continue reading “This Barometer Looks Mighty Fine, Rain Or Shine”

Radiosondes: Getting Data From Upstairs

Ever since I first learned about radiosondes as a kid, I’ve been fascinated by them. To my young mind, the idea that weather bureaus around the world would routinely loft instrument-laden packages high into the atmosphere to measure temperature, pressure, and winds aloft seemed extravagant. And the idea that this telemetry package, having traveled halfway or more to space, could crash land in a field near my house so that I could recover it and take it apart, was an intoxicating thought.

I’ve spent a lot of time in the woods over the intervening years, but I’ve never seen a radiosonde in the wild. The closest I ever came was finding a balloon with a note saying it had been released by a bunch of schoolkids in Indiana. I was in Connecticut at the time, so that was pretty cool, but those shortsighted kids hadn’t put any electronics on their balloon, and they kind of left me hanging. So here’s a look at what radiosondes are, how they work, and what you can do to increase your chances of finding one.

Continue reading “Radiosondes: Getting Data From Upstairs”

Conductive Concrete Confounds Circuitry

There’s a fairly good chance you’ve never tried to embed electronics into a chunk of concrete. Truth be told, before this one arrived to us via the tip line, the thought had never even occurred to us. After all, the conditions electronic components would have to endure during the pouring and curing process sound like a perfect storm of terrible: wet, alkaline, and with a bunch of pulverized minerals thrown in for good measure.

But as it turns out, the biggest issue with embedding electronics into concrete is something that most people aren’t even aware of: concrete is conductive. Not very conductive, mind you, but enough to cause problems. This is exactly where [Adam Kumpf] of Makefast Workshop found himself while working on a concrete enclosure for a color-changing barometer called LightNudge.

While putting a printed circuit board in the concrete was clearly not workable, [Adam] was hoping to simplify manufacturing of the device by embedding the DC power jack and capacitive touch sensor into the concrete itself. Unfortunately, [Adam] found that there was a resistance of about 200k Ohm between the touch sensor and the power jack; more than enough to mess with the sensitive measurements required for the touch sensor to function.

Even worse, the resistance of the concrete was found to change over time as the curing process continued, which can stretch out for weeks. With no reliable way to calibrate out the concrete’s internal conductivity, [Adam] needed a way to isolate his electronic components from the concrete itself.

Through trial and error, [Adam] eventually found a cheap method: dipping his sensor pad and wire into an acrylic enamel coating from the hardware store. It takes 24 hours to fully cure, and two coats to be sure no metal is exposed, but at least it’s an easy fix.

While the tip about concrete’s latent conductivity is interesting enough on its own, [Adam] also gives plenty of information about casting concrete parts which may be a useful bit of knowledge to store away for later. We have to admit, the final result is certainly much slicker than we would have expected.

This is the first one we’ve come across that’s embedded in concrete, but we’ve got no shortage of other capacitive touch projects if you’d like to get inspired.

DIY Barometer: It’s For Your Health!

[Taciuc Marius] and his colleague noticed that days with low atmospheric pressure plus caffeine in their system meant a spike in blood pressure. Considering how this might impact his cardiovascular health, he decided to make a relative pressure barometer out of a jar to help him decide whether he should really have another cup of coffee.

Aside from a 3D printer, you’ll need to assemble a small jar with a lid, some screws, lock washers, nuts, and a flexible membrane — a piece of a rubber glove or balloon will do nicely. [Marius] details the build process on his project page, advising others to print the parts at 0.2 resolution — potentially even upping the extrusion multiplier to 1.1 — to prevent gaps in the print that would compromise the airtight seal needed for the barometer to work properly.

Additionally, thick glue or epoxy is recommended for the rest of the assembly process — it doesn’t have to be pretty, but it does need to be sealed! The final product can be easily tested by simply holding the jar.

While this barometer helps one make healthy choices, not all are created equal. This one tells you flat out how you should consider getting to work, while others have been tricked into behaving like touch sensors.