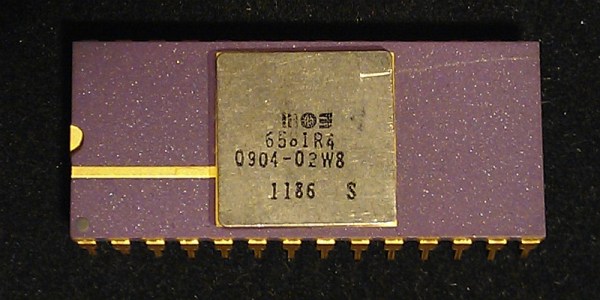
Here’s a business plan for you, should you ever run into an old silicon fab sitting in a dumpster: build Commodore SID chips. The MOS 6581 and 8580 are synthesizers on a chip, famously used in the demoscene, and even today command prices of up to $40 USD per chip. There’s a market for this, and with the right process, this could conceivably be a viable business plan.
Finding a silicon fab in a dumpster is a longshot, but here’s the next best thing: an FPGASID project. The FPGASID is a project to re-create the now-unobtanium MOS 6581 found in the Commodore 64.
The Commodore SID chip has been out of production for a while now, and nearly every available SID chip has already been snapped up by people building MIDIbox SIDs, or by Elektron for their SidStation, which has been out of production for nearly a decade. There is a demand for SID chips, one that has been filled by “clones” or recreations using ATmegas, Propellers, and nearly every other microcontroller architecture available. While these clones can get the four voices of the SID right, there’s one universal problem: the SID had analog filters, and no two SIDs ever sounded alike.
From the audio samples available on the project page for the FPGASID, the filters might be a solved problem. The output from the FPGASID sounds a lot like the output from a vintage SID. Whether or not this is what everyone agrees a SID should sound like is another matter entirely, but this is the best attempt so far to drag the synth on a chip found in the Commodore 64 into modern times.
The files, firmware, and FPGA special sauce aren’t available yet, but the FPGASID is in alpha testing, with a proper release tentatively scheduled for early 2017. Maybe now it’s time to dig out those plans for the Uber MIDIbox, with octophonic SID goodness.


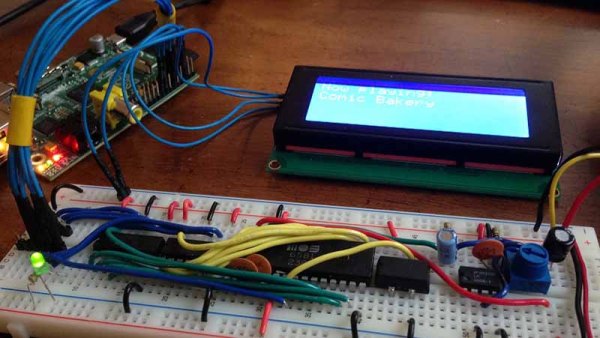
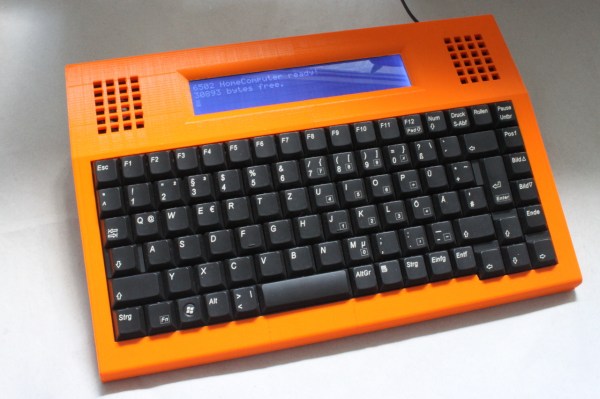
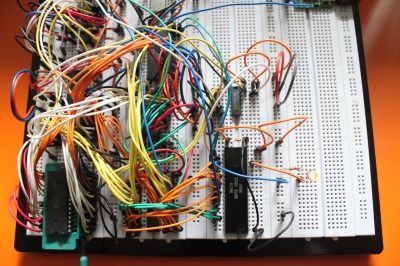 [Dirk] has some great documentation to go with his computer. He started with a classic MOS 6502 processor. He surrounded the processor with a number of support chips correct for the early 80’s period. RAM is easy-to -use static RAM, while ROM is handled by UV erasable EPROM. A pair of MOS 6522 Versatile Interface Adapter (VIA) chips connect the keyboard, LCD, and any other peripherals to the CPU. Sound is of course provided by the 6581 SID chip. All this made for a heck of a lot of wires when built up on a breadboard. The only thing missing from this build is a way to store software written on the machine. [Dirk] already is looking into ways to add an SD card interface to the machine.
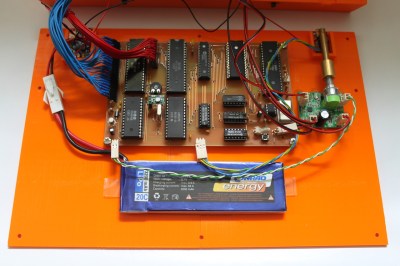 The home building didn’t stop there though. [Dirk] designed and etched his own printed circuit board (PCB) for his computer. DIY PCBs with surface mount components are easy these days, but things are a heck of a lot harder with older through hole components. Every through hole pin and via had to be drilled, and soldered to the top and bottom layers of the board. Not to mention the fact that both layers had to line up perfectly to avoid missing holes! To say this was a lot of work would be an understatement.
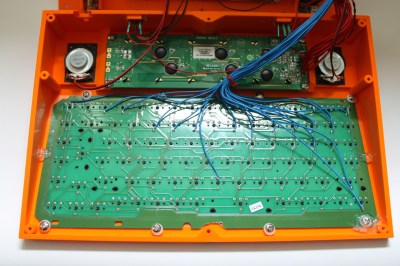 [Dirk] designed a custom 3D printed case for his computer and printed it out on his Ultimaker. To make things fit, he created his design in halves, and glued the case once printing was complete.
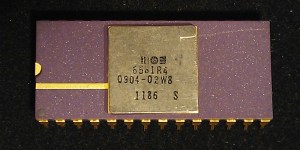
 The SID chip inside the Commodore 64 and 128 is arguably still the gold standard for chip tunes, and the C64 itself still a decent computer for MIDI sequencing. [Frank Buss] realized most of the MIDI cartridges for the Commodore computers are either out of production or severely limited,