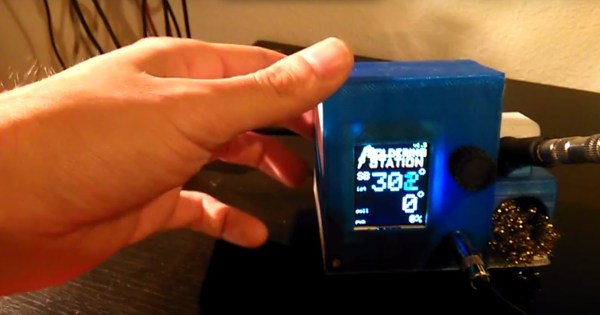
Soldering stations are probably one of the most important tools in the hacker’s arsenal. Problem is — good ones are expensive, and sometimes the only difference between being okay at soldering versus being great at it, is the quality of the tool you’re using! Which is why [Albert] and [Matthias] decided to make their very own home-made Weller clone.
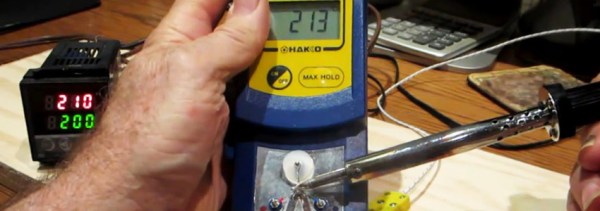
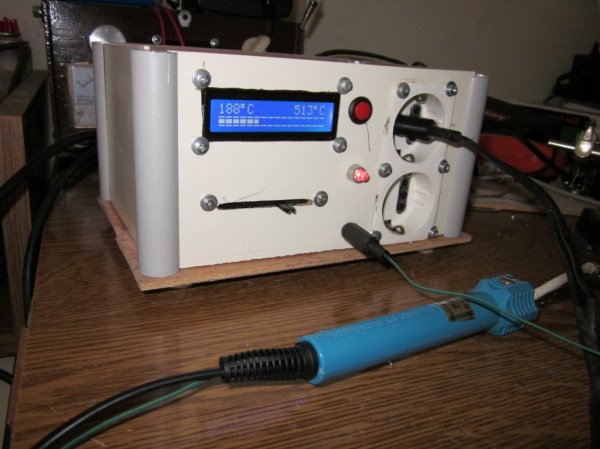
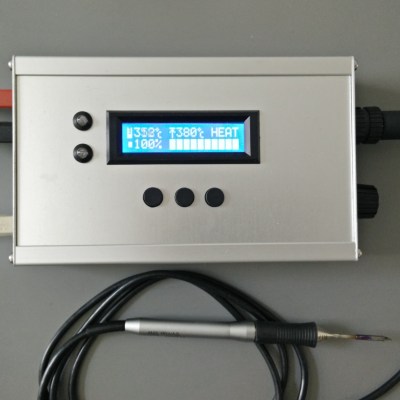
Since the most important part of the soldering iron is a good tip, they’re using a needle from Weller — they just need to be able to control it. They designed a 3D printed housing (source files here) for a small 1.8″ LCD screen, an Arduino Pro Mini and a MOSFET shield, and the 12v 8A power supply they chose. There are only two controls — on/off, and a potentiometer for adjusting the temperature.
Continue reading “Homemade Soldering Station Does It Better”

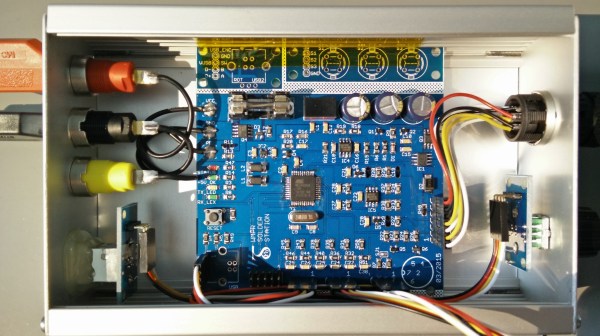
 A PWM signal from the microcontroller controls the load current using a MOSFET. Load current is measured using a Hall Effect-Based Linear Current Sensor –