These days, anything with copper in it is expensive. If you doubt that, a walk into any Home Depot electrical department, where the wire is locked up tighter than Fort Knox, will prove otherwise. Coaxial cable is a particularly expensive species, which is a pity for hams and other radio enthusiasts since it’s the only thing we can use for antenna feedlines.
Or is it? [Steve (VE6WZ)] has found a way to use ordinary Cat 6 Ethernet cable for antenna feed lines that seems pretty clever. As he points out, Ethernet cables are designed to handle frequencies that coincide nicely with most of the interesting amateur radio bands, and their insertion losses are acceptably low, especially for Cat 6 cable. The twisted pairs are also a balanced system that’s good at rejecting common mode noise. Cat 6 cable also has four pairs of conductors, allowing you to feed multiple antennas with one cable, or to distribute power to amplifiers and switches along with antenna feeds.
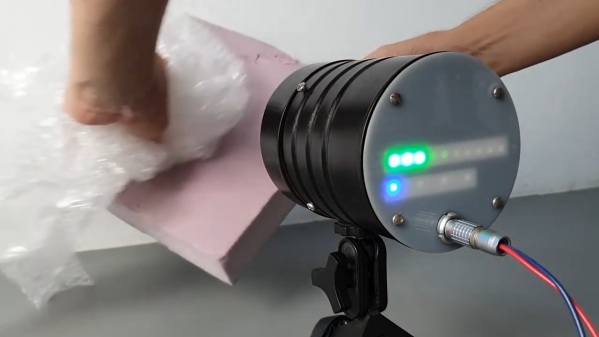
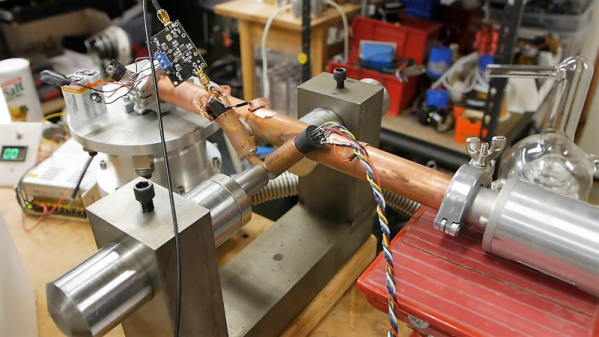
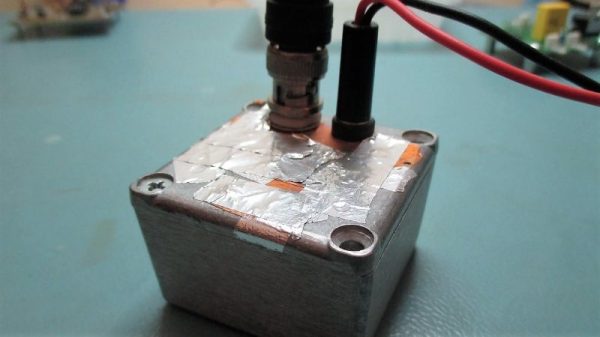
The downside? Cat6 conductor pairs have a characteristic impedance of around 100 ohms, which isn’t a match for the 50-ohm feedline impedance universally expected by ham radios. Also, the relatively small wires probably aren’t up to the job of carrying much current, limiting their use to feedlines for receive-only antennas. That works for [Steve] since he uses Cat 6 to support his massive Beverage antenna farm (Beverage antennas are non-resonant horizontal antennas that live close to the ground and point in the direction of the signal, rather than broadside to the signal as with a resonant antenna like a dipole.) Each antenna in his farm has a transimpedance amplifier that needs to be powered, plus switching relays so he can turn the correct antennas on for the signals he wants to receive. He describes the amps in detail in the video below, along with the custom impedance-matching transformers he uses and the combining gear.
Coax will probably still be the cable of choice for most feedline applications, but it’s nice to know there are alternatives. And who knows—if you stick to QRP work, maybe Cat 6 could even be used for transmitting.
Continue reading “Forget The Coax, Wire Up Your Antennas With Cat 6 Cable”