This is just good, clean fun. Well, maybe not clean since this souped-up racing Roomba appears to move too fast to actually clean anything anymore. But did they ever really clean very well in the first place?
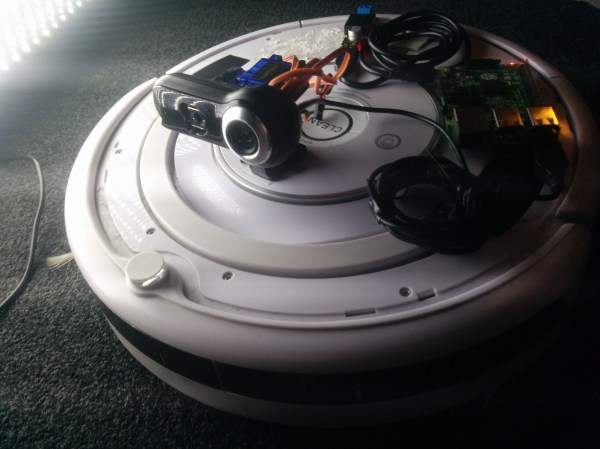
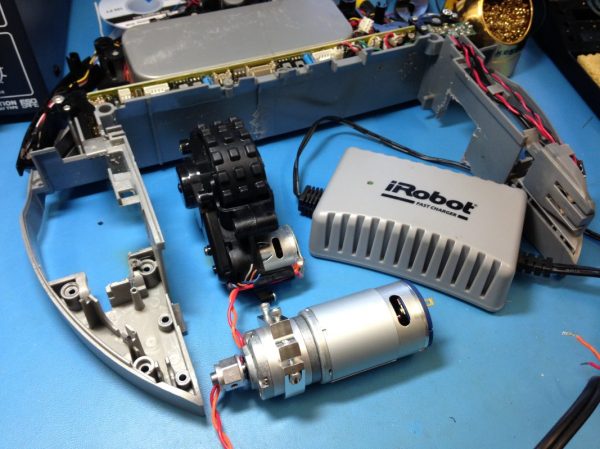
 [Roland Saekow] doesn’t offer much in the way of build details, but the starting point was a 10-year old Roomba Discovery. The stock motors were replaced with 600RPM planetary drive motors and a whopping 12A motor controller. The whole thing is powered off the standard Roomba 14.4V battery pack, but we suspect not for long. Those motors have got to suck down the juice pretty fast to be able to pop wheelies and pull hole shots like it does in the video below.
No word either on how it’s being controlled; our guess is RC, since it looks like the collision sensor grazes a chair leg slightly around the 0:33 mark, but doesn’t seem to change direction. It’d be cool if it could operate autonomously, though. We wonder how it would deal with the Virtual Walls at those speeds.
File this one under “Just for Fun” and maybe think about the possibilities for your defunct Roomba. If speed-vacuuming isn’t your thing, there are plenty of other Roomba hacks around here.
Continue reading “Racing Roomba Packs The Power To Pop Wheelies”