Microsoft Killed My Favorite Keyboard, And I’m Mad About It

As a professional writer, I rack up thousands of words a day. Too many in fact, to the point where it hurts my brain. To ease this burden, I choose my tools carefully to minimize obstructions as the words pour from my mind, spilling through my fingers on their way to the screen.

That’s a long-winded way of saying I’m pretty persnickety about my keyboard. Now, I’ve found out my favorite model has been discontinued, and I’ll never again know the pleasure of typing on its delicate keys. And I’m mad about it. Real mad. Because I shouldn’t be in this position to begin with!

Continue reading “Microsoft Killed My Favorite Keyboard, And I’m Mad About It”

HDMI DDC Keypad Controls Monitor From Rack

Sometime last year, [Jon Petter Skagmo] bought a Dell U3421WE monitor. It’s really quite cool, with a KVM switch and picture-by-picture support for two inputs at the same time. The only downside is that control is limited to a tiny joystick hiding behind the bezel. It’s such a pain to use that [Jon] doesn’t even use all of the features available.

[Jon] tried ddcutil, but ultimately it didn’t work out. Enter the rack-mounted custom controller keyboard, a solution which gives [Jon] single keypress control of adjusting the brightness up and down, toggling picture-by-picture mode, changing source, and more.

How does it work? It uses the display data channel (DDC), which is an I²C bus on the monitor’s HDMI connector. More specifically, it has a PIC18 microcontroller sending those commands via eight Cherry MX-style blues.

Check this out — [Jon] isn’t even wasting one of the four monitor inputs because this build uses an HDMI through port. The finished build looks exquisite and fits right into the rack with its CNC-routed aluminium front panel. Be sure to check it out in action after the break.

Ever wonder how given keyboard registers the key you’re pressing? Here’s a brief history of keyboard encoding.

Continue reading “HDMI DDC Keypad Controls Monitor From Rack”

A Brief History Of Keyboard Encoding

Photoelectric encoder keyboard configured as ASCII

While typing away on our DIN, PS/2, USB or Bluetooth keyboards one of the questions which we rarely concern ourselves with is that of how the keyboard registers which keys we’re pressing. One exception here is when the keyboard can only register a limited number of simultaneous keypresses (rollover). Even though most keyboards today use a matrix which connects the keys, there are many configuration choices even here, which much like other keyboard configurations come with their own advantages and disadvantages. As a good primer we can look at this article by [Daniel Beardsmore] as he takes us through both historical and current-day keyboards.

Especially before  it was realistic to just put an entire microcontroller with a look-up table into every keyboard, more inventive approaches were required to not only register keypresses, but also encode them for the host computer. The photoelectric approach of the 1960s was one such encoding method, before diode matrices became popular, along with more exotic encoding switches that contained their code already hard-wired on their multitude of pins. One inevitable limitation with these was that of a lack of multi-key support, leading to the development of matrix scan technology around 1970.

Matrix scanning keyboards allow for multiple key presses at the same time, tackle debouncing of keys and were at the forefront of what gives us the ubiquitous and generally boringly reliable keyboards which we use today.

A “Full” Keyboard For $5*

Sure, we’ve all seen PCB business cards at this point, but what about giving away a full-blown keyboard at meetups and such? That’s just how cost-effective the idawgz32 keyboard is. How on Earth can it cost so little? [sporewoh] used the CH552 microcontroller, which comes in around a dollar and only needs a couple of capacitors to get it up and running. The firmware is FAK.

As [sporewoh] writes in this blog post about the keyboard, they did some analysis and realized that most of the cost of their previous tiny board came from the switches. In addition to switching up the switches, [sporewoh] performed a few tricks to get the cost down, like making the key spacing 9 mm x 9 mm so that the overall board is less than 100 mm x 100 mm (which triggers a deal at a certain board house).

Unfortunately, the switches turned out not to be so good. They had greater travel and required more actuation force than the ones [sporewoh] was used to with previous board. The switches were also scratchy, which was solved with a little Krytox. But ultimately, they are pretty unreliable, so the next revision will use Panasonic EVQP0N02Bs.

If this seems familiar, you may be recalling this $3 macro pad which uses the same chip, or maybe the fact that we’ve covered the CH552 in detail.

*Thanks to the current CAD to USD exchange rate.

Not A FrogPad But Close

While you might think one-handed keyboards are a niche item, if you have reduced function in one hand or you only have one hand, they are pretty important. [Kian] was getting ready for surgery that would put his left arm out of commission for a while, which spurred the construction of a one-handed keyboard inspired by FrogPad.

There was a time when creating a new keyboard would have been a significant task. These days, it is reasonably easy and [Kian] simply repurposed an existing kit for a split keyboard. Using just half the board was easy since it is made in two parts already.

There have been many attempts at building effective one-handed input devices over the years, and the circa 2002 FrogPad is one of the better devices. Like most one-handed keyboards, it uses layers. The top layer has the most common keystrokes to minimize the number of layer changes required to type common text.

Continue reading “Not A FrogPad But Close”

Altoids Tin Keyboard Is A Breath Of Fresh Air

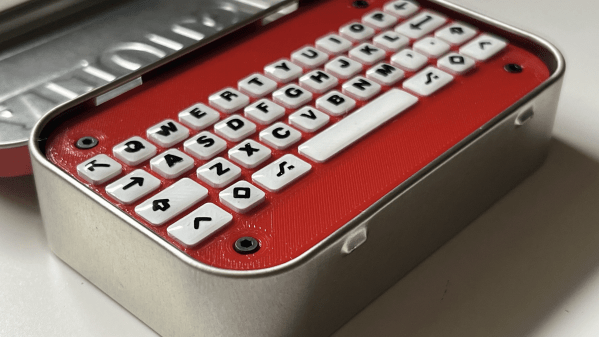
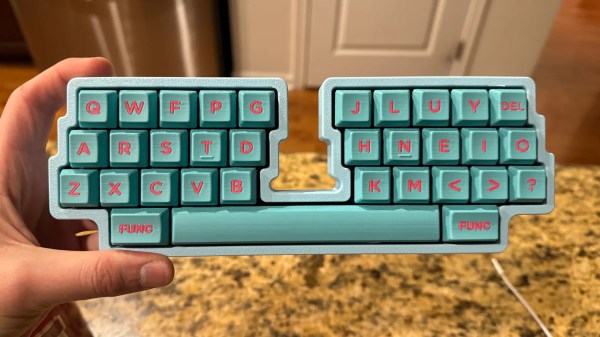
Well, here’s a fresh idea! [flurpyflurples] is back from hiatus with the Mintboard, a 40% that fits inside of an Altoids tin. Who could ask for more than a rugged little Bluetooth keyboard with a built-in cover that fits in your pocket?

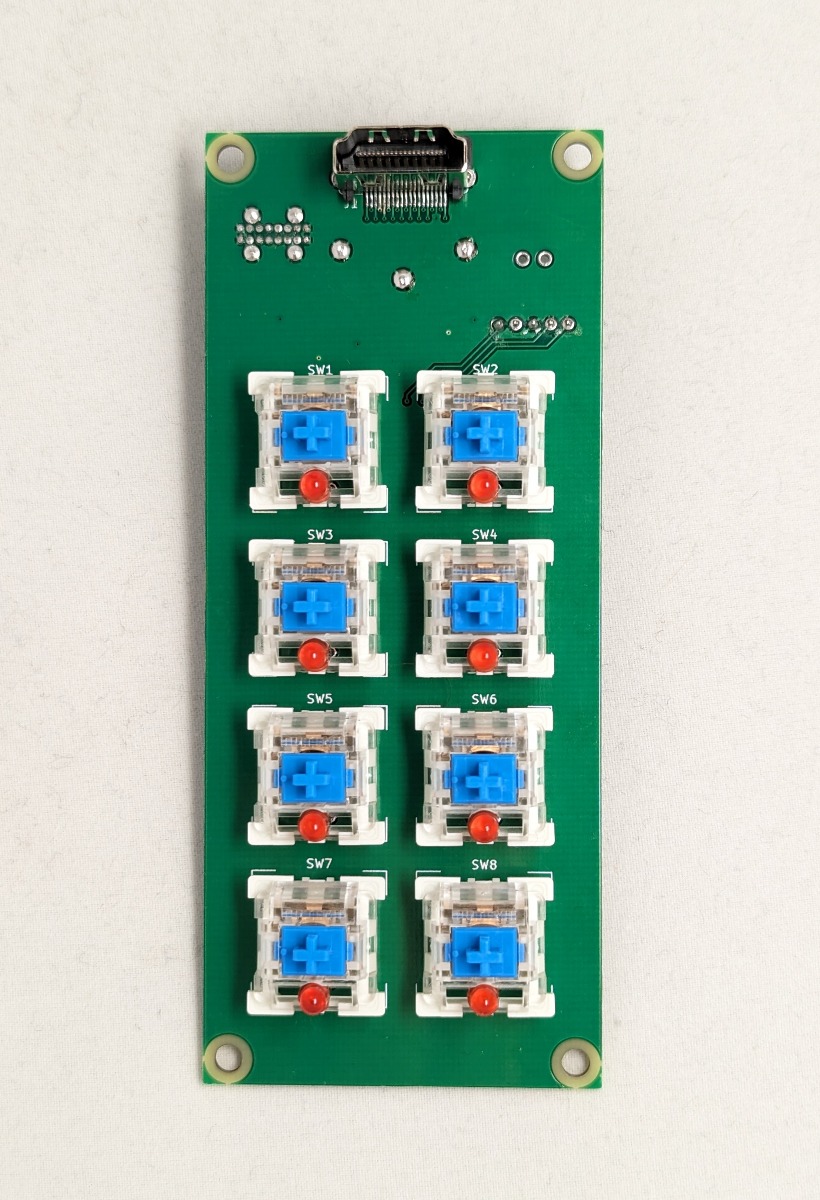
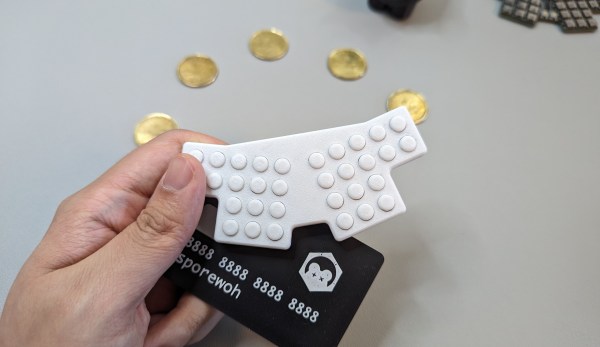
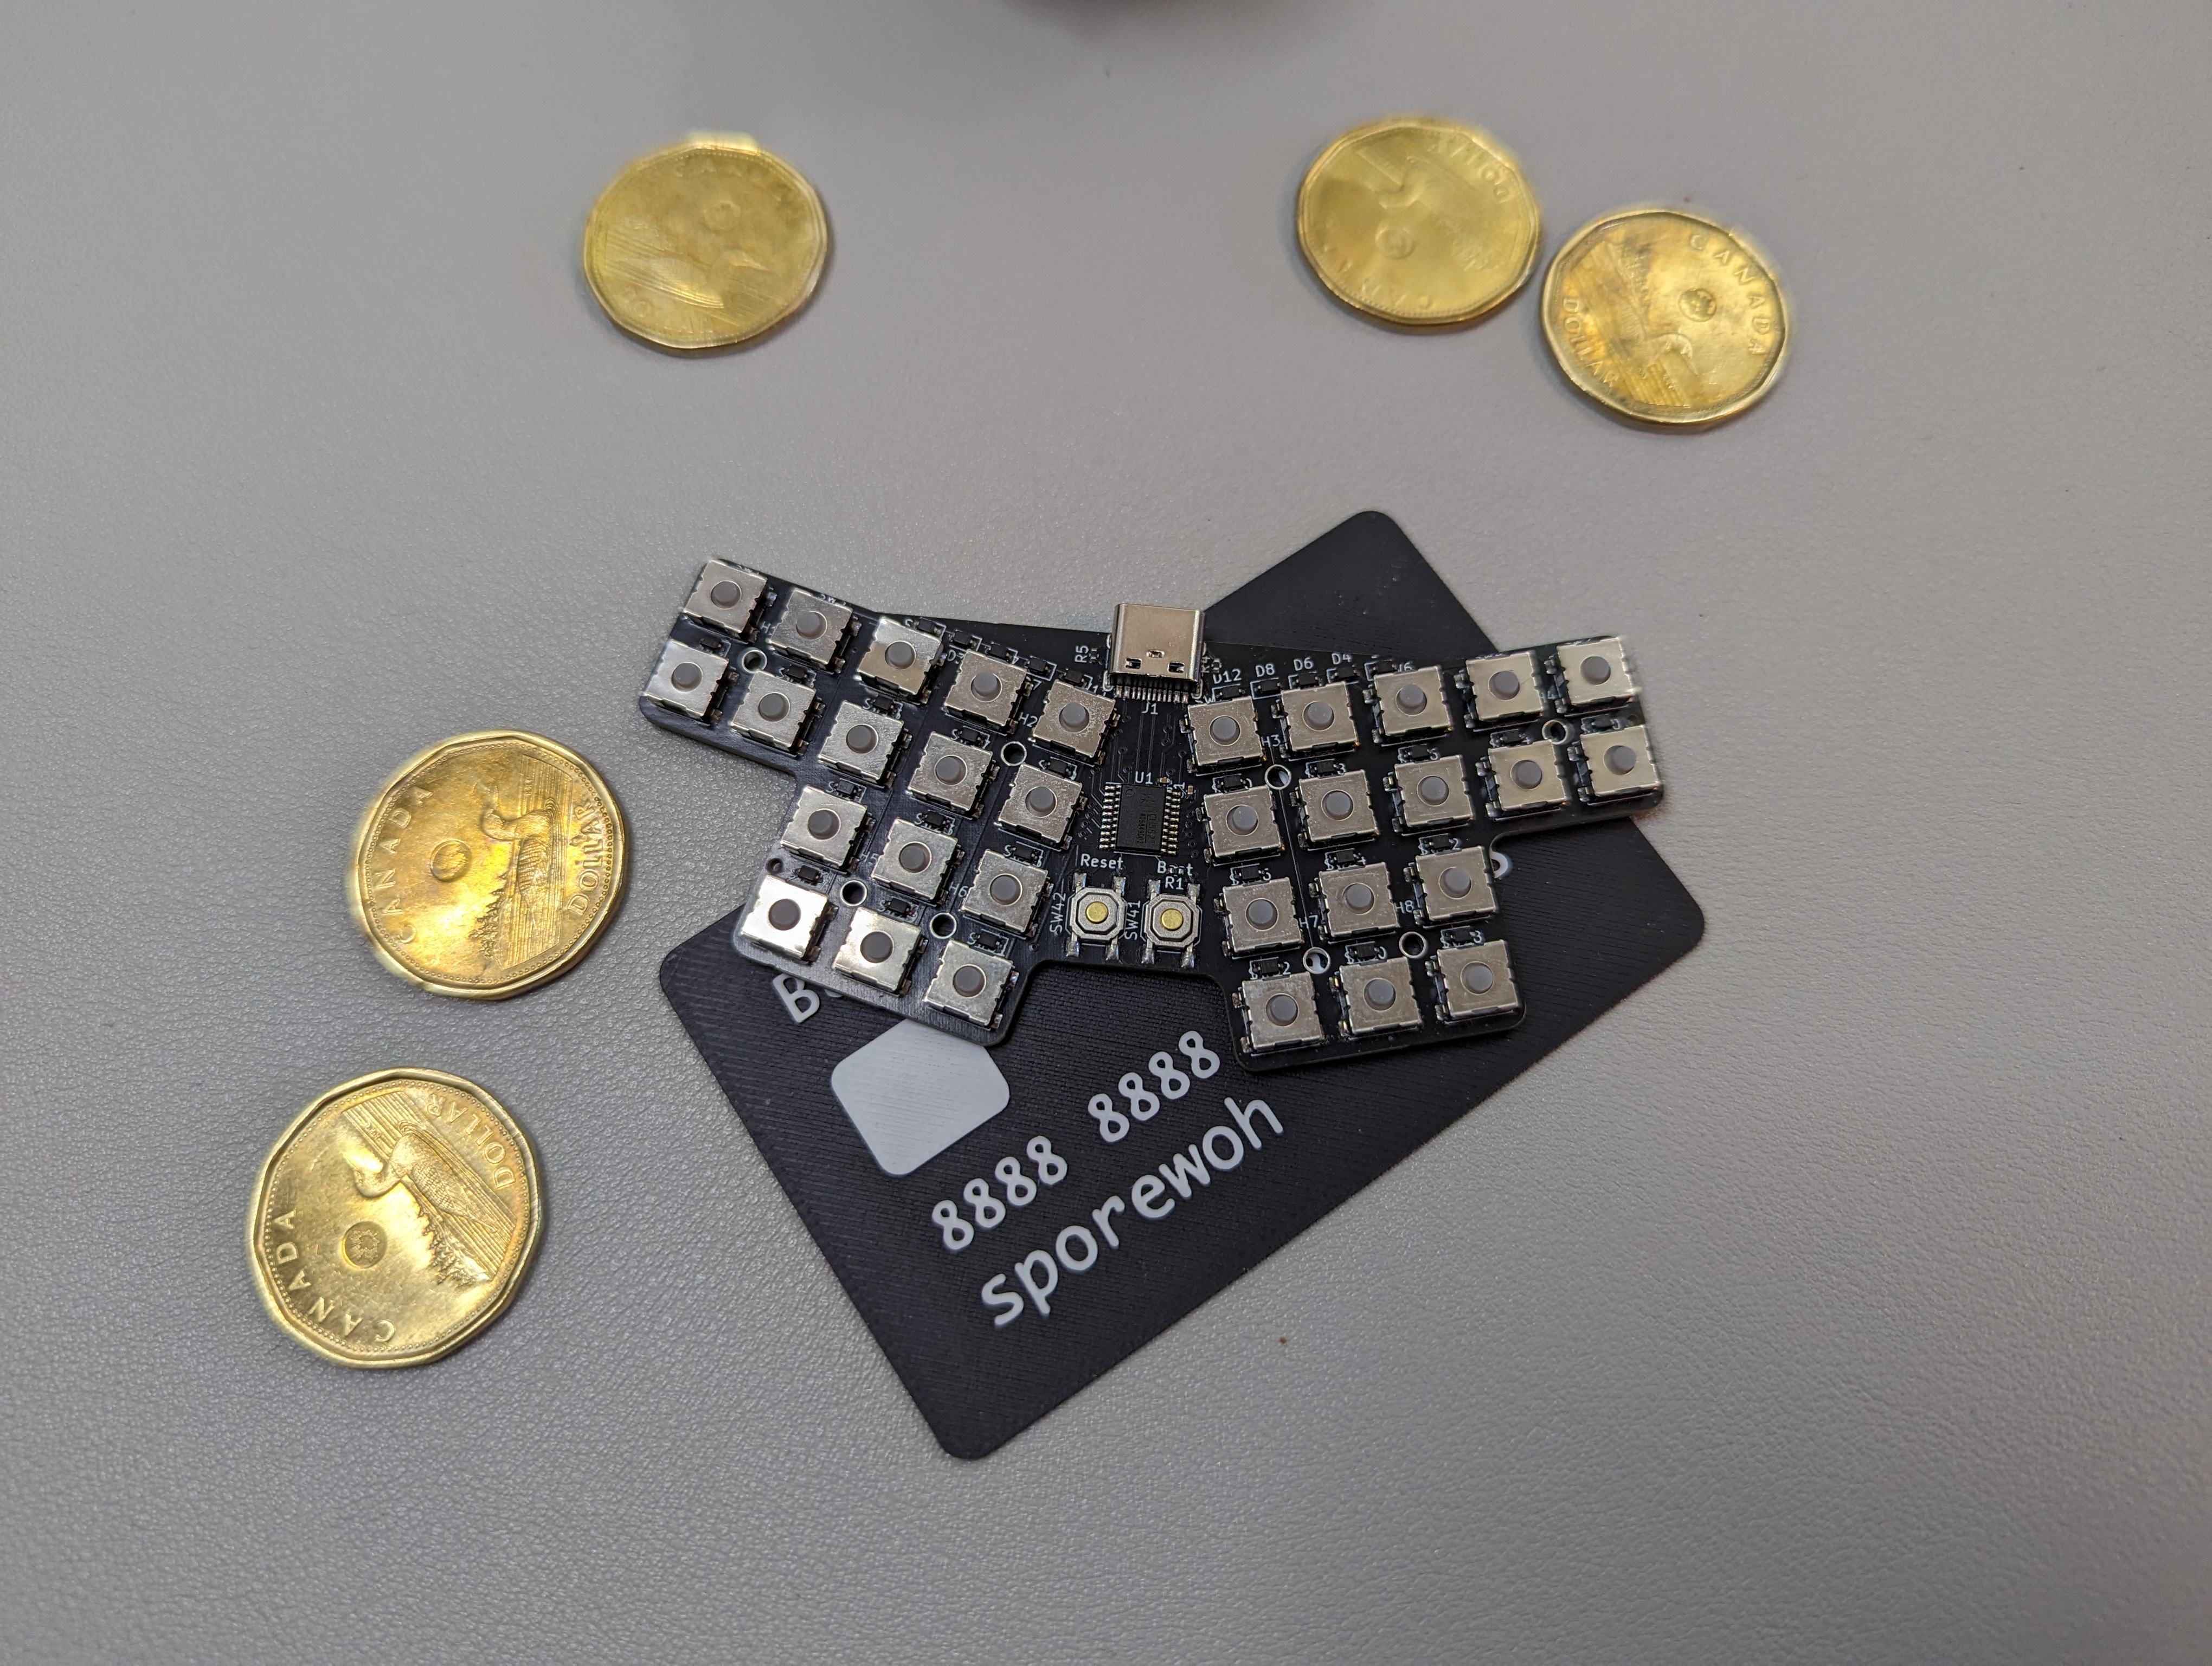
This build started with meticulously measuring the tin to figure out what kind of switches could be used. At first, this was going to be a 60% keyboard, but after a lot of design decisions and switch comparisons, [flurpyflurples] settled on a certain micro switch spaced at 7.3mm for a 40% layout. Then it was time to design a PCB.

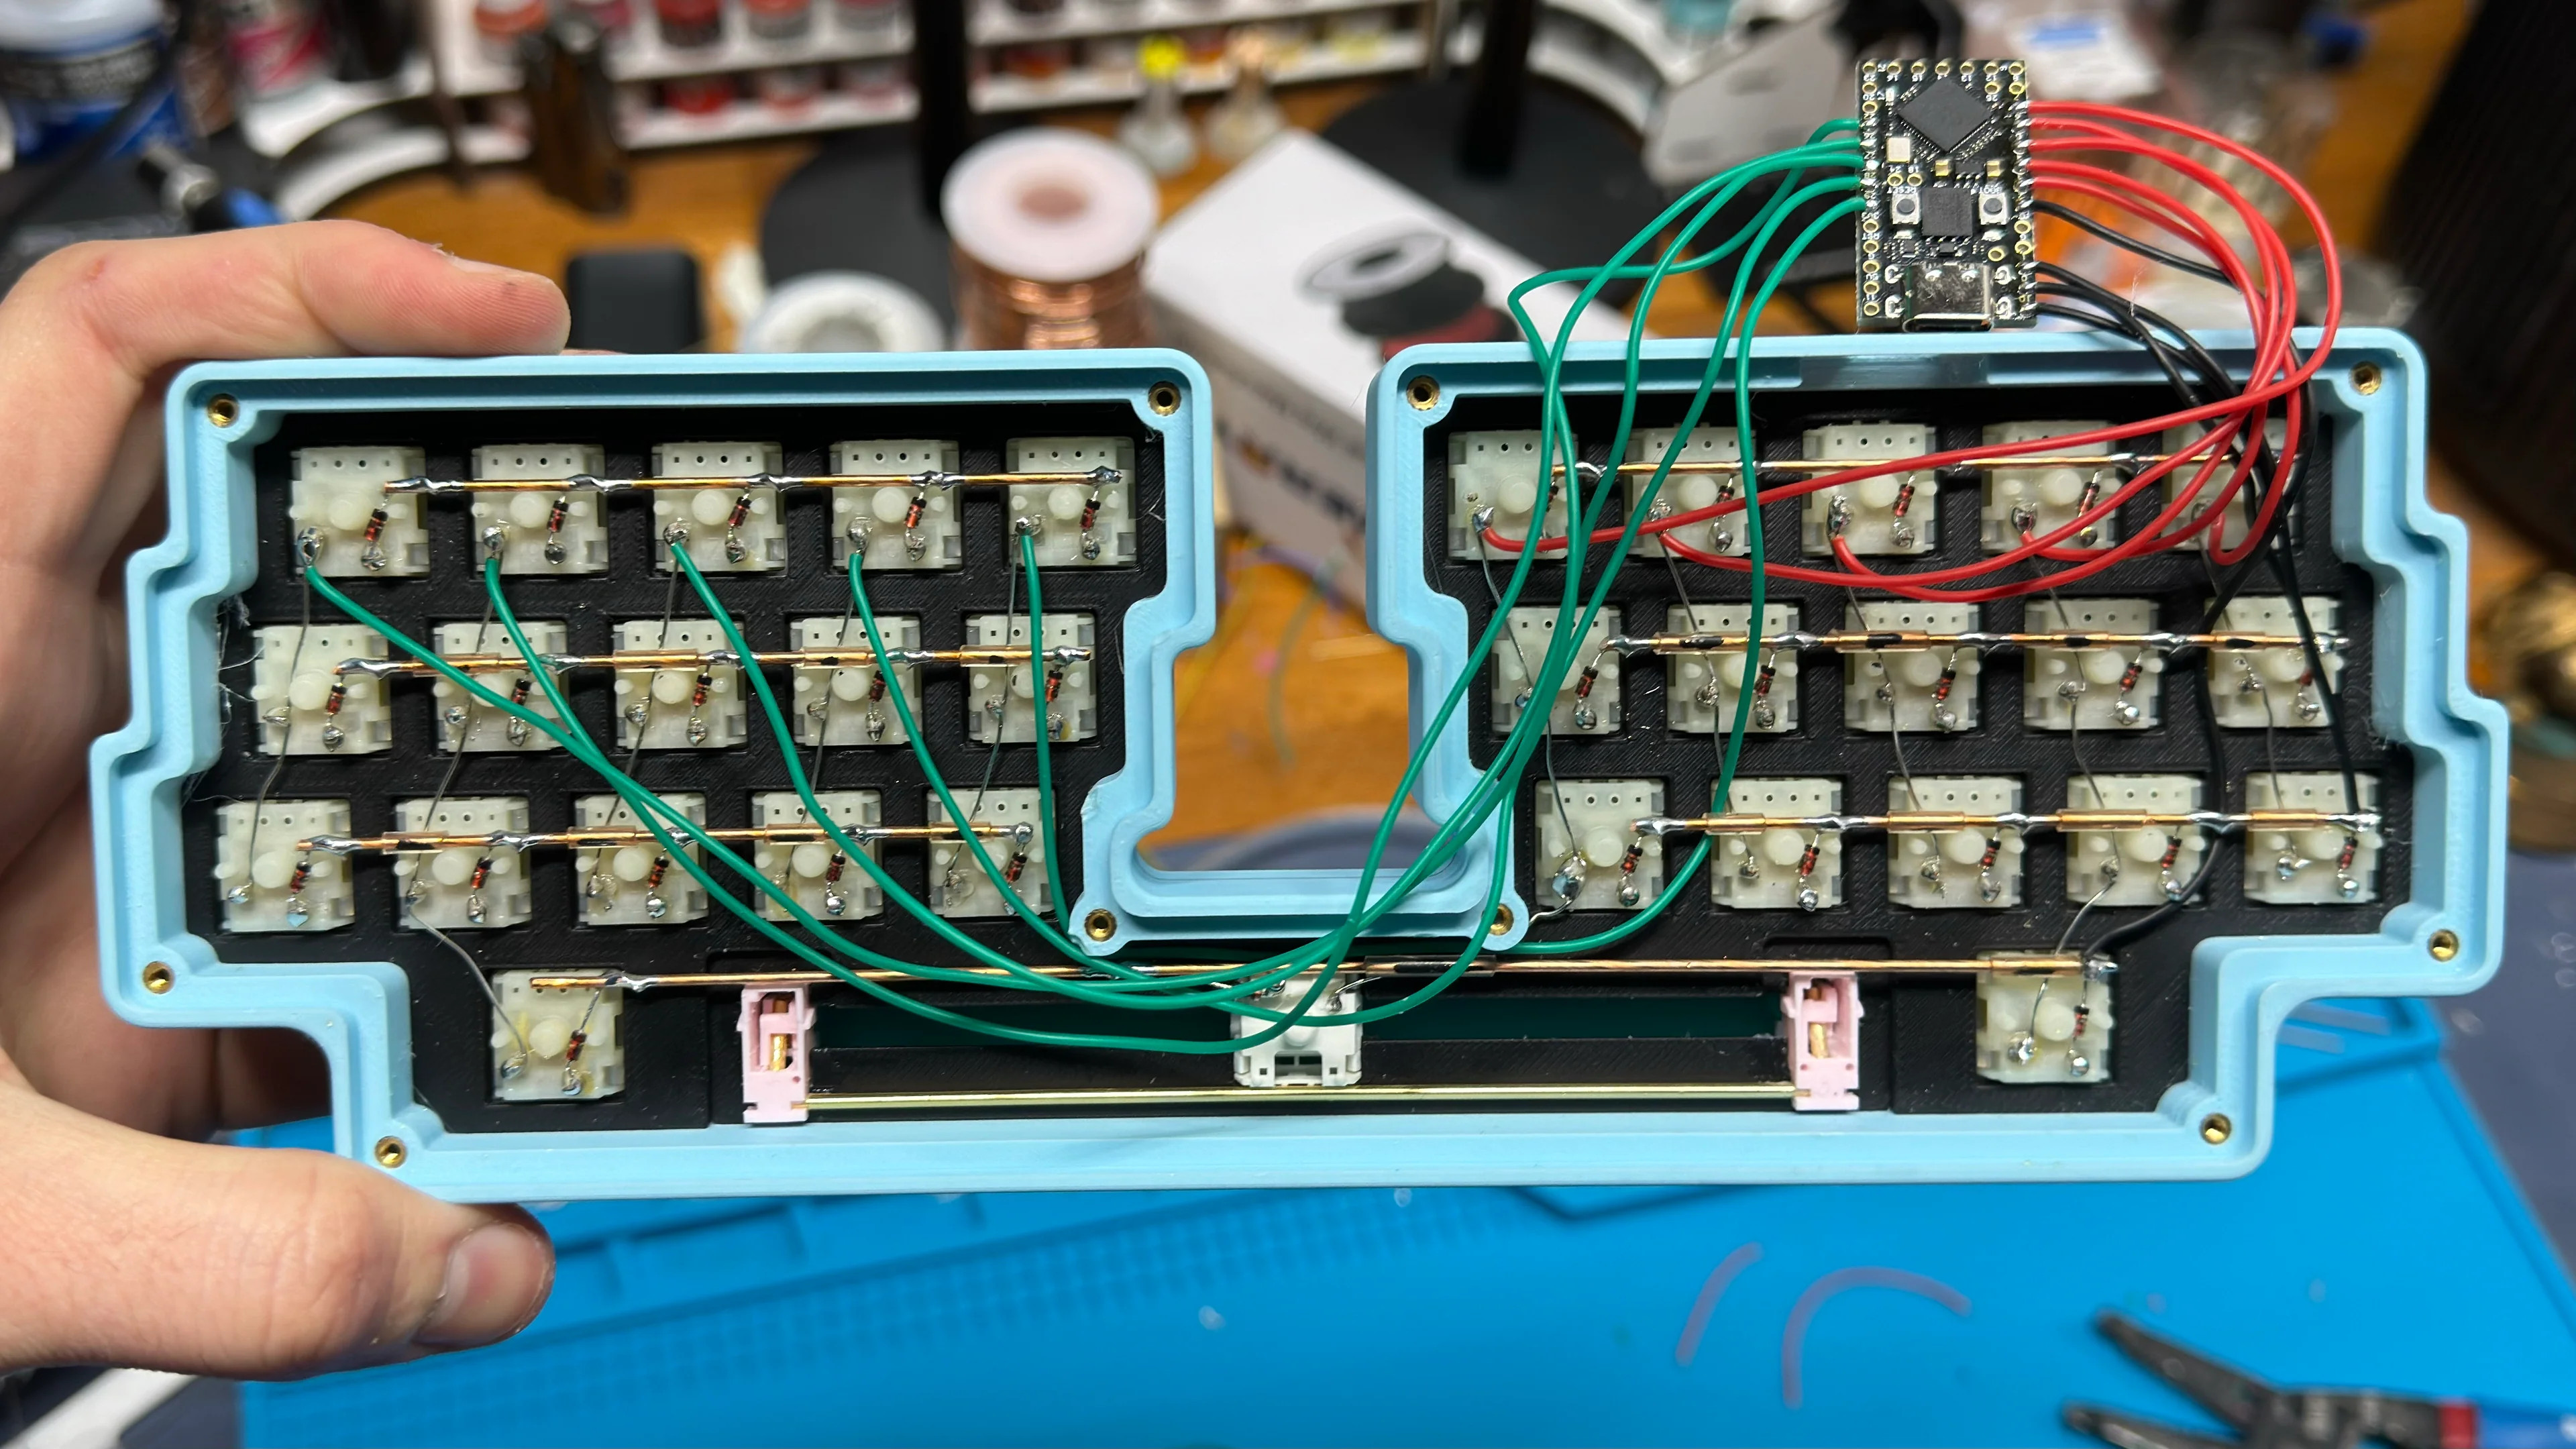
Although [flurpyflurples] tends to use Arduino Pro Micros in their builds, they went with the Nice! Nano this time for the Bluetooth capabilities. This means that they had to program it with ZMK instead of QMK, but found that QMK knowledge transfers rather nicely.

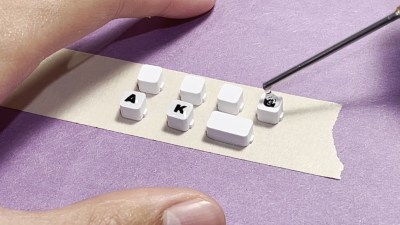
Let’s talk about those lovely legends. The keycaps are 3D printed of course, and the legends were cut out on a Cricut machine. The best part is that sealant — [flurpyflurples] used a few drops of UV nail polish top coat and cured it with light.

We think this looks and sounds fantastic, and would really like to know how to get such clean cutouts. According to [flurpyflurples] and the end of the build/demo video you’ll find below the break, the action is a lot like a Blackberry keyboard.

Continue reading “Altoids Tin Keyboard Is A Breath Of Fresh Air”

The ScottoKatana Keyboard Is Cutting-Edge

The lovely thing about a hobby like keyboard building is that the melting pot of designs manages to never turn into a nasty porridge. Rather, it remains a tasty chili that keeps getting more flavorful with time. It’s a simple recipe, really; someone becomes dissatisfied enough with their peripherals to do something about it, often trying various designs until they either settle on one, or come up with yet another awesome variant that suits their needs — and possibly someone else’s down the line.

The inimitable [Joe Scotto] has happened upon the katana layout, which has an inverse left-hand row stagger that lends symmetry to the design, and Scotto-ized it into a 33-key build that he says is the best-sounding one yet with lubed Gateron Milky Yellows.

The case and the keycaps are both 3D-printed, and as with all Scotto builds, it is beautifully hand-wired. This one uses an RP2040 Pro Micro, but an ATMega Pro Micro will work, too.

Everything is available on GitHub, and [Joe] promises a typing test soon, as well as a gasket version that foregoes the integrated plate.

Do you need a fast keyboard? Like, ridiculously fast? Then you should use an FPGA.

Via KBD and Make: