In a previous article, I discussed LEDs in general and their properties. In this write-up, I want to give some examples of driving LEDs and comparing a few of the most commonly used methods. There is no “one size fits all” but I will try and generalize as much as possible. The idea is to be able to effectively control the brightness of the LED and prolong their life while doing it. An efficient driver can make all the difference if you plan to deploy them for the long-haul. Let’s take a look at the problem and then discuss the solutions. Continue reading “Control Thy LED”
Day: August 29, 2017
Color Sensor From An RGB LED And A Photocell
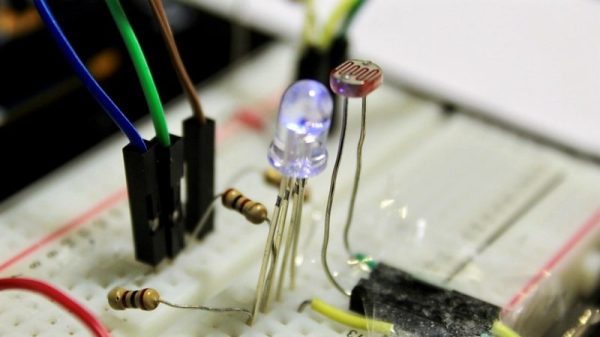
When you need to quantify the color of an object, you’ve got quite a few options. You can throw a Raspberry Pi camera and OpenCV at the problem and approach it through software, or you can buy an off-the-shelf RGB sensor and wire it up to an Arduino. Or you can go back to basics and build this reflective RGB sensor from an LED and a photocell.
The principle behind [TechMartian]’s approach is simplicity itself: shine different colored lights on an object and measure how much light it reflects. If you know the red, green, and blue components of the light that correspond to maximum reflectance, then you know the color of the object. Their sensor uses a four-lead RGB LED, but we suppose a Neopixel could be used as well. The photosensor is a simple cadmium sulfide cell, which measures the intensity of light bouncing back from an object as an Arduino drives the LED through all possible colors with PWM signals. The sensor needs to be white balanced before use but seems to give sensible results in the video below. One imagines that a microcontroller-free design would be possible too, with 555s sweeping the PWN signals and op-amps taking care of detection.
And what’s the natural endpoint for a good RGB sensor? A candy sorter, or course, of which we have many examples, from the sleek and polished to the slightly more hackish.
Continue reading “Color Sensor From An RGB LED And A Photocell”
Boredom + Lasers = Projector!
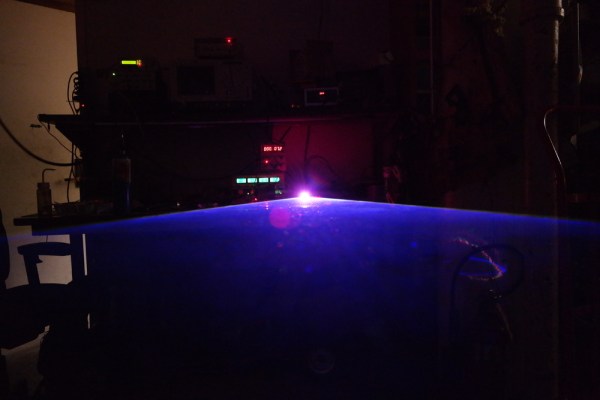
[Krazer], a post-doctoral researcher at MIT, loves him some lasers. When out of boredom one afternoon he hatched an idea for a laser projector, it grew until a few years later he wound up with this RGB laser for a projector — Mark IV no less.
In addition to 3D-printing the parts, the major innovation with this version is the ability to re-align the lasers as  needed; tweaking the vertical alignment is controlled by a screw on the laser mounts while the horizontal alignment is done the same way on the mirror mounts. This simplifies the design and reduces the possibility of part failure or warping over time. An additional aluminium base epoxied to the projector aims to keep the whole from deforming and adds stability. With the help of a mirror for the final alignment — sometimes you must use what you have— the projector is ready to put on a show.
True to the spirit of the art [Krazer] used all open source software for this iteration, and sharing his designs means you can build your own for around $200. As always with lasers take extra precautions to protect your eyes! This 200mW setup is no joke, but that doesn’t mean fun and games are out of the question.


