Laptop Motherboard? Let’s Boot And Tinker

Last time, I’ve shared my experience on why you might want to consider a laptop motherboard for a project of yours, and noted some things you might want to keep in mind if buying one for a project. Now, let’s go through the practical considerations!

Making It Boot

Usually, when you plug some RAM and a charger into a board, then press the power button, your board should boot up and eventually show the BIOS on the screen. However, there will be some caveats – it’s very firmware-dependent. Let me walk you through some confusing situations you might encounter.

If the board was unpowered for a while, first boot might take longer – or it might power on immediately after a charger has been plugged in, and then, possibly, power off. A bit of erratic behaviour is okay, since boards might need to do memory training, or recover after having lost some CMOS settings. Speaking of those, some boards will not boot without a CMOS battery attached, and some will go through the usual ‘settings lost’ sequence. Sometimes, the battery will be on a daughterboard, other times, especially with new boards, there will be no CR2032 in sight and the board will rely on the main battery to provide CMOS settings saving functions – in such case, if you don’t use the battery, expect the first boot to take longer, at least. Overall, however, pressing the power switch will cause the board to boot. Continue reading “Laptop Motherboard? Let’s Boot And Tinker”

Probably The Most Over-Specified Calculator To Ever Be Manufactured

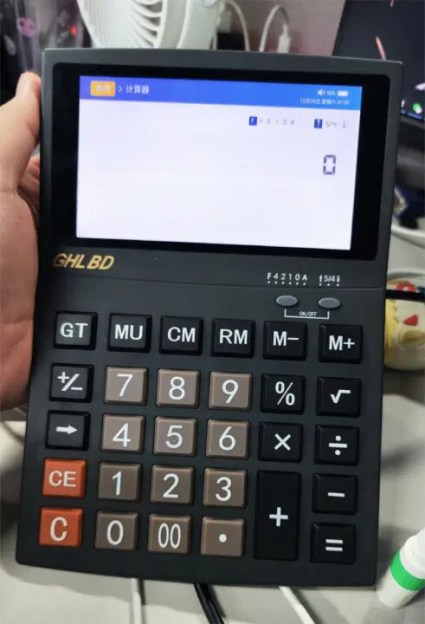
It’s possible quite a few of our older readers will remember the period from the 1960s into the ’70s when an electronic calculator was the cutting edge of consumer-grade digital technology. By the 1980s though, they were old hat and could be bought for only a few dollars, a situation that remains to this day. But does that mean calculator development dead?

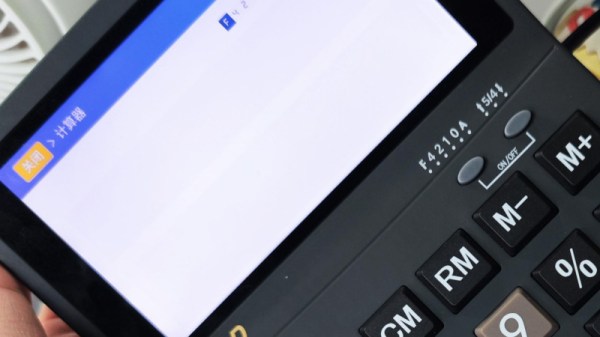
Perhaps not, as [Li Zexi] writes for CNX Software, when he reviews a simple non-scientific calculator that packs an Alwinner A50 tablet SoC and the Android operating system. As shipped they lack the Android launcher, so they aren’t designed to run much more than the calculator app. Of course that won’t stop somebody who knows their way around Google’s mobile operating system for very long — at the end of the review, there’s some shots of the gadget running Minecraft and playing streaming video.

These devices can be had for not a lot on the Chinese second-hand electronics market, and after an extensive teardown he comes to the conclusion that besides their novelty they’re an older specification so not really worth buying.

But it does beg the question as to why such a product was put into production when the same task could have been performed using very cheap microcontroller. Further, having done so they make it a non-scientific machine, not even bestowing it with anything that could possibly justify the hardware. Is there a use case he, and us, have missed? We’d love to know.

We cover a lot of calculator stories here at Hackaday. Sometimes they’re classic machines, but more often they’re modern takes on an old idea.


Displaying The Time Is Elemental With This Periodic Table Clock

We see a lot of clocks here at Hackaday, so many now that it’s hard to surprise us. After all, there are only so many ways to divide the day into intervals, as well as a finite supply of geeky and quirky ways to display the results, right?

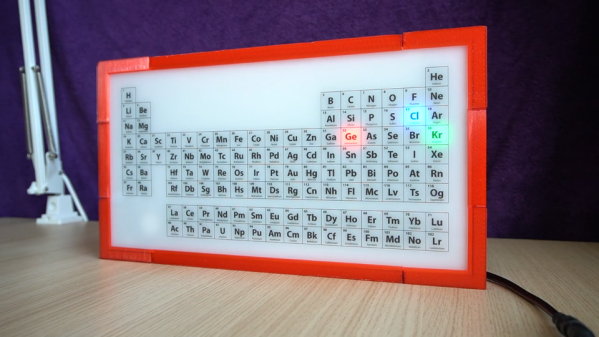
That’s why this periodic table clock really caught our eye. [gocivici]’s idea is a simple one: light up three different elements with three different colors for hours, minutes, and seconds, and read off the time using the atomic number of the elements. So, if it’s 13:03:23, that would light up aluminum in blue, lithium in green, and vanadium in red. The periodic table was designed in Adobe Illustrator and UV printed on a sheet of translucent plastic by an advertising company that specializes in such things, but we’d imagine other methods could be used. The display is backed by light guides and a baseplate to hold the WS2812D addressable LEDs, and a DS1307 RTC module gives the Arduino Nano a sense of time. The 3D printed frame of the clock has buttons for setting the time and controlling the clock; the brief video below shows it going through its paces.

We really like the attention to detail [gocivici] showed here; that UV printing really gave some great results. And what’s not to like about the geekiness of this clock? Sure, it may not be as action-packed as a game of periodic table Battleship, but it would make a great conversation starter.

Continue reading “Displaying The Time Is Elemental With This Periodic Table Clock”